. . . by their cover.
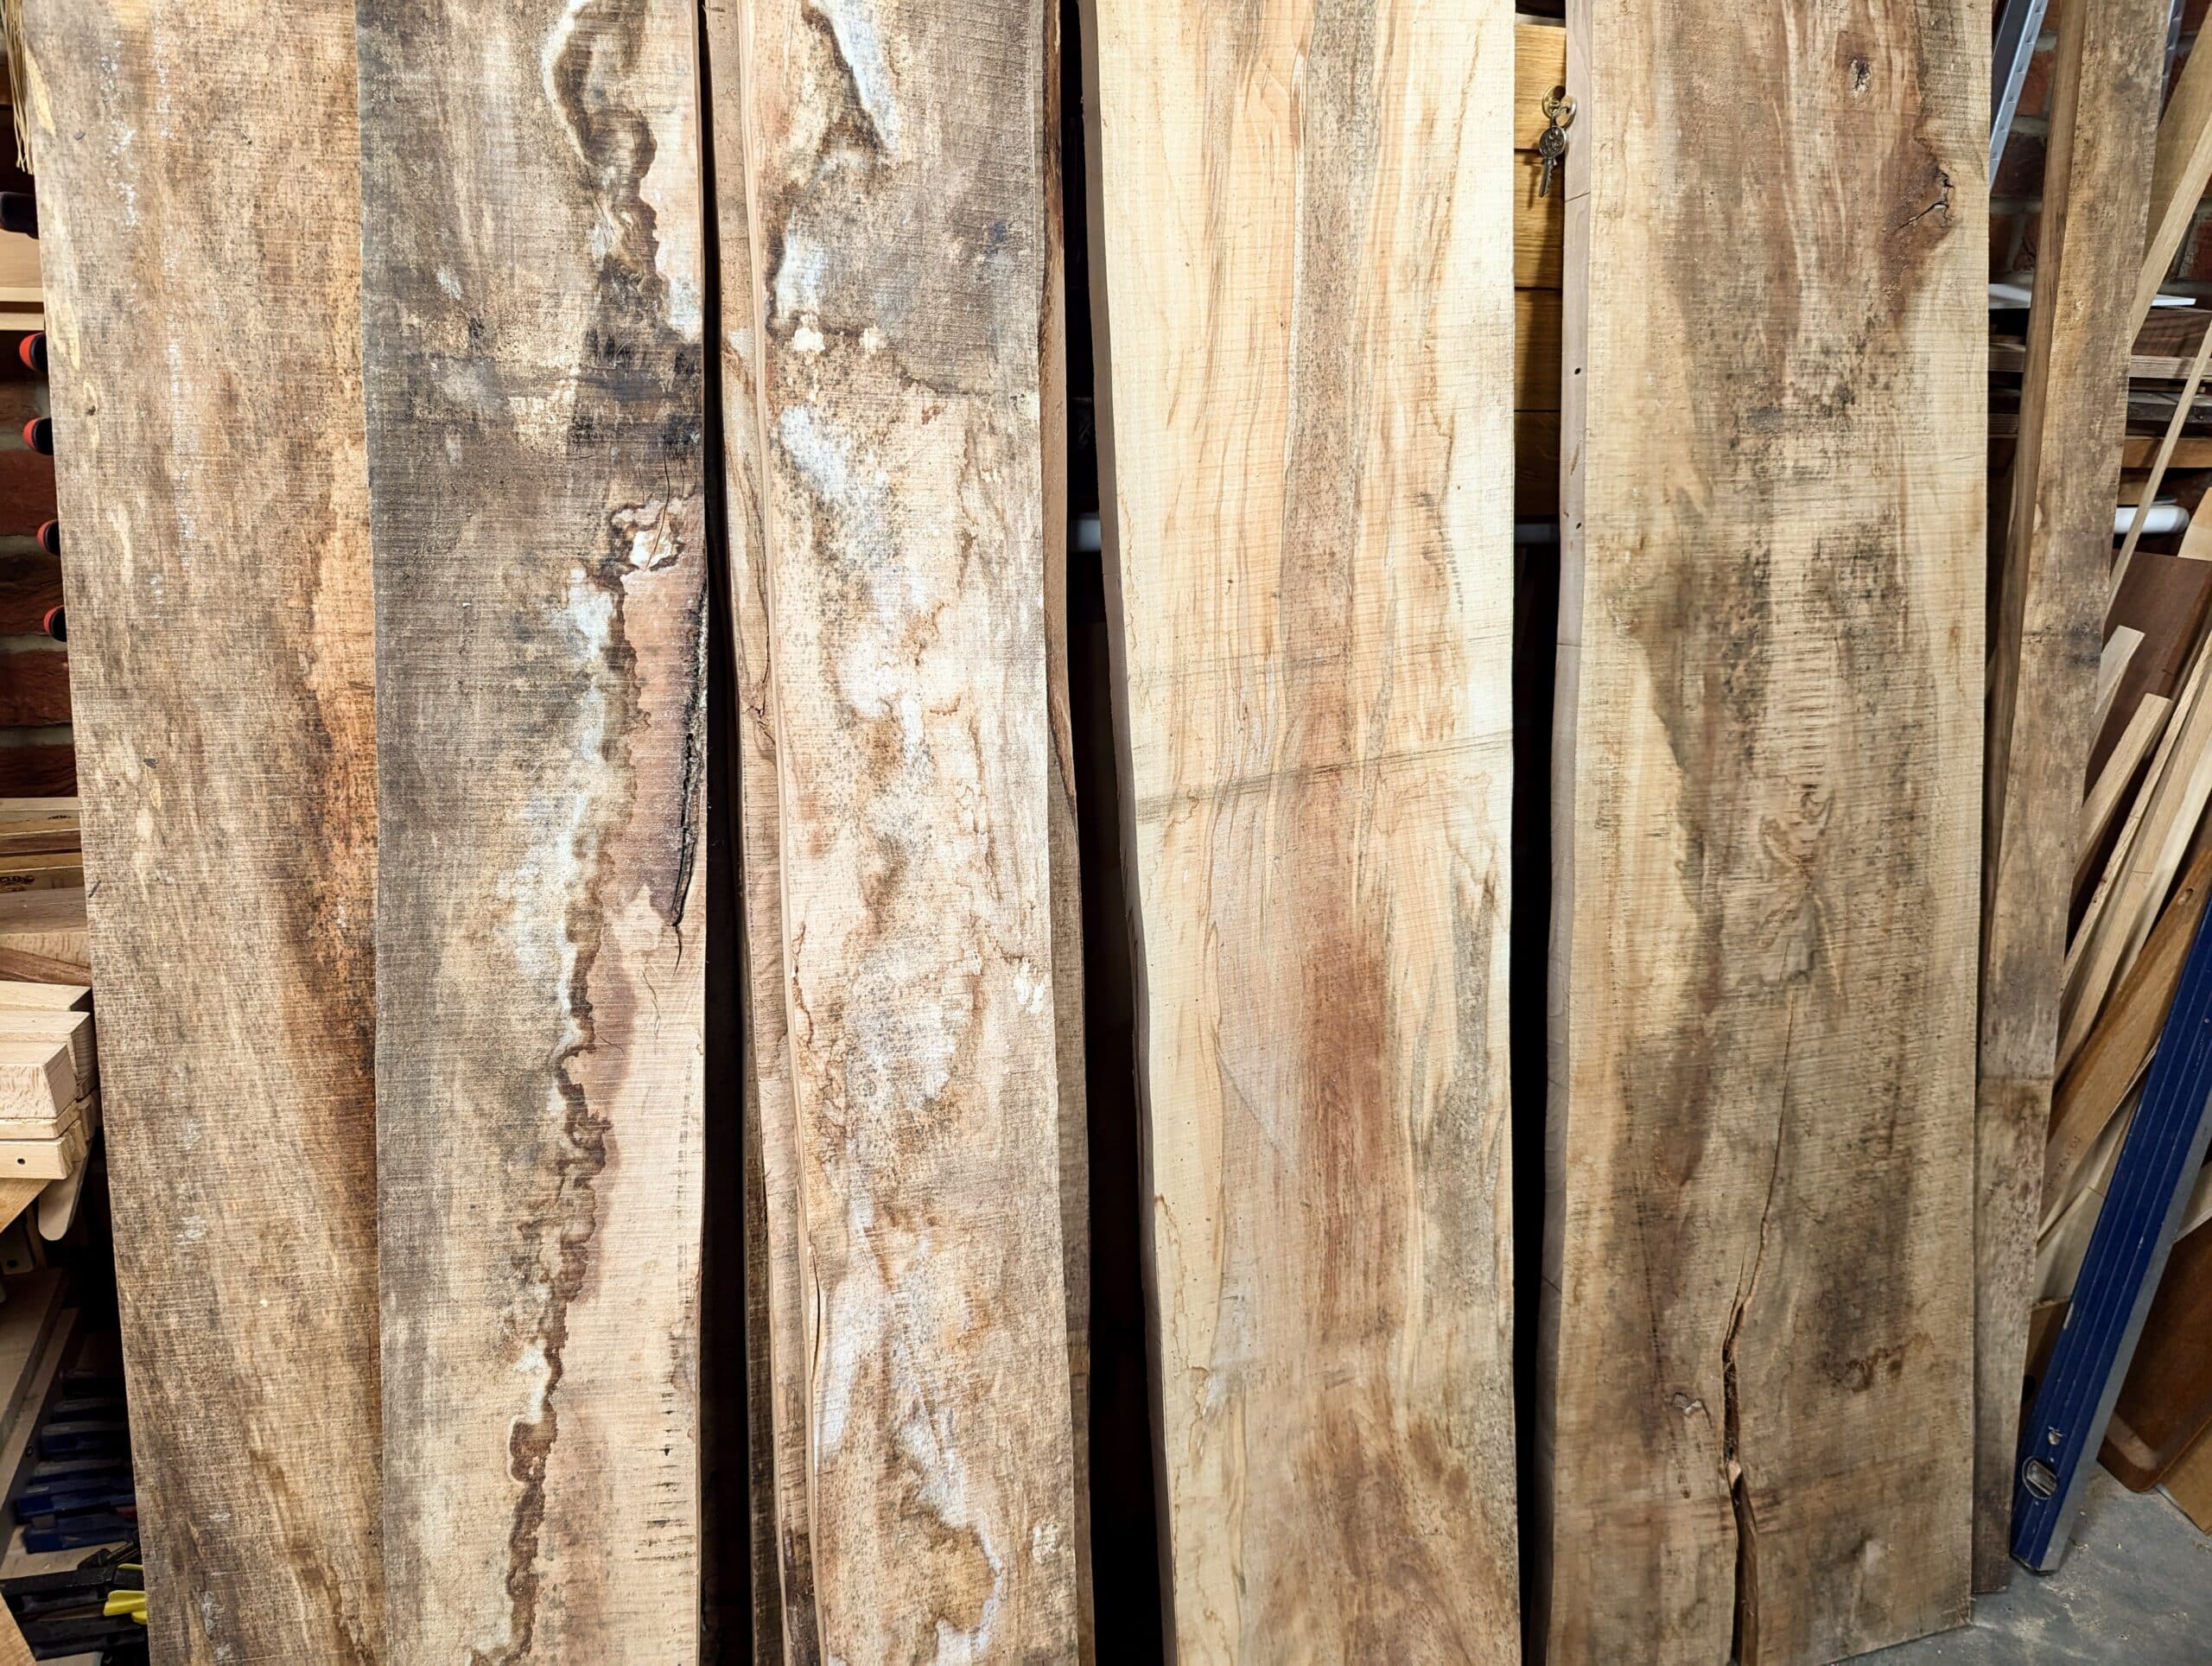
My wood stacks come from long planks that needed straightening for joints before joints could be made. The joints rely on straight edges to two adjacent faces trued first by hand planes and opposite faces sawn parallel by saw and planed smooth too. This has been my way for decades though oftimes a machine might have kicked in for commercial elements to make it work.
I have many tricks that make my work go. Without these tricks, my work would be too laboursome and strenuous and the tricks are not for using hand tools so much as a bandsaw. Machines in my world take care of donkey work but I don’t want machines hogging up my small floor space any more than is necessary. As a result, I have one four-square-foot footprint to that end. In this area stands a bandsaw on wheels. For long lengths, quite rare, I can spin the bandsaw to an open door and exit my long cuts through that door. 98% of handmade furniture will be in lengths shorter than three feet. Therefore the bandsaw remains fixed in its place at the end of my workbench. I raised the bandsaw to what I consider a working height. Bandsaw designers are not users. 34″ to the tabletop is four inches too low for most woodworkers. It’s a stupid height. Neat for me though is that I jacked mine up to align the top with my workbench. This really helps for a variety of reasons I care not to explain beyond longish pieces needing cross-grain length-shortening-cuts can rest safely on my bench top as I feed an end into the sawteeth.
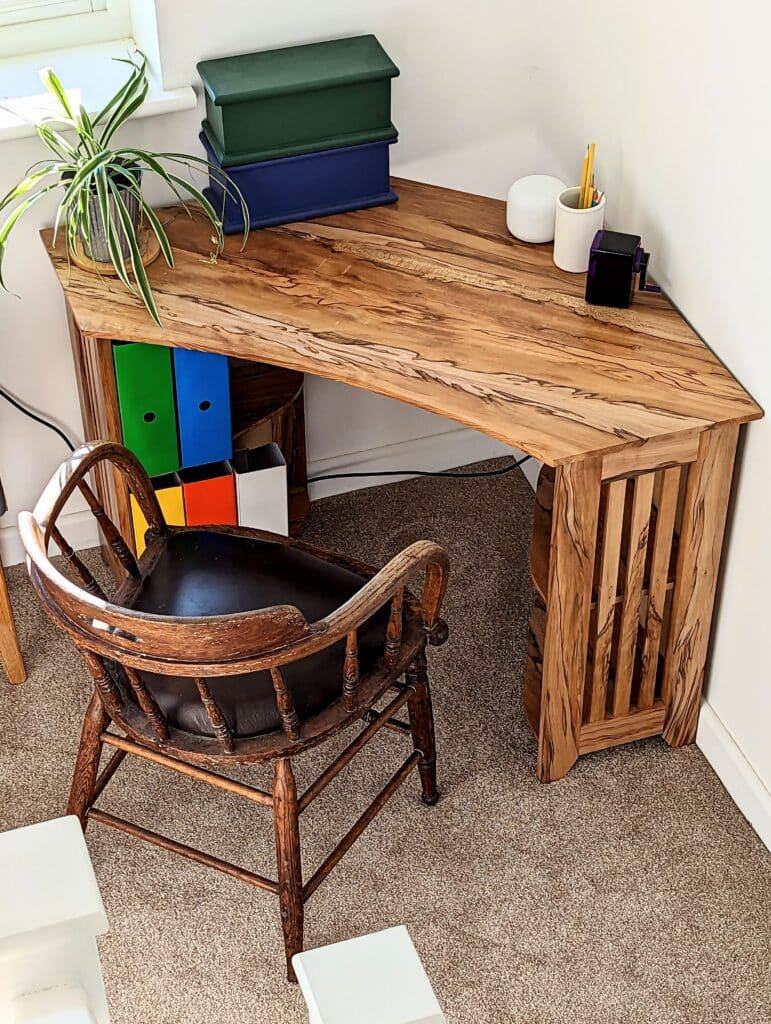
A major obstacle to truing wider and longer pieces is the amount of donkeywork it needs to flatten a surface ready for parallel truing to the opposite face and then the edge truing too. Having a jointer and a thickness planer in two machines or even a combination machine is too space-consuming. Also, I am not one for stacking up machines and pulling them to task for every cut needed. Boring and inefficient use of time and space and I WANT hand work most but not all of the time.
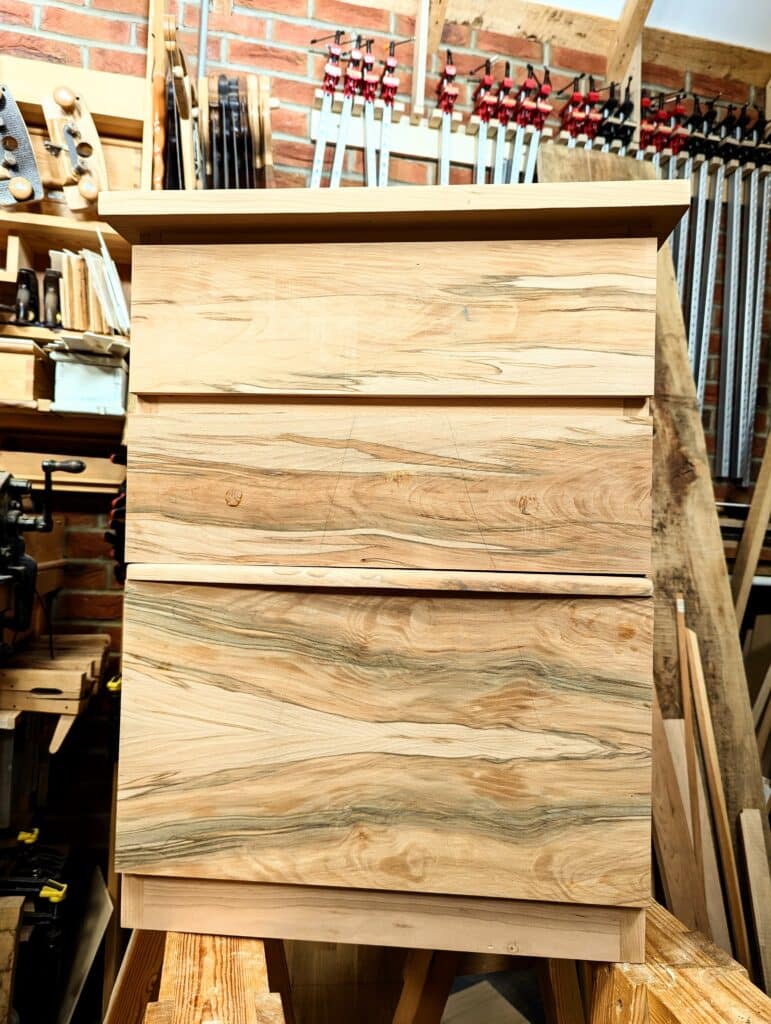
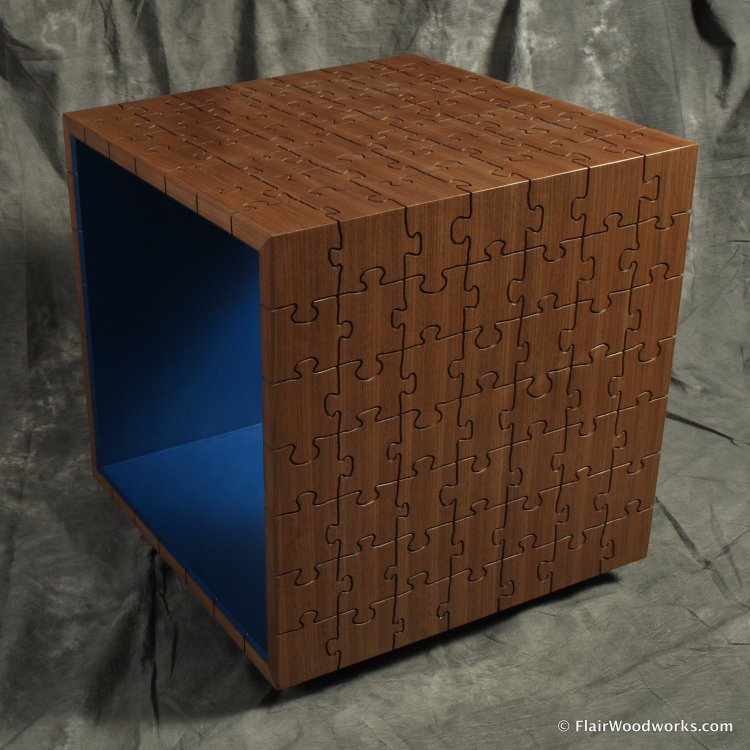
So here is one of my jointing tricks for wide boards. I just made a filing cabinet minimally using my bandsaw for stock reduction at the most minor level. Ripping five- to six- and some seven- and eight-inch wide boards is not really much fun using a handsaw and it can be less fun using hand planes even when you have a strategy if you have an eight of an inch to take off that defies handsawing. That said, I do still do it.
The bandsaw enables me to cut two panels from a single piece and also helps to create bookmatched panels. In fact, no other power machine gives a more economical outcome be that in material or in time. Bookmatching in solid wood or by slicing thinner facings is definitely a bandsawing task. You’ll lose a mere sixteenth of an inch max if your bandsaw is set up correctly and you have a sharp blade installed. Though I did indeed plane the faces of all my materials for the drawers and facing. And I didn’t use any of my arsenal of bandsaw tricks, I’ll tell you of one here and now. This could save you half an hour to an hour on a single piece. It’s good on my machine up to around 10-11 inch wide boards depending on the grain fibre resilience in the wood type.

Firstly, sight in two winding sticks to see what you are dealing with. I hasten to add here that narrower sections of wood might well be best dealt with with bench planes alone. This method is mostly beneficial on boards say 3″ and up. Narrow stock is readily and easily dealt with bench planes unless the distortion is particularly bad. This sighting with winding sticks in will magnify any discrepancy by dividing the width of the board into the length of the winding sticks for sighting purposes only.
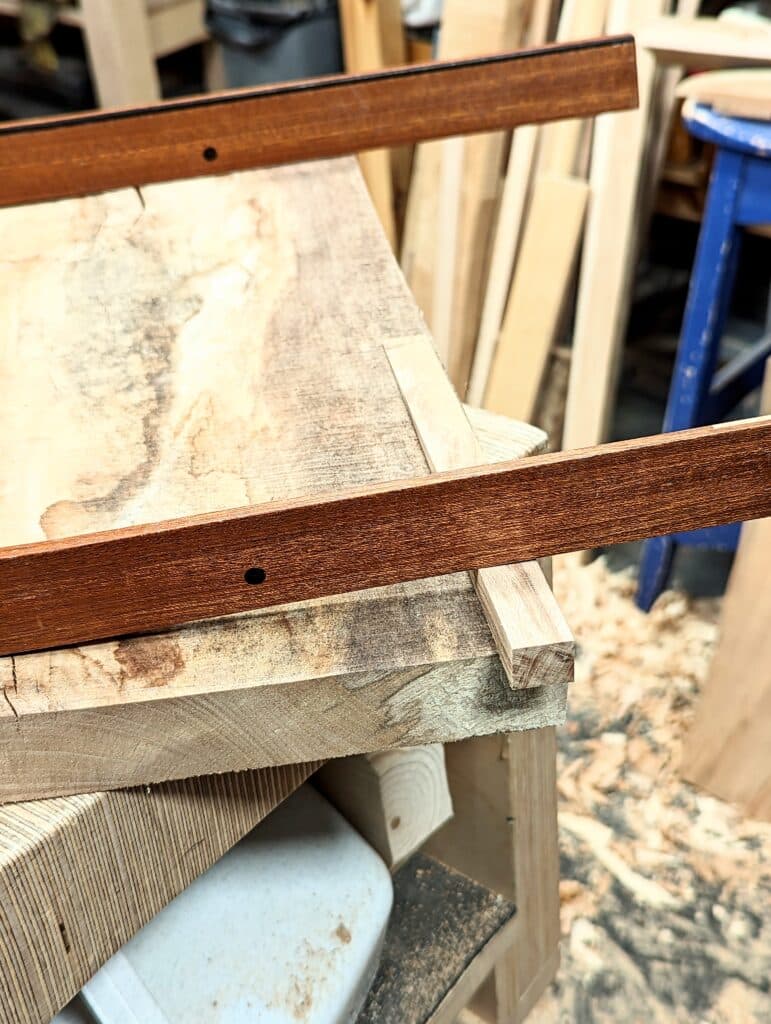
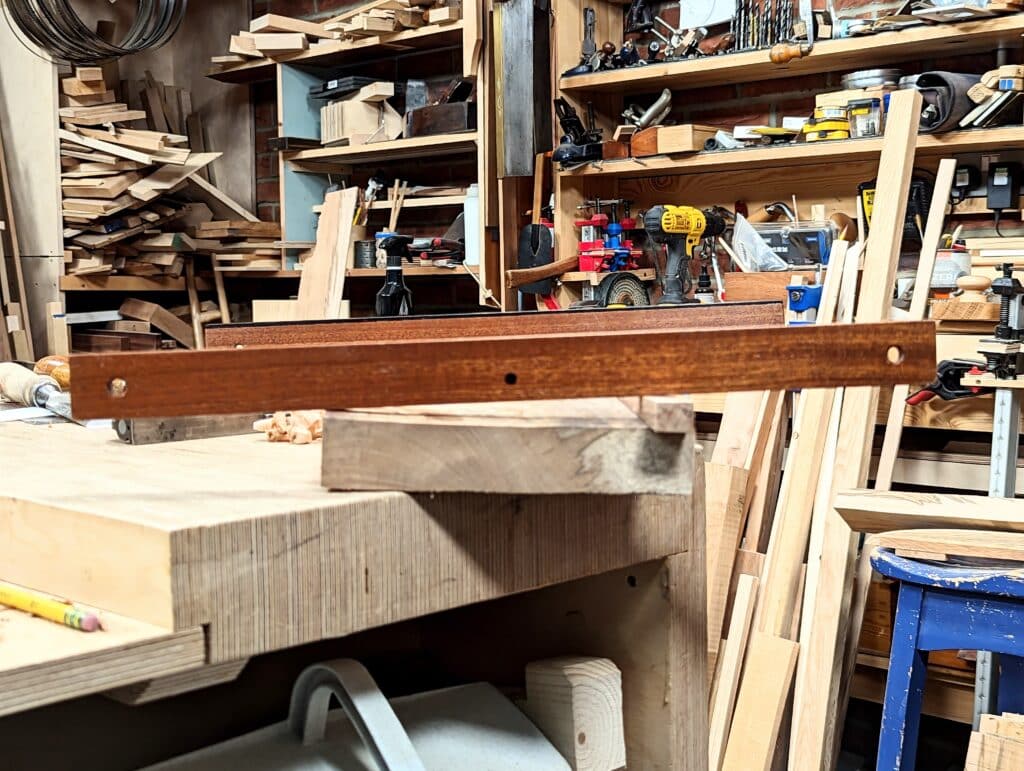
By shimming one of the winding sticks until the twist is eliminated sightwise, and then dividing by two, you will determine how much wood you will need to remove from corner to corner to deliver a flat board. That’s how winding sticks work. I slide a wedge under one of the winding sticks and slide it in until the winding sticks show coplanar levels.

Use the vernier to give you a dead-on reading.
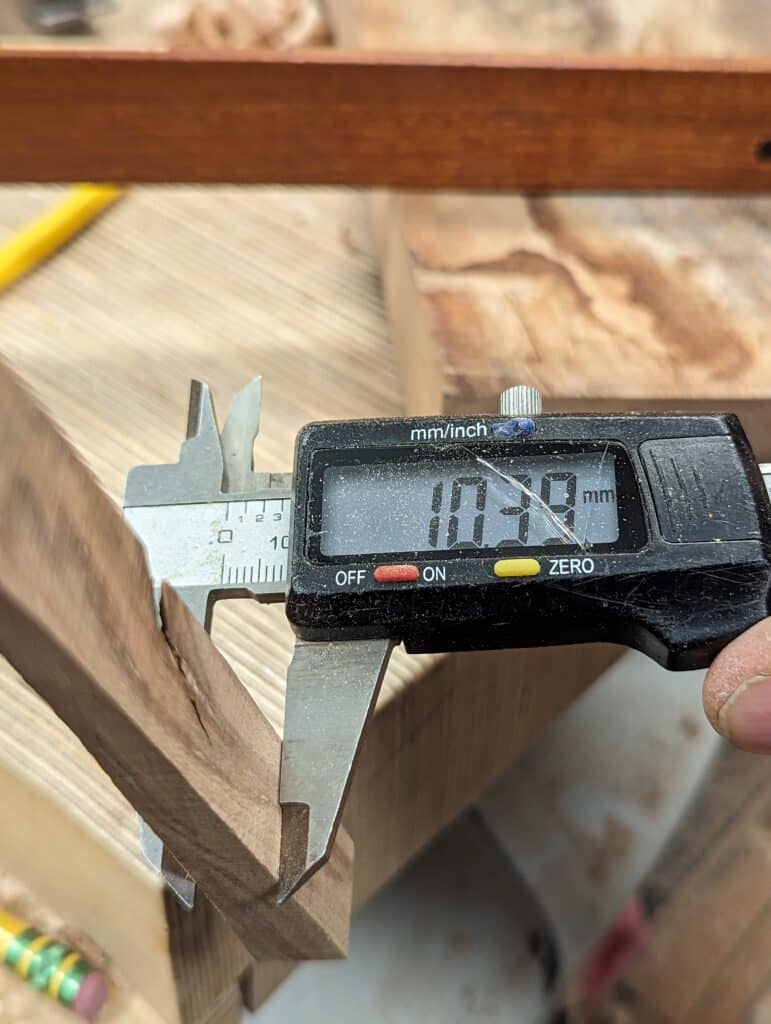
If you take that divided thickness and cut two sticks the width of your board in length to half that thickness, 5.2mm in my case here, you have two representative pieces of what you must remove.

With the cupped side uppermost, drop two drops of superglue onto the two extremes of the board at the corners or near to.


Squirt some accelerator onto the stick and press it onto the face over the glue. Do the same at the opposite end.
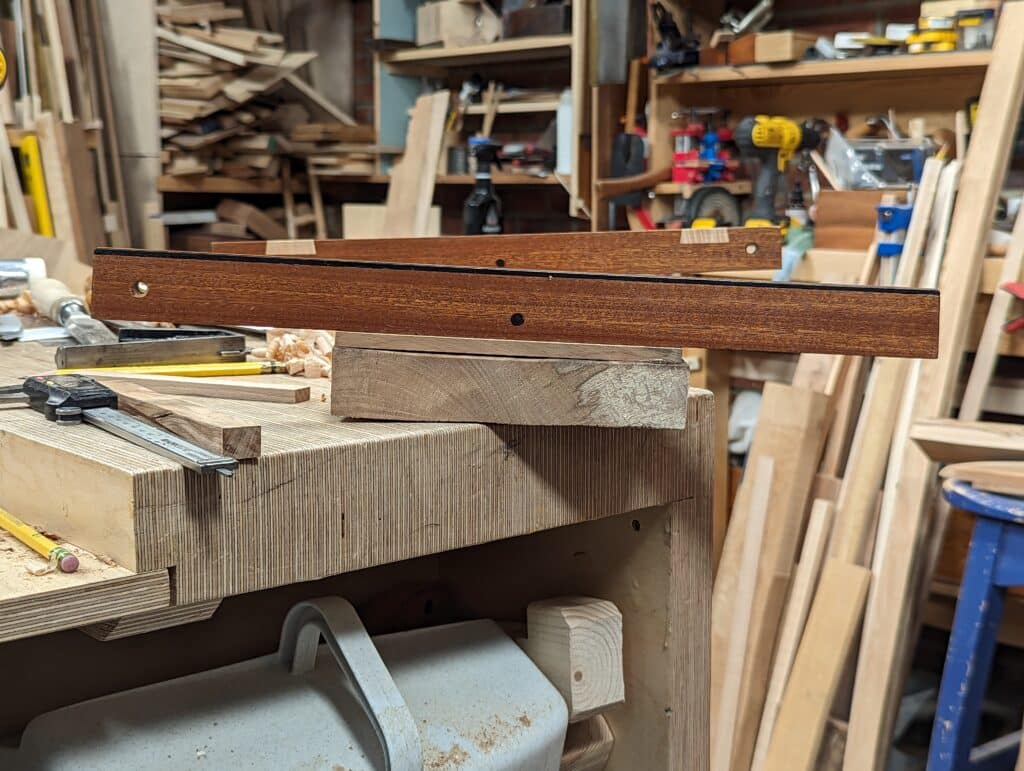
Now set your winding sticks in place and check that the twist is still the same just in case. Whatever difference you have, use a wedge wonder one of the winding sticks to establish a difference and measure the wedge with calipres for accuracy.
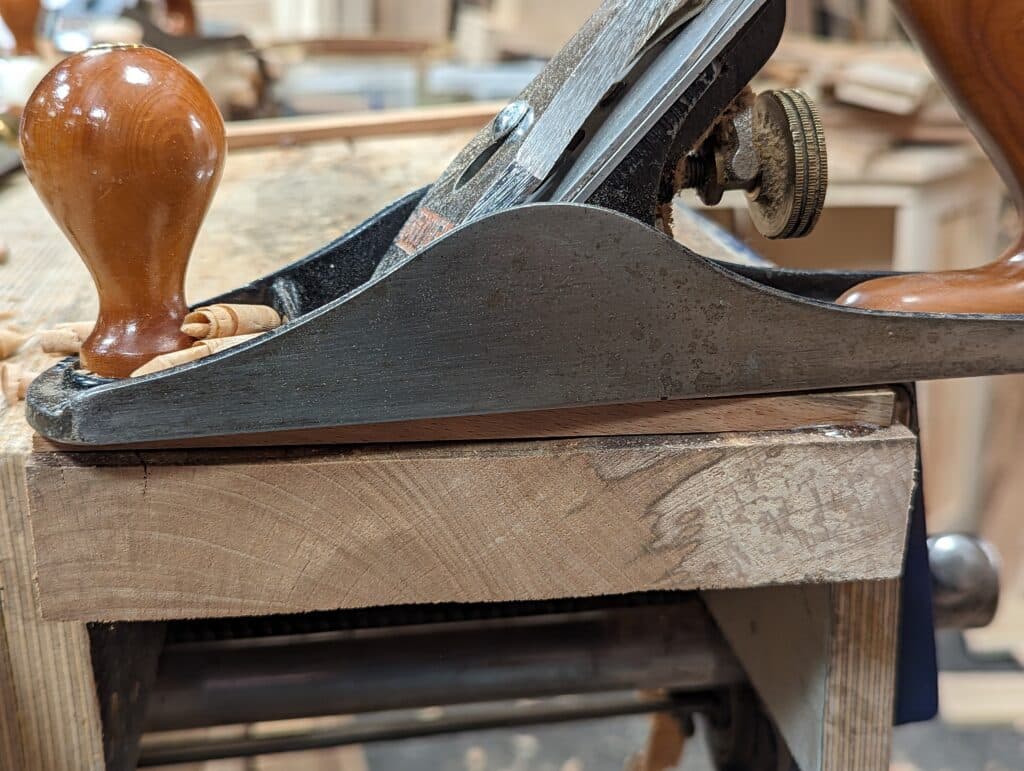


You can now plane the sticks down at each end to establish a flat and true plane between the two sticks.
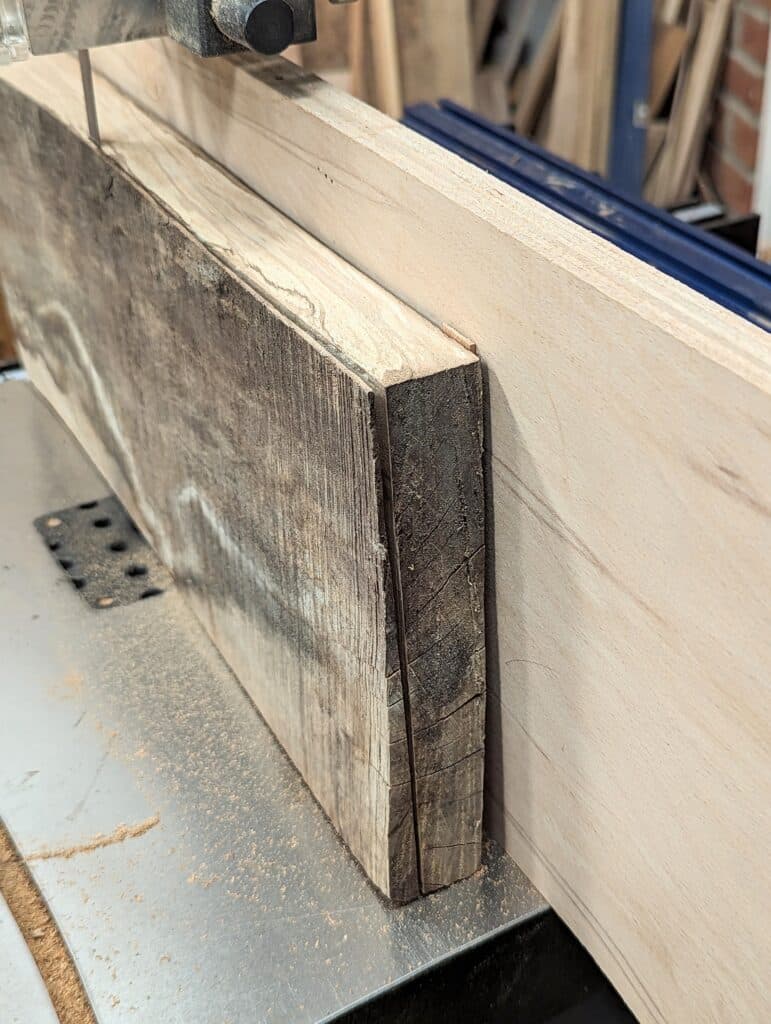
Once established, you pass the board into and through the bandsaw blade either with a shallow pass to establish flatness on the nearest face to the bandsaw blade or a maximum thickness taking into consideration the final thickness of what you need. Either way works

You can now either turn the board around and take a second bandsaw pass according to the desired thickness or plane up that face for smoothness and then take a parallel cut using the new face as the registration face.

I planed up my first bandsawn face and used that against my plywood fence cutting off the wedged or inclined shims all in one.
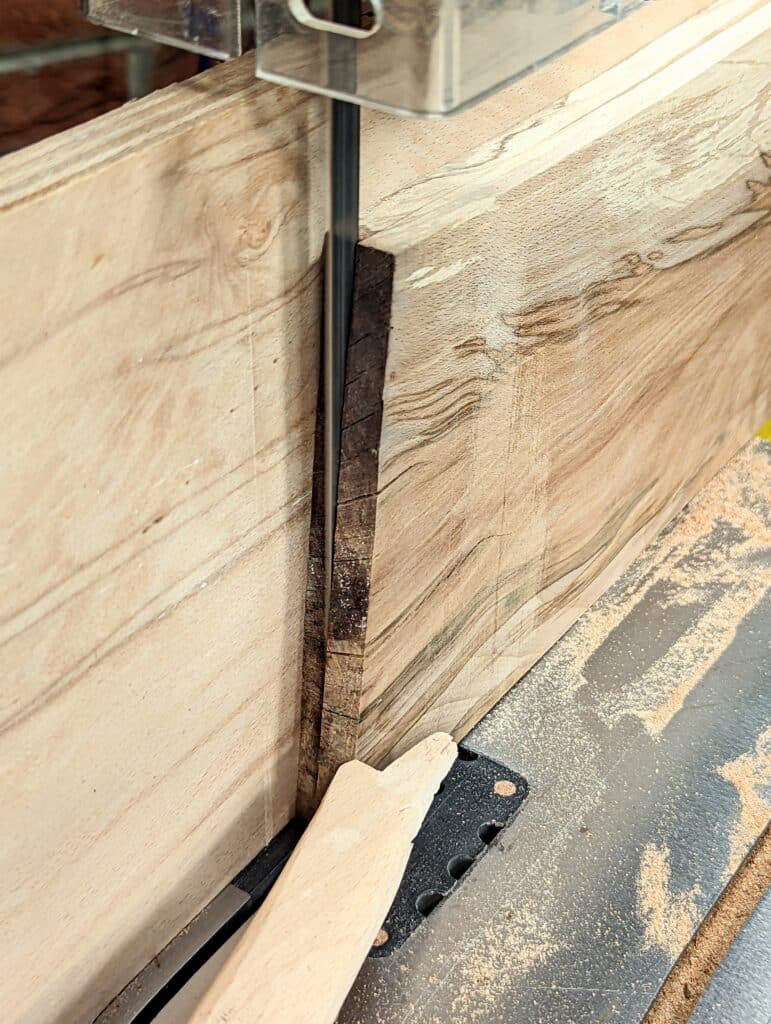
To make a bookmatch I simply cut down dead centre.

Remember that this piece of wood was pure scrap and of no real value until…

The outer face is on the left, the outcome on the right.
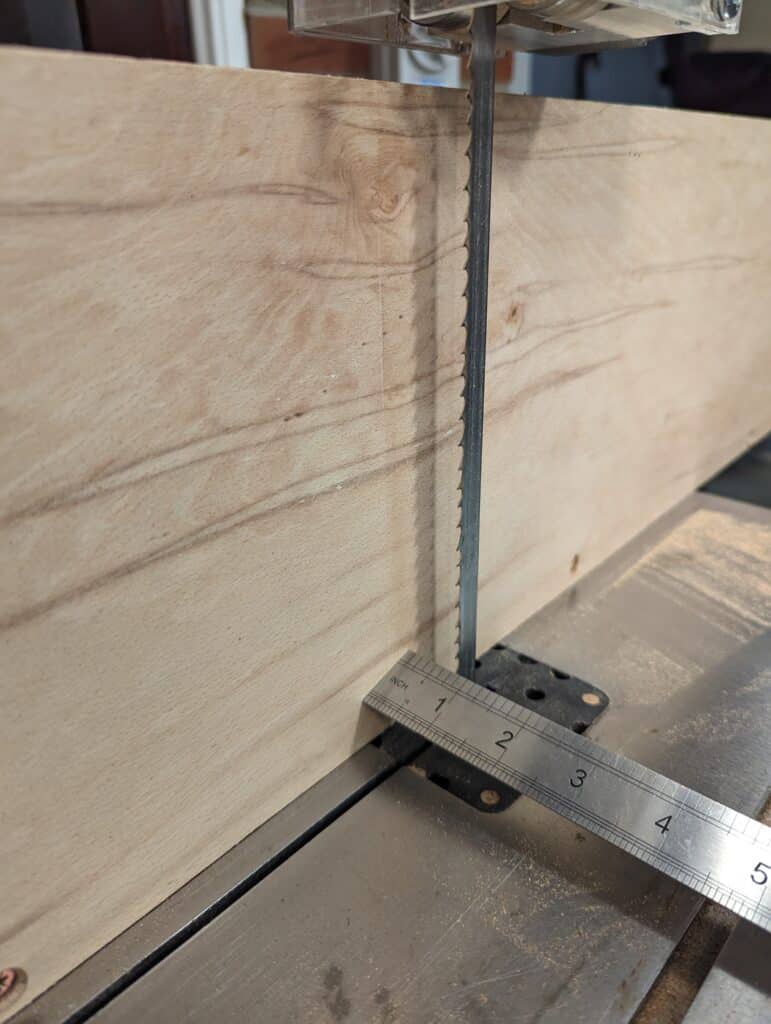
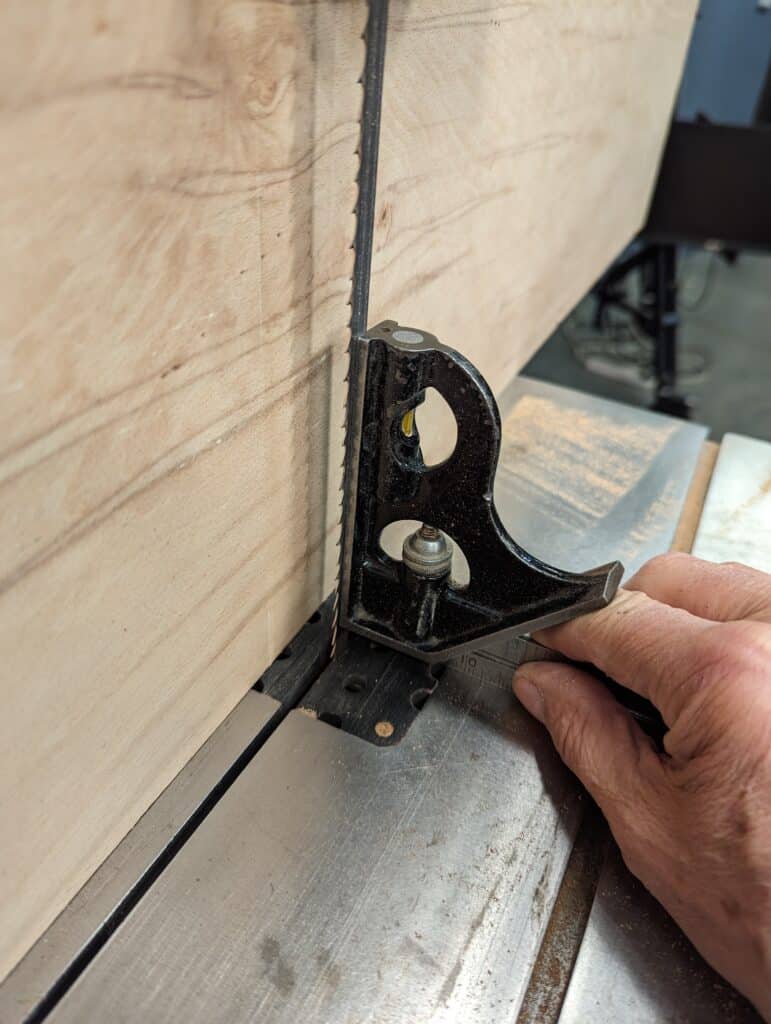
It’s critical, obviously, that the new highrise fence is square and straight and that the blade of the bandsaw runs parallel to the blade vertically. Tilt the table to establish this if necessary and you can check by measuring top and bottom from fence to blade.
