If you’ve followed me for a while, you know that I love two things: toys and customizing my home to display toys. Really, it’s all about making your home work for you. I recently came across several of my favorite childhood figures and really wanted to display them in a spot where I could see them all the time. What better place than my shop door!
Destroying My Door
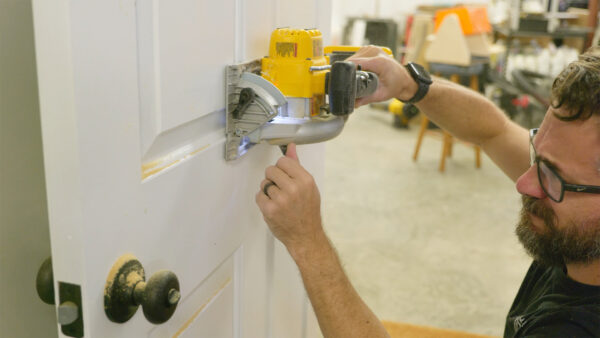
I started by measuring and cutting a large square hole in my door. I tried my best to keep the door structurally sound, since it is a hollow core door and there’s not much to the middle of it. It did end up bending a little bit, but luckily it doesn’t affect the display at all.
Next I decided to include LED lights coming from the sides and the top to illuminate all of the figures. I used some extra cabinet lights that I had lying around and they fit perfect in the spaces around the door. It took a bit of time to get a power supply wired up for them and run it down the inside of the door, but it worked great.

Building the Box
In order for the light to shine through, the walls needed to be semi-transparent. I cut quarter-inch plexiglass for the sides of the box, cut dados along them for the shelves, and sanded them so that the light would reflect a little more, giving it a frosted look.

I also have found that using a special plexiglass and plastics saw blade makes cutting plexiglass WAY EASIER than using a normal blade. I highly recommend it if you’re doing a lot of cuts like this.

I added an MDF backboard to the box and added some PVC trim around the front to hide the box sides and give it some character. After painting the backboard for a bit of color pop, it was really turning out nicely.

Finishing Touches
I wanted to make sure that the figures wouldn’t fall down as I open and close the door, so I looked for a way to add small pegs into the shelves that match the holes in each figure’s feet. First I tried laser-cutting some acrylic rods but the heat of the laser deformed the ends too much. The bandsaw made quick work of it without any deformation.

I used acrylic cement to bond the shelves with a structural brace below each one, as well as to attach each post to the shelf. I also 3D printed some custom LEGO stands for the minifigs that would also be on display. And with that, it was done!


I really love seeing these things all day. Projects like this constantly remind me of why I do this: to use my creativity enjoy the things I love every day. It was a blast to break these figures out. I will undoubtedly enjoy this project for a long time.