I need to move the milling machine to a new location but given that it is over 60kg it is not an easy task. When it arrived it was full assembled and came on a large pallet but that made it very difficult to move. So I decided that it would be best if it was split into pieces for transportation. It will mean I will have to ensure everything is correctly aligned when re-assembling. The key thing will be making sure the 3 axis are perpendicular.

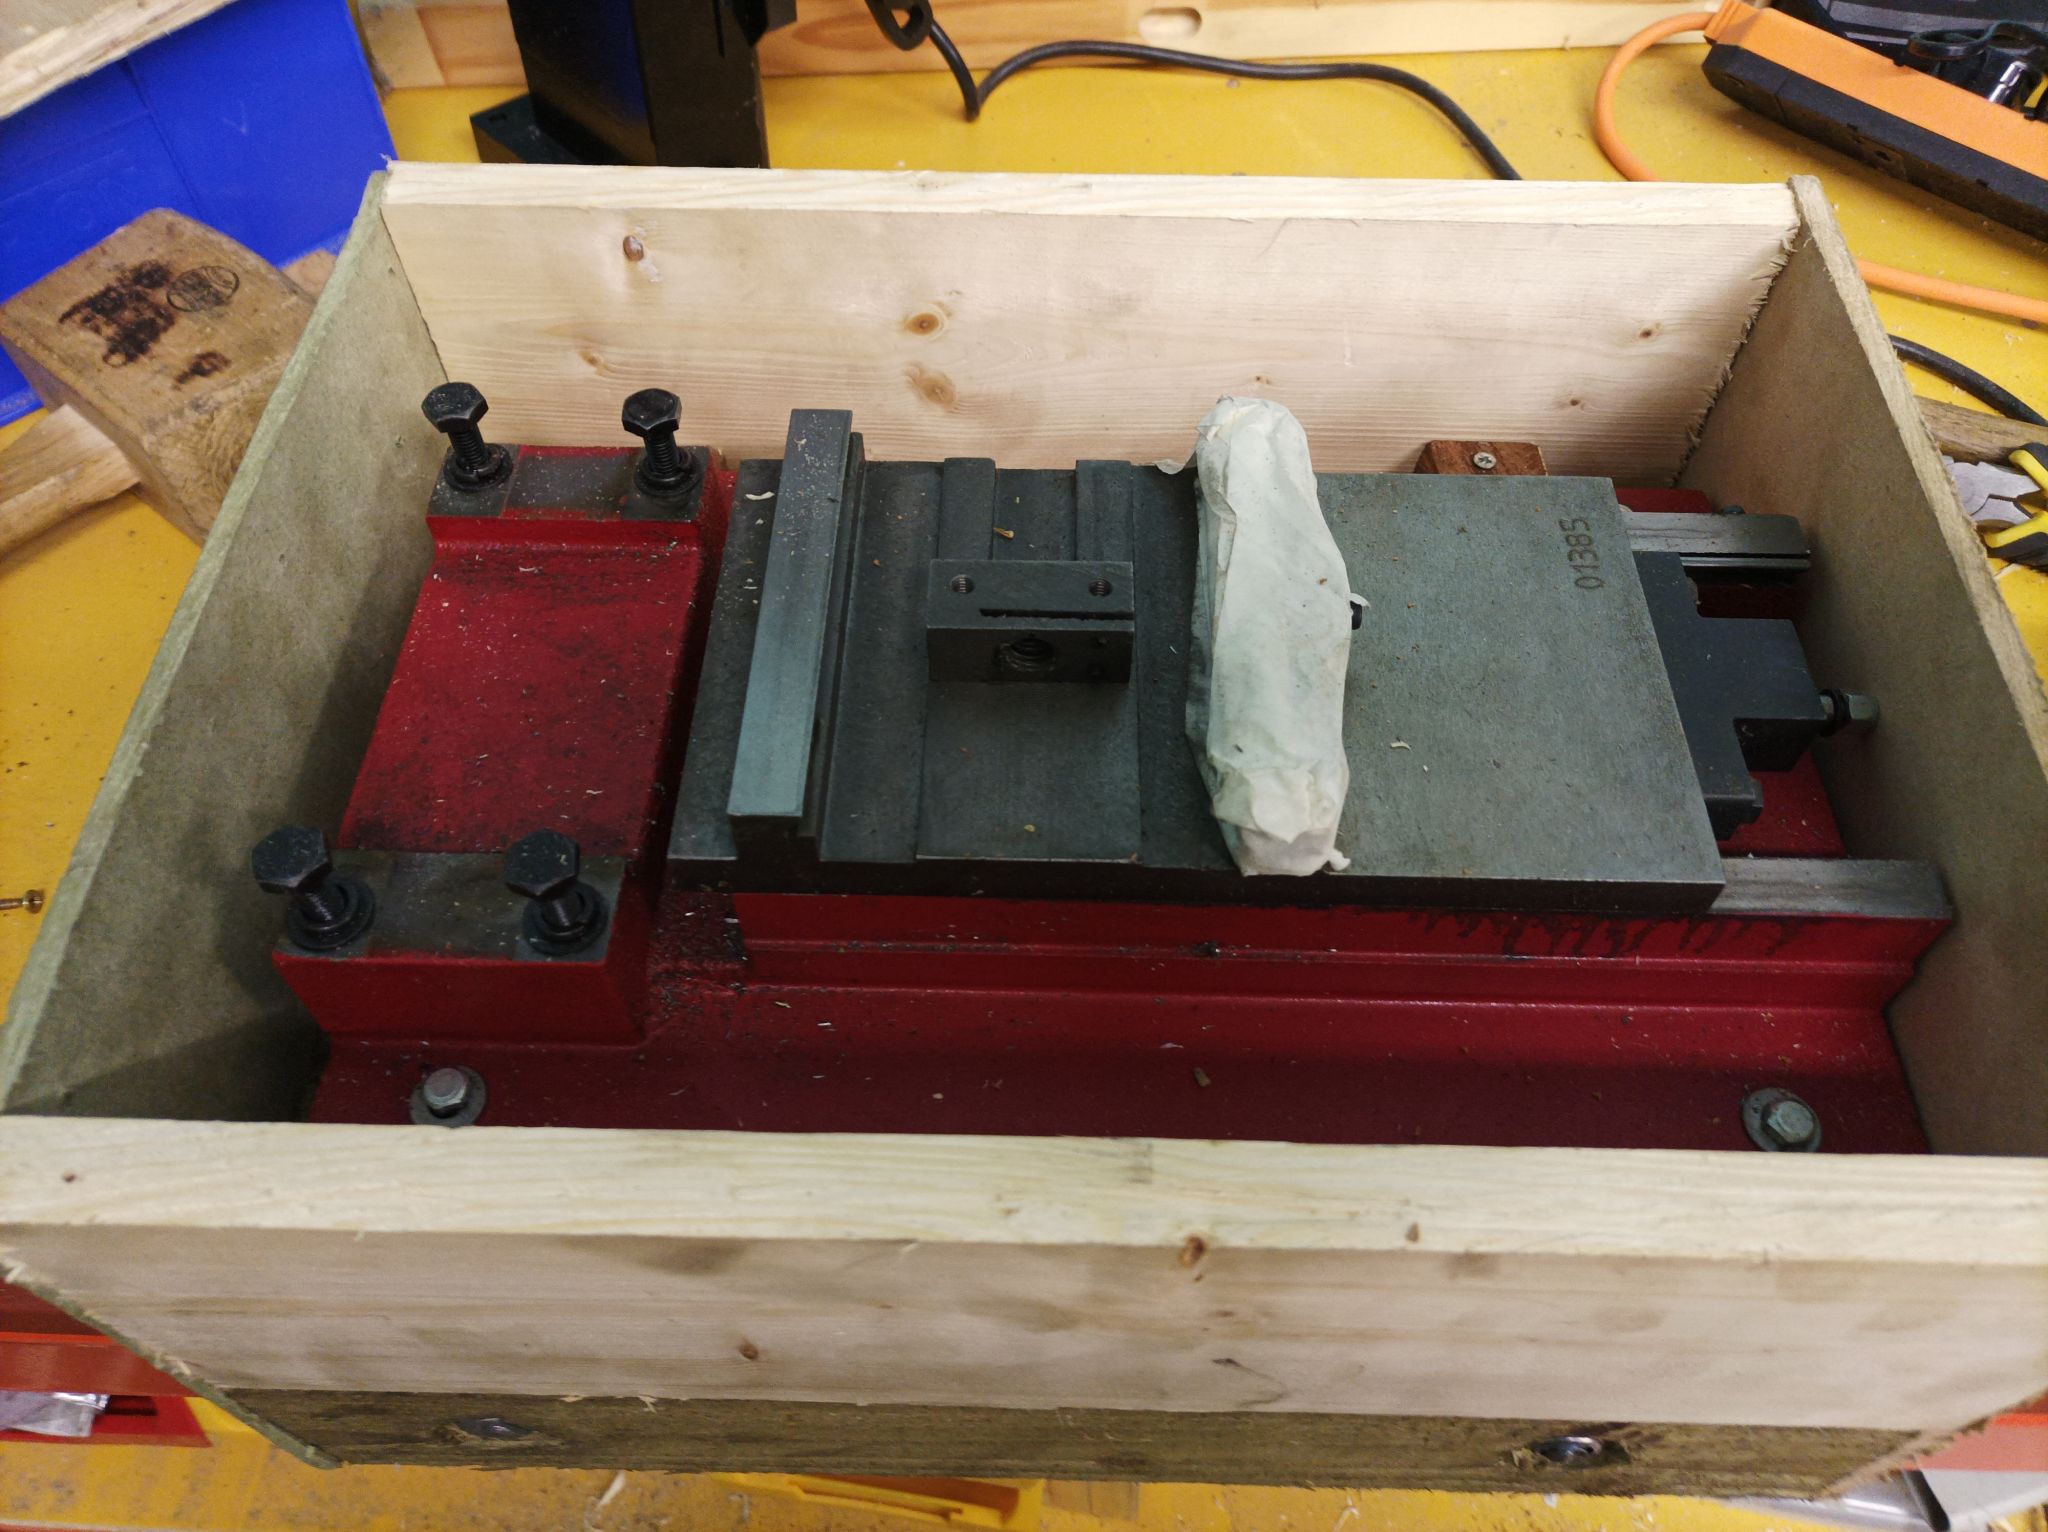
After removing the vice, the next part to be removed was the x-axis table. That can be simply wound to the right to remove. There is a gibb strip which stops the table from twisting so that was taped in place so it doesn’t get lost.
Once the table was removed the handle was taken off and that was the first part to be packed. Simply wrapped in a thin foam sheet and put in a box.
The y-axis was wound as far back as possible and the handle was removed from that too.

Next to remove was the vertical axis, this is held with 4 bolts. Before removing, I realise it would topple forward if not supported so I added some blocks of wood and lowered the head to rest on these.

I loosened each bolt in turn before removing them one by one. Once the two parts were separated I replaced the bolts so they would not get lost.
The existing base had some metal rods poking out the sides so I counter bored these and cut the rods flush. This allows that wooden base to form part of the case. Two planks were sawn to length to form the next two sides and small spacers were added so they couldn’t be pushed inwards.
6mm MDF was cut to form the ends. And then screwed into the sides and to the base.

Finally some 9mm ply was added to form the top. You might have guessed by now that I’m using offcuts to make the crate. The top was part of an old pallet and was selected as it was nice and sturdy. I’m guessing that as the box is heavy and has a flat top, it will likely have things stacked on top of it. I’ve also trimmed this flush so the lid isn’t used as a handle.

The last part is a work in progress but so far I’ve made a cut down mini pallet for it and have screwed blocks to it, to provide supports and to stop it from sliding around. More on that next time.

 Posted in:


