Yet Another Frame In-Progress

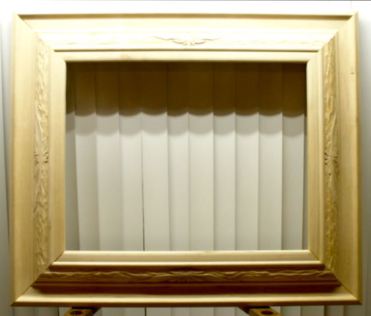
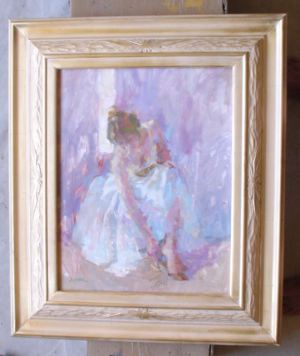
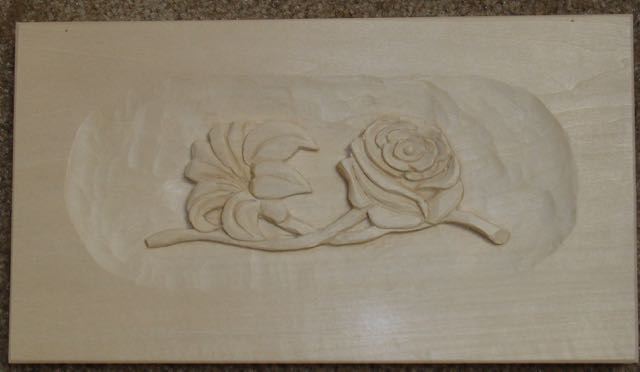
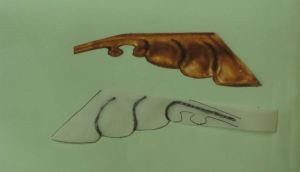
At this point, over half the frames made prior to our Scottsdale Adventure have been carved and gilded.  You may recall that before Diane and I left Las Vegas I had prepared about a dozen frames from the moldings we bought at Foster Planing Mills seconds area.  They are a minimum of 3-3/4″ wide with a rabbet suitable for a canvas.  We’re enjoying our adventure here and are even considering a move from Las Vegas!  There is a thriving art scene here that is centered around the Scottsdale Artist School where Diane has made many connections with like minded artists.  Although my first love is designing and creating one of a kind furniture pieces, carving and gilding frames is …

Final Frame for The Show

Stepping Outby: Diane Eugster This is the final frame for the upcoming show at the Meyer Vogl Gallery in Charleston, South Carolina. Diane was invited to participate in this show a few months ago. This frame is the one from my previous blog called the Water Lily Frame.  This picture shows the painting “Stepping Out” in the frame.   I have to apologize for the quality of the picture, we just don’t have a good spot in our temporary Scottsdale apartment for taking them.  I’ll talk more about the final steps leading to the completion of this frame but first let me tell you about this show. I have no problem admitting that I’m Diane’s biggest …

Mary May Carving Project: Rose & Lily

Carving, let’s talk about it!  My main focus in carving at this point is for picture frames.  That means they need to be fairly low relief and able to be gilded without the leaf faulting too much and showing the sealer undercoat.  A little of that is good as it replicates age but too much of that is crude.  All that being said, when I carve my goal is to keep the carving low relief while still trying convey a lot of depth.  Here’s a recent example taken from a Mary May Carving School lesson: The depth on it is about 1/4″ and I’ll be the first to admit that it wasn’t easy — stressful actually.  …

Picture Frame Carving Tutorial: Part 2

Now that the general outline of the frame has been carved it’s time to separate and model the leaves to give some life to it.  Although I drew those separating lines in my initial steps it’s better to do them after the general outline is complete.  The reason is to compensate for variations you may get as you define the outer edges.  This has been discussed before but now it’s my definite method to transfer designs.  It starts by gluing half of the pattern on a flexible piece of plastic (salad containers, etc.) so you have a fairly stiff piece that can be registered on the frame and drawn around.  I talked about that in Part 1 …

Misericords: Carpenters, Benches and A Few Other Things

16th c., Church of St.-Germain, Presles, France In this last post on misericords there are carpenters, benches, axe men, one holdfast, one really old misericord, a measured drawing (!) and rabbets  rabbits. One of the fascinating things about misericords is how the craftsman chose to position his subject on these tricky pie-shaped hunks of wood. In the example at the top the viewer is looking into a small shop created under the bracket. By placing the carpenter behind the bench the details of the bench can clearly be seen. Late 16th c., Church of St.-Andre, Besse-et-Saint Anastaise, France. This older misericord with more wear and tear was done by a lesser-skilled hand. Although…