Quite often, I need a wider board than what I have available. Usually, that means gluing up two or more boards edge to edge.
Since, in this situation, I am usually making a highly visible part such as a table top or cabinet side, I am very careful to match not only the grain pattern of the neighbouring boards, but the exact colour shading as well.
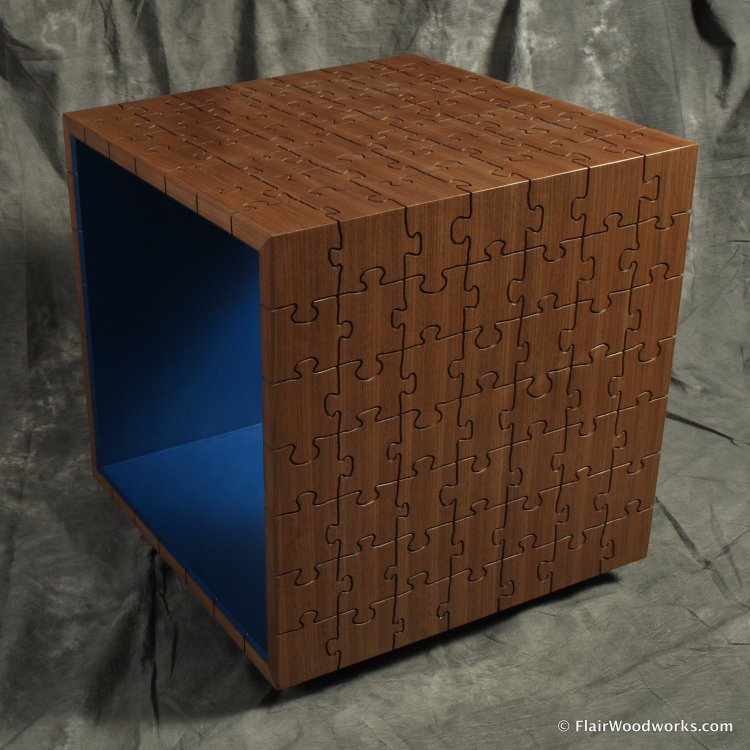
The surface of this box is comprised of between 8 and 20 strips edge-glued together. I honestly don’t remember how many strips were used, and they were assembled in such a way that the seams aren’t distinguishable.
It’s a very time consuming process, as I need to flip, rotate, slide and shuffle the boards every possible way to get the best match possible. In some cases, I need to trim boards narrower or taper them to get a better match.
With two boards, it’s not too slow of a process (there are only 16 different ways to match them if you don’t count sliding), but each additional board adds more combinations.
Once I have the boards arranged best, I draw a cabinetmaker’s triangle across them to clearly indicate the optimum alignment. Then I joint the edges, testing the fit as I go, until I have a light-tight joint ready for glue-up.
While I haven’t actually timed these processes, it seems as if I spend more time preparing the joint as I do arranging boards. This means that putting together a 5-piece table top can take upwards of 3 hours.
Some woodworkers simply accept that fine work takes time, and are content to keep doing things the same way. I, on the other hand, am always looking for better and more efficient ways to get work done. It came to me that, with the right tools, I could drastically reduce the amount of time required to prepare edges for gluing.
This video walks you through my thought process, the tools and techniques I use, and why they work. Duration: 8:02

![]()
SOURCE: Flair Woodworks – Read entire story here.