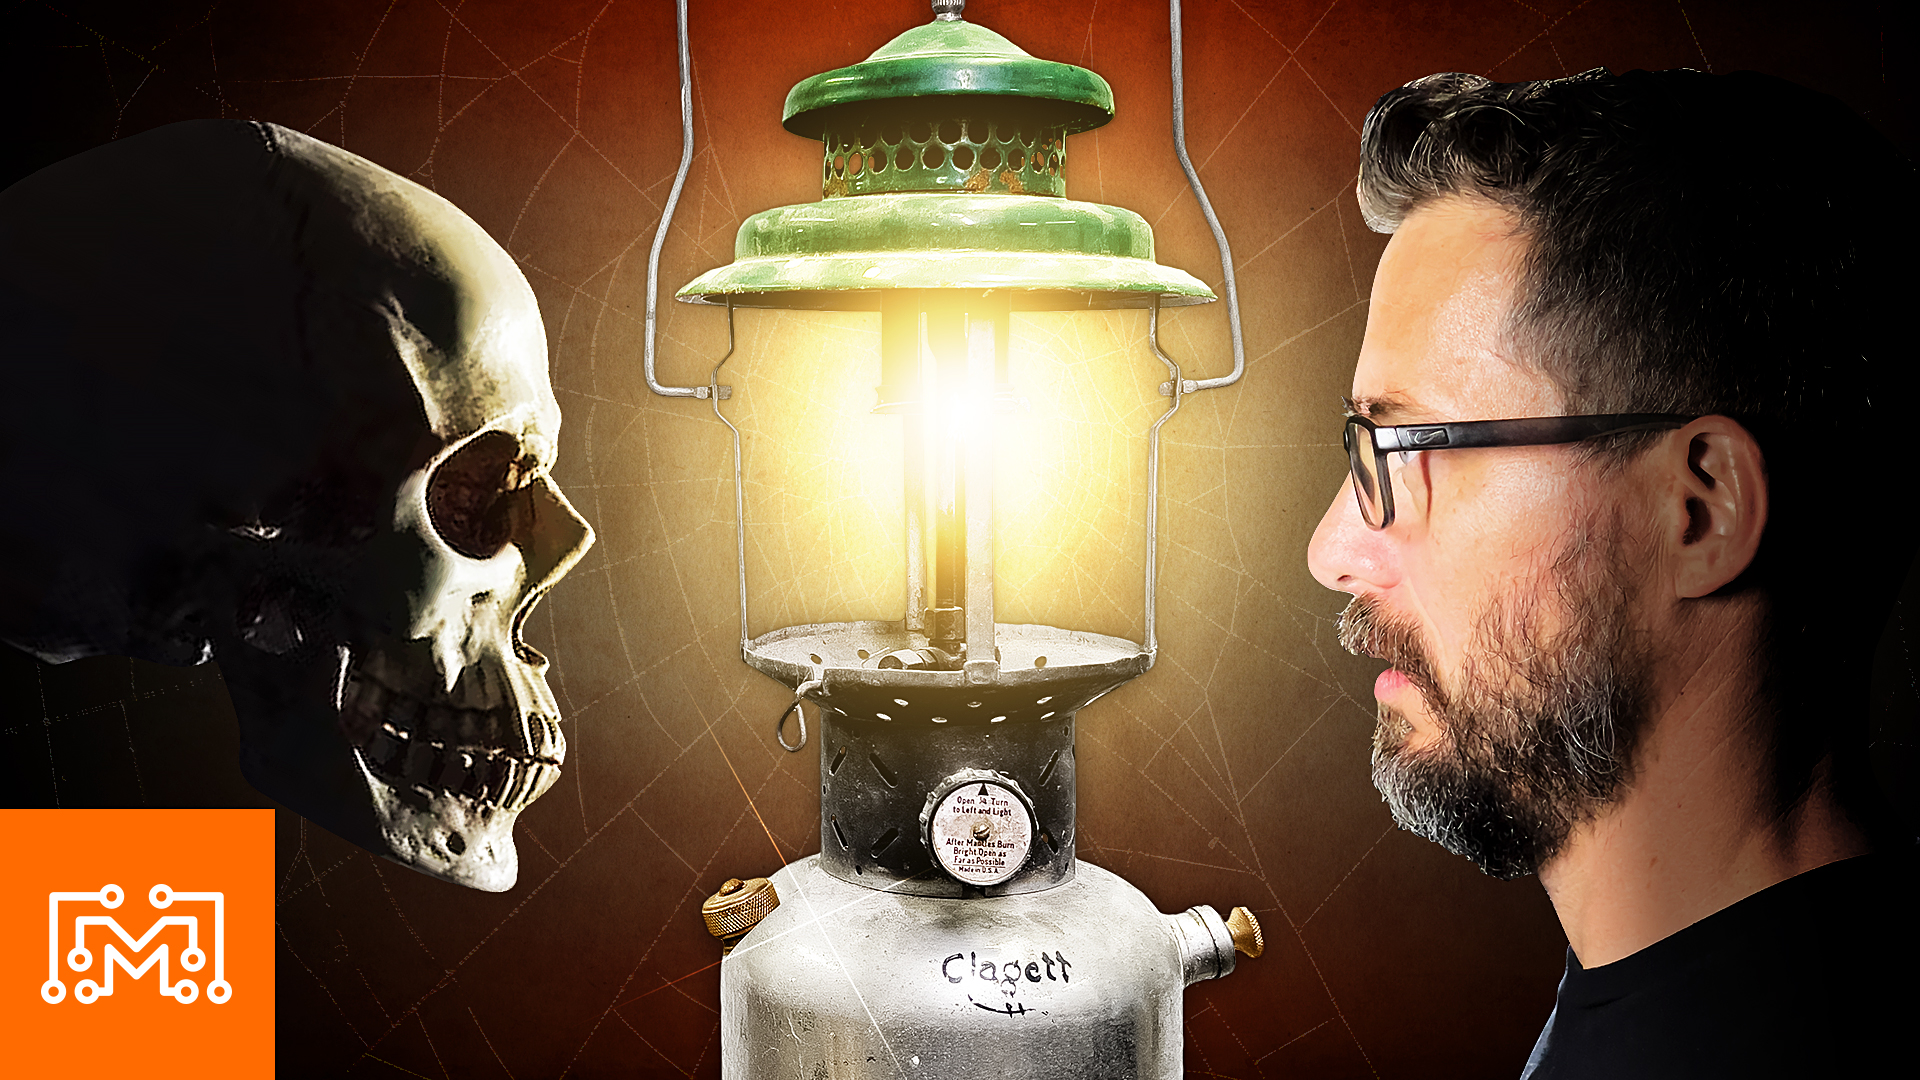
I found my Grandad’s 75 year old camping kerosene lantern – can I restore it?
When we moved into my grandparents house I found a few family treasures that were his – one being a 75 year old kerosine lantern. It’s been floating around my shop for a few years and with our summer being spent outside, I wanted to have this lantern up and running for summer.
- Clean the Lantern
- Kerosene Container
- Adding Electronics
- Electronics Buttons
- Rotary Encoder
- SUMMERARDUINO15
- Final Lantern
I started by giving it a really good clean. I didn’t want to make it look brand new or modernized, but just shine it up a bit. Before getting into cleaning, I had to safely remove the kerosene and burn it off in a controlled environment. I also made sure to safely clean out the canister that held the kerosene. To clean the entire lantern, I used rubbing alcohol, sand paper, steel wool, and shined it up with Brasso.
It was important to get the kerosene canister completely cleaned out because I cut out the bottom to fit in a lid. That canister is holding the battery and Arduino that’s going to power the entire lantern. I tried using a sheet metal bit for the jig saw but that proved to not be the best option, I tried a Dremel and that wasn’t it either, last option, I used a grinder and it worked exactly as I needed to get that bottom out. I used a half inch piece of ply wood to cut a circle that would friction fit in the canister as a lid.

I needed to use a USB battery bank to run all the electronics going on in the lantern. I added a USB to USB adapter that I fit on the outside of the canister to easily charge the battery bank. Also fitting inside the container is a Bluetooth amp. It’s a super simple system where I can plug in a few speakers into the back of it and wire it directly to a USB port for the battery bank to give it juice. For the LED’s for the lamp potion, I’m going to has an ESP module – kind of like a small Arduino with wifi enabled – it’s also plugged into the USB port so that it can have power too. There will be plenty of power for everything to be controlled and by cutting out the bottom of the kerosene container, it’s all removable for any adjustments.

By adding all the electronics, I knew I was going to have to add in on and off switches and different buttons. I wanted to keep the lantern looking as original as possible so I was able to use different components already on the lantern. I used a screw cap where you would pour in the kerosene as the volume knob for the Bluetooth speakers. On the opposite side there’s a hole that had a plunger that was used to pressurize the kerosene. I was able to use that plunger as a button and knob to control the brightness of the LED’s.

For the light, I used a simple strip of LED’s, one microcontroller, and one small piece of hardware called a rotary encoder. Basically it’s a knob that you can turn but instead of it just being a smooth turn, it’s got a click but it’s also a button. You can use those things together to have a more complex way to interact with your electronics projects. This is the first time I’m using this component and I’ve really liked it.

I also wanted to point out that if electronic projects like this are intimidating, we have our Arduino for Makers course that can help to teach you everything about Arduino and electronic related projects. Right now, we have a 15% off coupon code – SUMMERARDUINO15

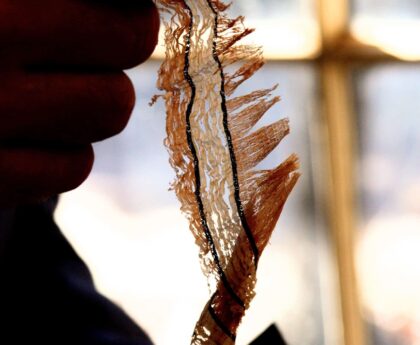
With every knob glued in place and the electronics wired up, I added some frosted vellum to the lighting portion so that it would diffuse the LED’s smoothly. Once that was complete, it was time to try it out. It turned out pretty cool and now has many more years of life on it.


