It’s been a while since I’ve picked up an “old tool” and made any attempt at restoring it. Early in my woodworking career it was a great way to outfit my shop with tools I either needed, or thought I needed (in other words, feed my addiction!)
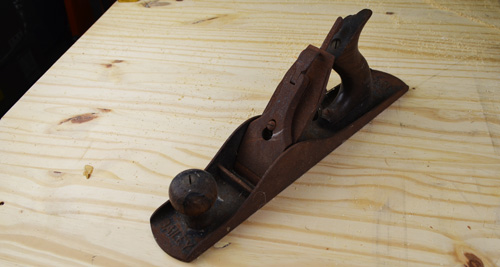
Actually this was sent to me by a friend of the show several years ago!
One problem I ran into frequently was that after I spent hours disassembling the tool (after attempting to document how it was originally assembled so I could reassemble it later,) and then trying desperately to restore it to its original showroom appearance, I inevitably always made the assumption that the previous owner knew exactly what they were doing and then would agonize over why I wasn’t getting great results from it.
Just for the record, the majority of the tools I attempted to restore were flea market/antique store hand tools, and contrary to my own misconception, these were not items picked up from an actual woodworker who created museum-quality furniture.
In reality, they were most likely individuals just like me, or people who had them on hand for the odd job around the house. Once I realized this, it made things a lot easier on myself when it came time to restore my next “vintage find!”
Rather than worrying I was damaging or misshaping the body of the tool for my own selfish purposes, I discovered what I was actually doing quite often was undoing the other person’s mistake. In the end, many times it went from working sometimes, to working all the time.
And the one component I use to agonize over the most, the blade, is now the one I have the least concern of adding my own touch too.
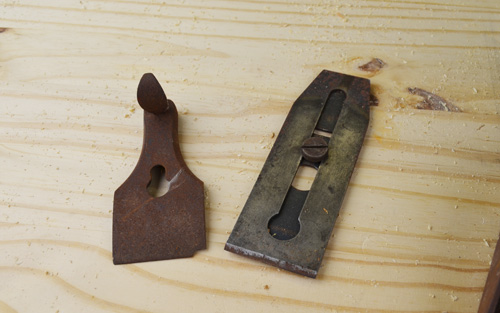
Most original blades are still in pretty decent shape, this cap iron is another story though!
In fact, when it comes to the blade, I do one of two things to it. If possible, I’ll just grind it flat and square regardless of its existing shape, or I’ll just throw it away and buy a replacement one and call it good.
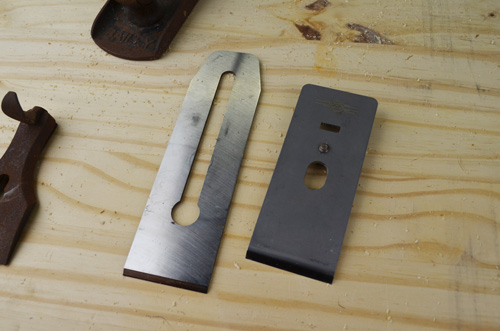
New Hock blade and chip breaker to the rescue
Is this being wasteful? I don’t think so. I have more important things to do versus spending a lot of time trying to replicate whatever the previous owner did or didn’t do, and if the blade just isn’t all that great, why waste the time and energy trying to fix what can easily be replaced?
As I’ve discovered frequently, replacing the blade or reshaping it almost immediately fixes any issue I would’ve run into in the first place. The blade isn’t the only component I’ve considered an entire restart on when I pickup a vintage tool, but it is the most frequent.
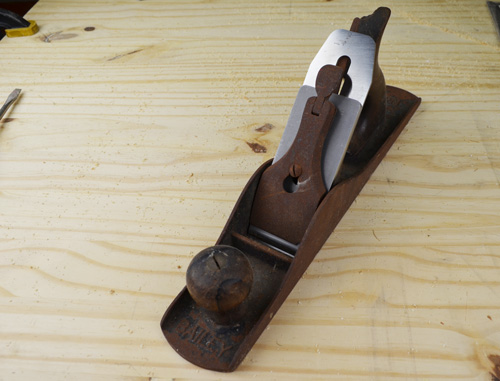
For the record…I’d remove more of the rust than this!
So my advice to anyone who’s picking up “old tools,” with the intention of using them in their shop like I’ve done, is to stop sweating the details and don’t be afraid to do something like grind an edge back to step 1 in the sharpening process.
More than likely you’ll get better results right from the start, or at least the satisfaction that you didn’t spend a lot of time trying to turn a sow’s ear into a silk purse.
If you’re looking for original parts for your vintage planes checkout Bob Kaune’s website www.antique-used-tools.com. And if you’re like me and just want a new blade visit our friend Ron Hock at hocktools.com.
SOURCE: Matt’s Basement Workshop – Read entire story here.


