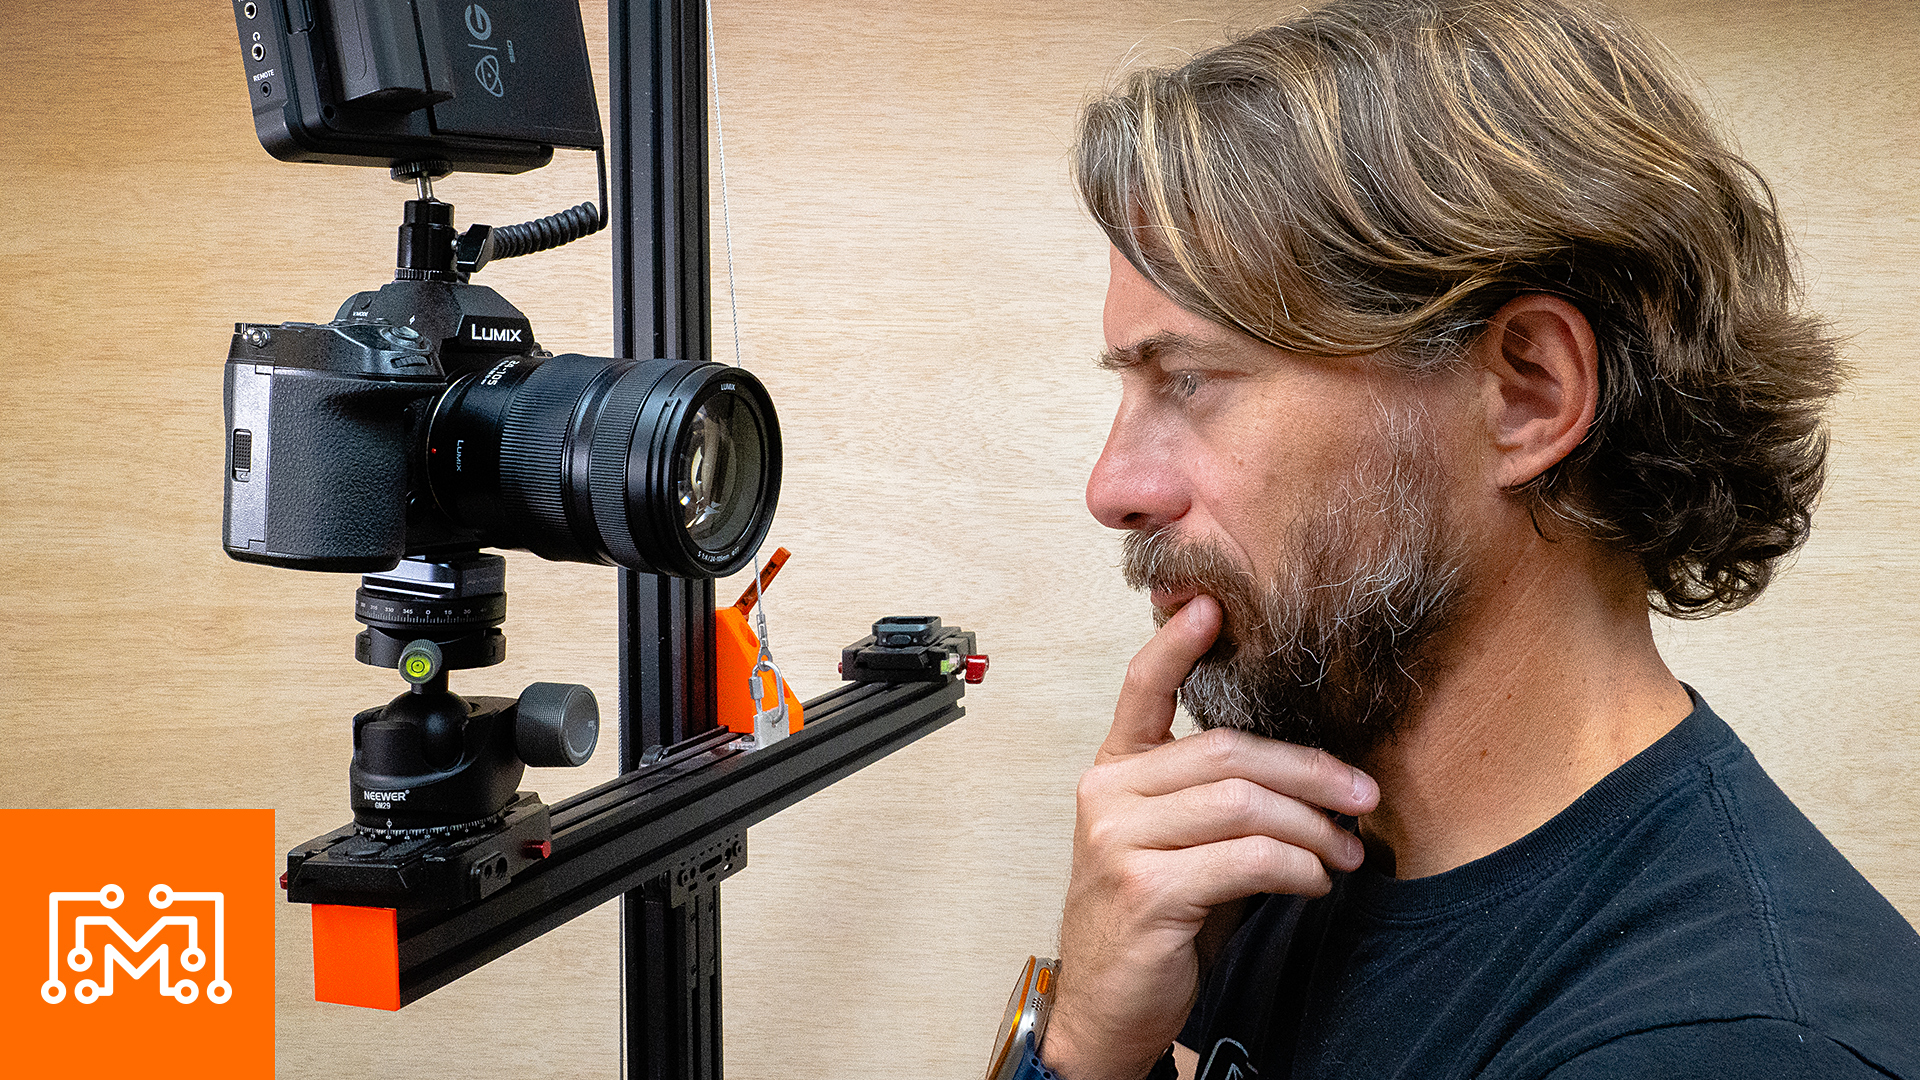
A while back, I built a camera stand for my shop that worked pretty well. It held cameras and lights, moved up and down smoothly, and rolled around the shop. The first version was good – maybe 75% of what I wanted – but I knew it could be better. I don’t usually revisit old projects, but this one seemed worth another look since other creators might find it useful. Plus, I had some ideas on how to fix the wobble issues that had been bugging me.The biggest problem with the first version was stability. Every time I adjusted the camera position, the whole thing would shake and take forever to settle down. The wobble came from two main sources: the wheels at the base and the connection where the aluminum extrusion met the plywood base. I also had some space issues with the base – I was using concrete pavers for weight, which took up a lot of room, and the open storage tray was constantly filling with sawdust. To top it off, the counterweight design was dangerous – it stuck out too far and almost destroyed my camera a couple times.
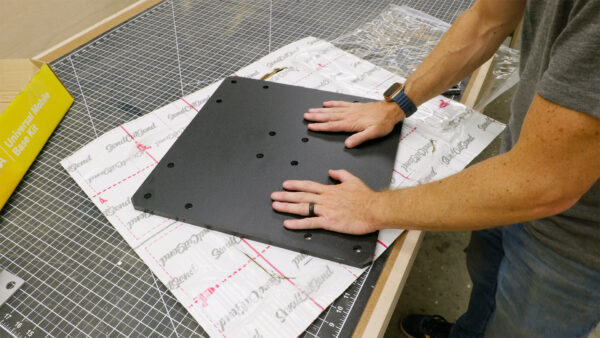 I started the redesign from the ground up, literally. Instead of the old plywood base with pavers, I had SendCutSend make me a half-inch steel plate with all the mounting holes pre-drilled. It’s actually heavier than all the concrete was, but takes up way less space. I also added a universal mobile base with retractable casters, so I can drop the whole thing right onto the floor when I need it to stay put. The combination made the base much more stable and easier to move around.
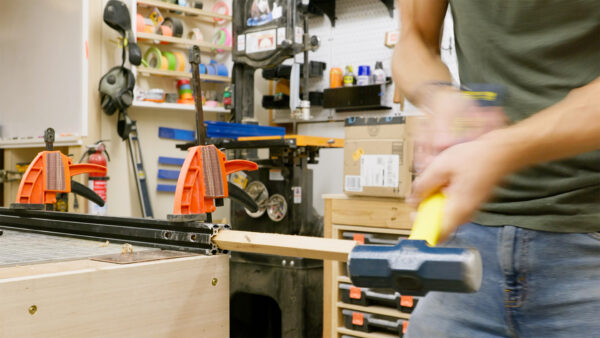 For the vertical post, I tried a few things to reduce the wobble. First, I got a single long piece of aluminum extrusion instead of joining shorter pieces. Then I tried filling the channels with hickory dowels to dampen the movement. That didn’t help much, so I ended up doubling up the extrusion – bolting two pieces side by side. This made a huge difference in stability. The camera still moves when you bump it, but it settles down much faster than before.
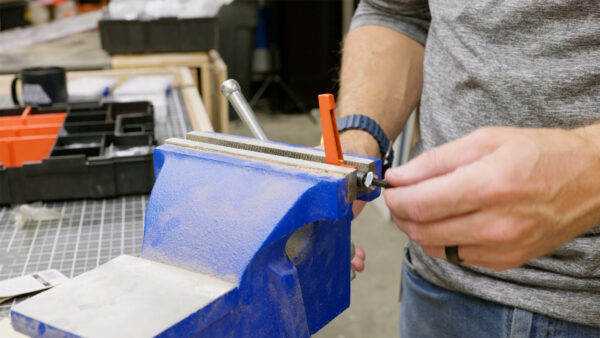 I completely redesigned the counterweight system to keep it from sticking out and threatening my camera equipment. Now it’s just a big piece of steel attached directly to the mounting plate. During this part of the build, I had to cut down some bolts to size, which gave me a chance to share a useful shop tip. When you need to cut a bolt shorter, thread a nut onto it past where you’ll make the cut. After cutting, unscrew the nut – it’ll clean up the damaged threads as it comes off, making it much easier to use the bolt in your project. It’s one of those simple tricks that saves a lot of headache.
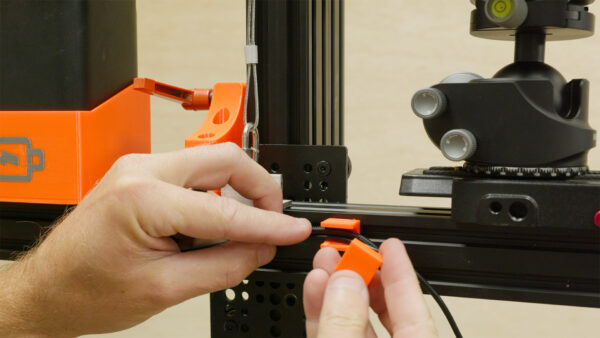
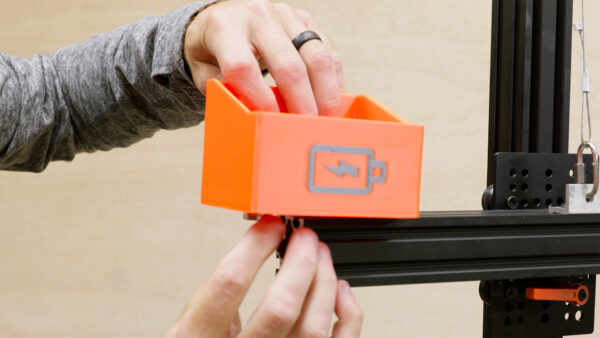 The power system got a complete overhaul too. Instead of keeping all my batteries and chargers in the base, I mounted a battery backup right to the column. It can run both the camera and monitor via USB, plus charge other accessories. Managing all those cables could have been a mess, but this is where having a 3D printer really paid off. I designed some custom cable clips that slide into the extrusion channels and hold everything neatly in place. Being able to create custom parts like this whenever I need them has changed how I approach problem-solving in the shop.
 This whole project got me thinking about why learning to use CAD software like Autodesk Fusion is so valuable. Every custom part on this build – from the cable clips to the battery mount – started as an idea that I could test and refine before printing anything. When you’re working on projects like this, being able to design and print custom parts saves tons of time compared to trying to modify off-the-shelf solutions or make everything by hand. It’s become such an important part of my workflow that I actually created an online course to teach others how to use Fusion, especially folks who’ve never done any 3D modeling before. If you want to learn more about learning to 3D model for your own projects, check it out here.
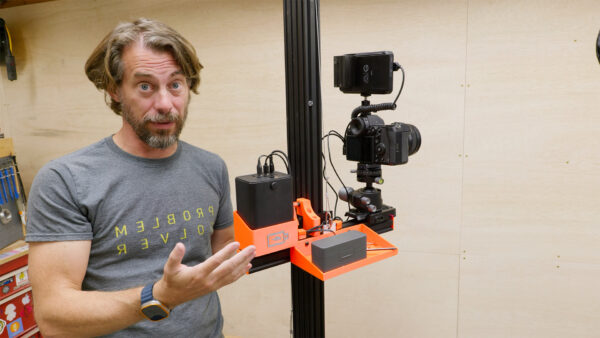 The new version isn’t perfect, but it’s definitely better than the original. If I were to build it again, I’d probably start with bigger, thicker extrusion or maybe even use steel tube for the vertical post. But all these small improvements added up to make something that works better than before. Sometimes that’s the key to improving a project – not one big change, but a bunch of little ones that solve specific problems. The stand is more stable, more functional, and less likely to destroy my expensive camera gear, which makes it a win in my book. And best of all, I learned some new tricks along the way that I’ll definitely use in future projects. Thanks for hanging out with me, now go make awesome stuff!
