As a woodworker, having a functional and efficient sanding station is crucial. But my current setup was a mess – sanders stacked haphazardly on an old failed project with terrible dust collection. I set out to build a custom flip-top cart that would organize my tools and make sanding easier. There are A LOT of videos of flip-top tool stations, but I think I’ve found at least one improvement that I haven’t seen before.
Constructing the Base
I started by cutting plywood pieces for the cart base and sides. Using wood glue and screws, I assembled them into a simple open box shape. Don’t forget—if you don’t have clamps to hold two boards in place for butt joints, you can also brad nail them in temporarily and then follow up with screws.
To make the cart mobile, I added my absolute favorite heavy duty stepdown casters on the bottom so it can roll smoothly around the shop when needed but also sit flat on the ground when I need it to be stationary. I use these on all of my carts and I HIGHLY recommend putting them on shop tools that need to move around.

Integrating Dust Collection
I really wanted to make sure that the dust collection could reach each tool easily. By storing the shop vac inside the cart, I could easily cut a hole for the hose to reach to the top for the fixed tool above, as well as being easily available for whichever tool is displayed on the flip-top side. This setup really makes it easy to swap the dust collection as I’m working and keeps everything convenient and out of my way.

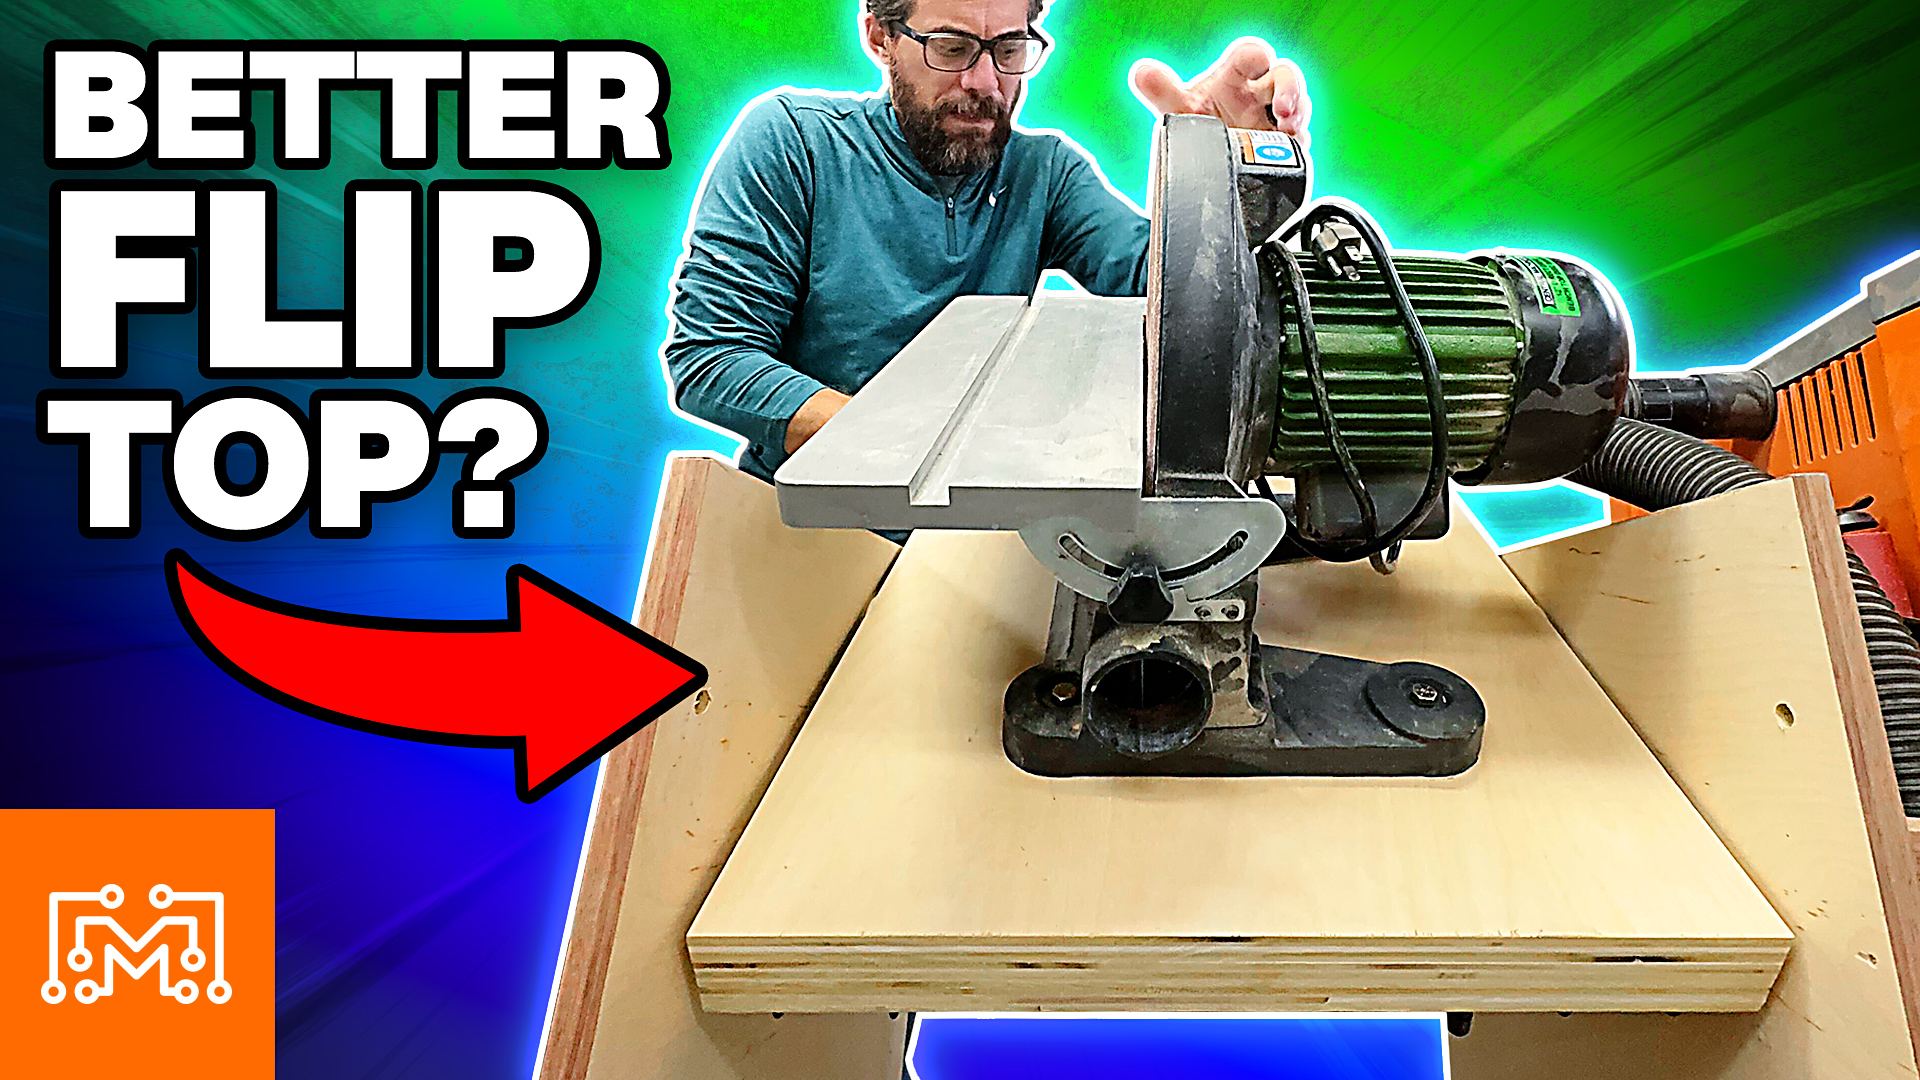
Building the Flip-Top
The flip-top was easy to construct. I used a metal pipe (conduit) running through holes in two uprights as the pivot. I also used three sheets of plywood together to make the flip surface, leaving a gap in the center for the conduit to fit through so that the top could easily spin around.

I wanted to keep a bit of a gap for clearance on the sides of the surface but didn’t want it to slide horizontally, so I quickly designed and printed plastic washers to fit on the side of the flip top surface to keep the surface in place but still keep a gap between the surface and the side walls.
The Missing Element
Locking the flip top surface into place has been done in a lot of ways. I really wanted an easy way quickly lock and unlock the surface but also make sure that it was held in very securely. I decided to use four steel gate latches.

These are spring loaded when you unlock them, so locking them back into place is just as easy as flipping a little lever. It really makes securing the flip top surface quick and easy, and the hardware is incredibly strong. The sanders I have are pretty heavy, but these latches hold them in place really well.
Finishing touches
Just like a lot of my other carts, I chose to add walnut edge banding along the edges (though this time it was veneer instead of 1/8” hardwood). It adds it a nice visual detail. I also decided to add a pop-up shelf with these shelf brackets — just like the one I added for the Table Saw Extension. It’s a great way to add a quick extra work surface to the cart, and I use it all the time at the table saw.

This project took my frustrating sanding setup from cluttered and messy to streamlined and functional. The stepdown casters, built-in dust collection, and space-saving flip-top design worked even better than I hoped. Having all my sanding tools organized in one mobile station has already improved my shop workflow. I hope you’ve found this helpful! We have plans available for this tool cart as well so you can build your own!