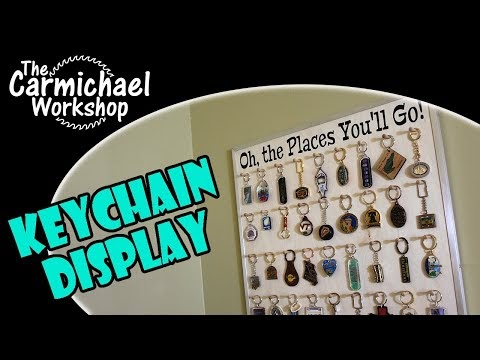
Whenever I travel to some place new, I get a keychain for my keychain collection. I have about 50 keychains in a plastic bag that I would like to display in my office, so I decided to make a Keychain Display Rack. Check out my video of this project below.
I designed this project using the Inventables free EASEL online software to design the project. I added the title of the Dr. Seuss book “Oh, the Places You’ll Go” at the top and a grid of 54 holes. The text at the top can be customized or removed to fit more keychains. I used a precut piece of Baltic Birch Plywood that is 24″ wide x 30″ tall x .5″ thick for this project. Click here to open my EASEL project to see how it’s designed.
I used my X-Carve CNC Woodworking Machine from Inventables to carve the letters and drill all of the holes.
I purchased enough Axel Pegs from Hobby Lobby to fill up the board and glued them into the holes. I used a small square to make sure they were straight. These pegs can hold several keychains as I expect my collection to grow.
I trimmed the edges of the board with some 1/2″ angle aluminum which looks really cool. These are mitered in the corners and screwed into the sides of the plywood. Did you know that you can cut aluminum with regular woodworking saws? I used my bandsaw.
Below is the final project with all of my keychains hanging on it. Each keychain brings back special memories whenever I look through them. I love having this in my office. Thanks for checking out my project!
Clicking a referral/affiliate link in this article and making a purchase will help to support my channel via a small referral fee from the merchant. Thank you for your support!


