Create this Dried Flowers Wall Art, an easy DIY that can be customized to fit any space! Step-by-step instructions by Shanty2Chic.
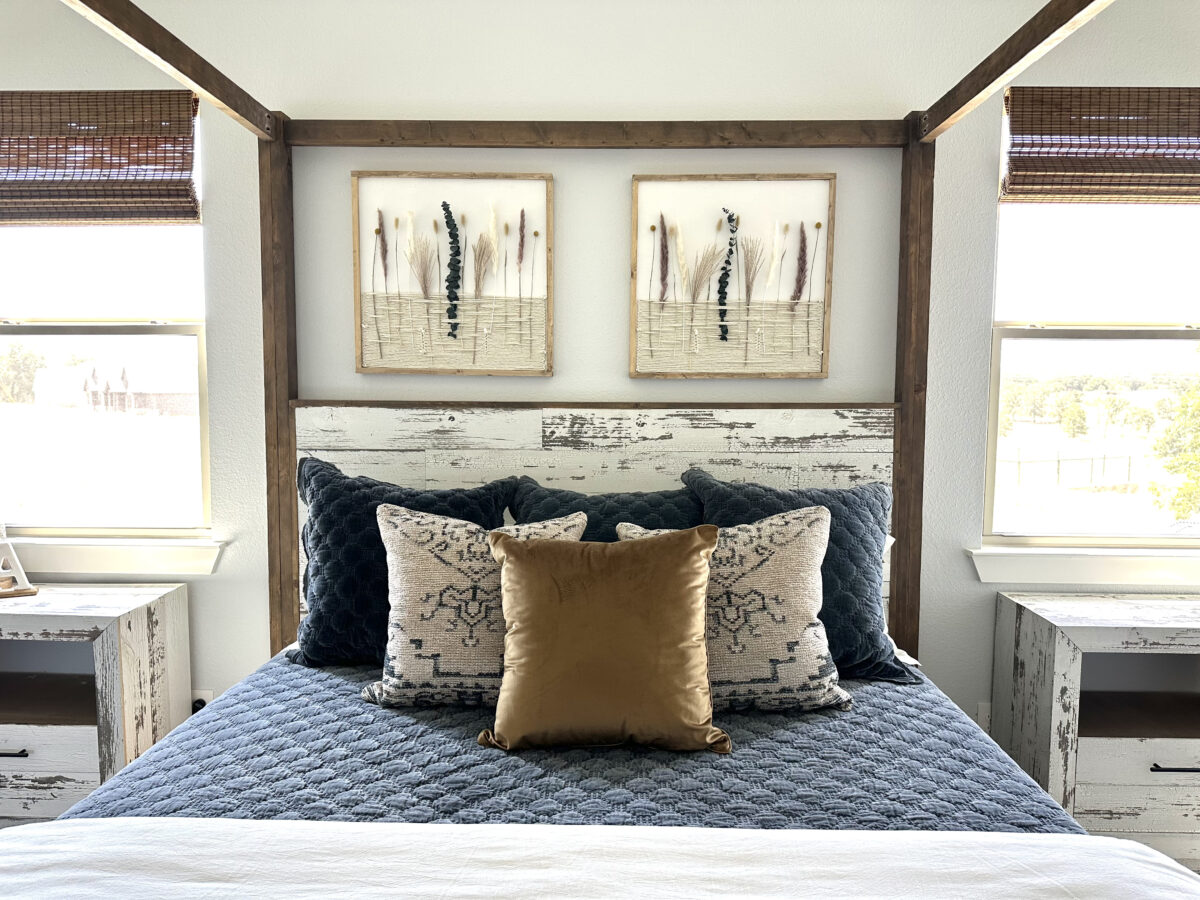
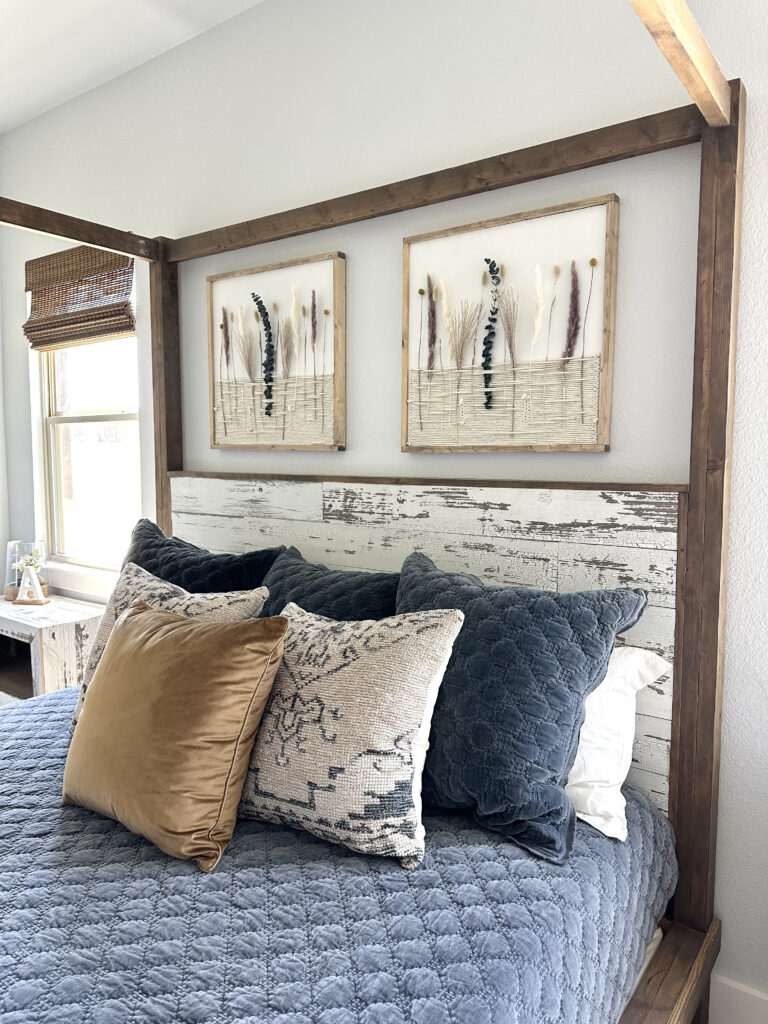
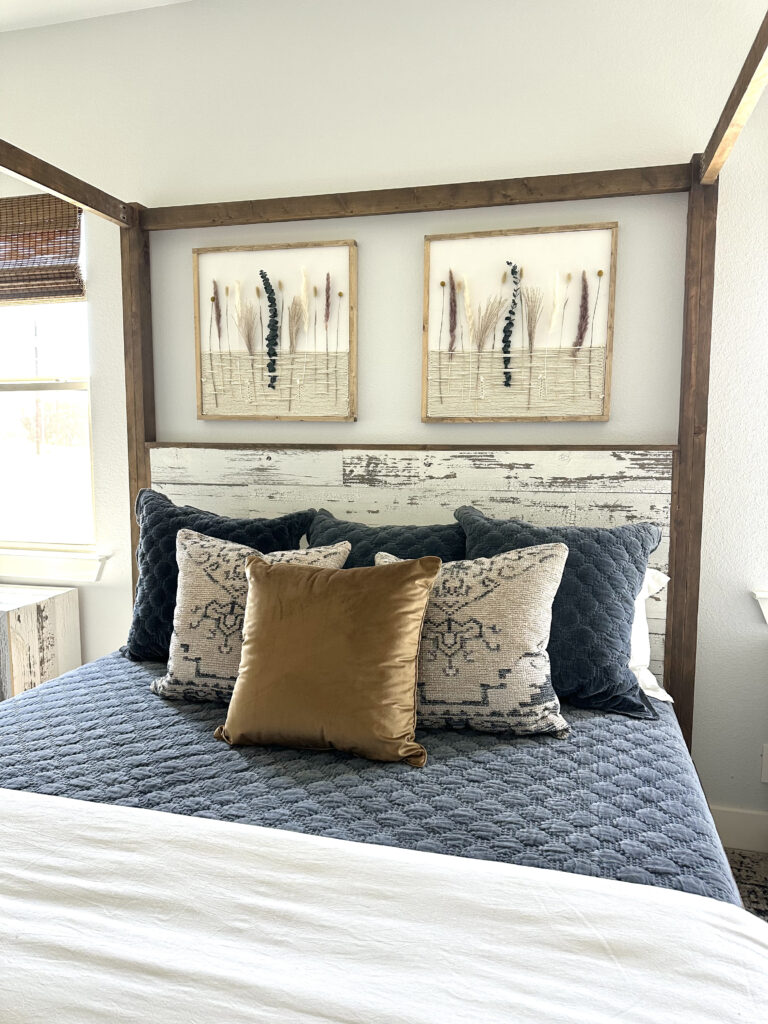
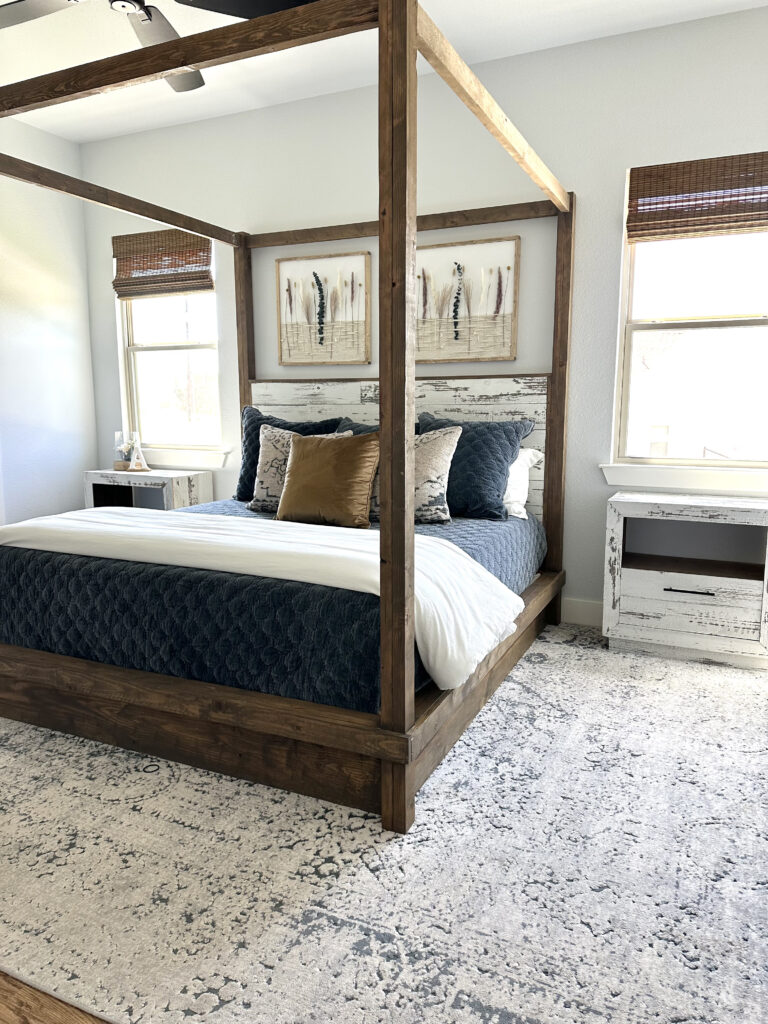
I’ve been on a hunt for wall decor to make my new house feel more like a home. I’m focusing on my master bedroom right now and I needed something decorative above my bed. Of course I couldn’t find anything that I loved that wasn’t a small fortune so, I decided to create my own custom wall art!
This was such a fun and easy project and it can be customized to size and colors to work on any wall in your home!
You can check out the the how-to video that I shared here and follow along below for the full tutorial!
Click here to jump to the free printable plans!
Now, let’s get to creating!
DIY Dried Flowers Wall Art
Materials
This material list is for one frame.
Tools:
Supplies:
Building The Frames
Step 1: Ripping the Plywood
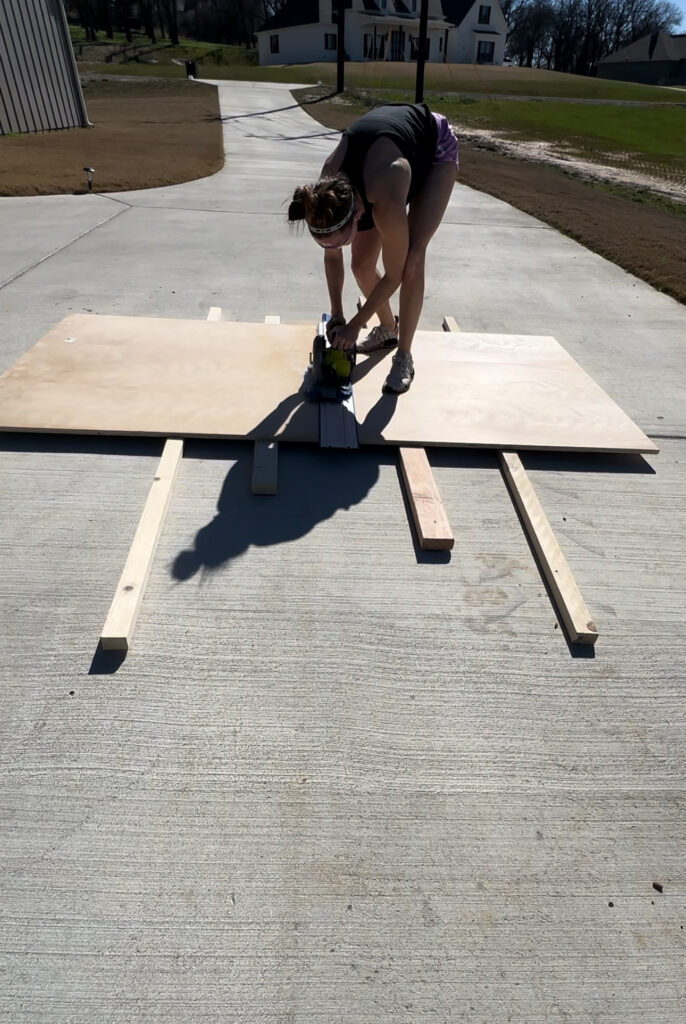
I started by ripping a full sheet of 3/4″ plywood in half with my Kreg Accu-Cut. I love this tool so much for making full sheets of plywood more manageable on the table saw.
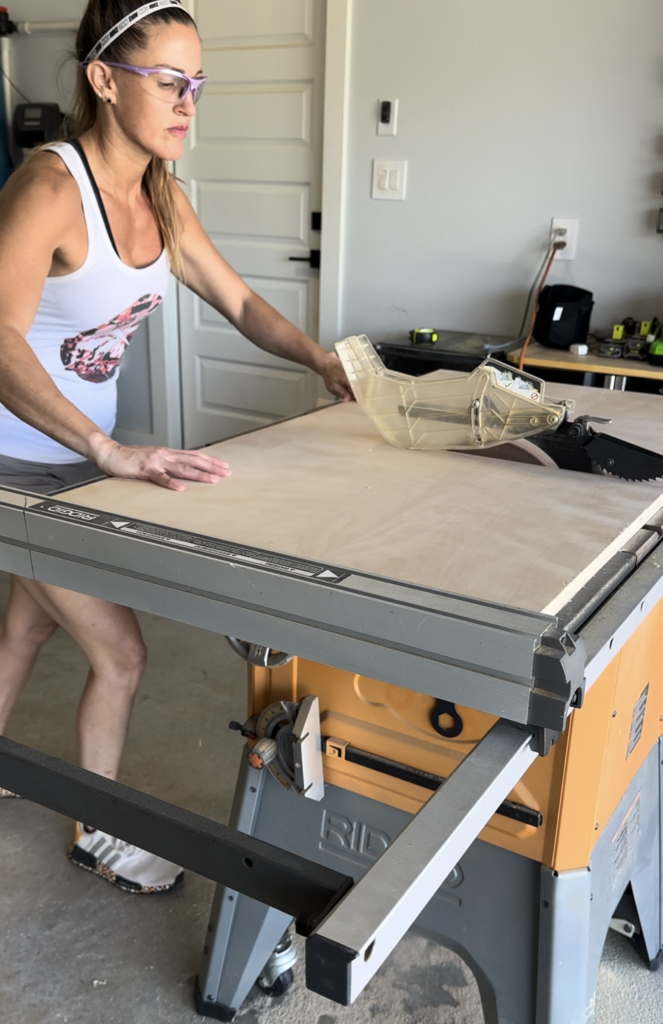
Once the plywood was cut to a more manageable size, I brought it over to my table saw to make the exact cuts.
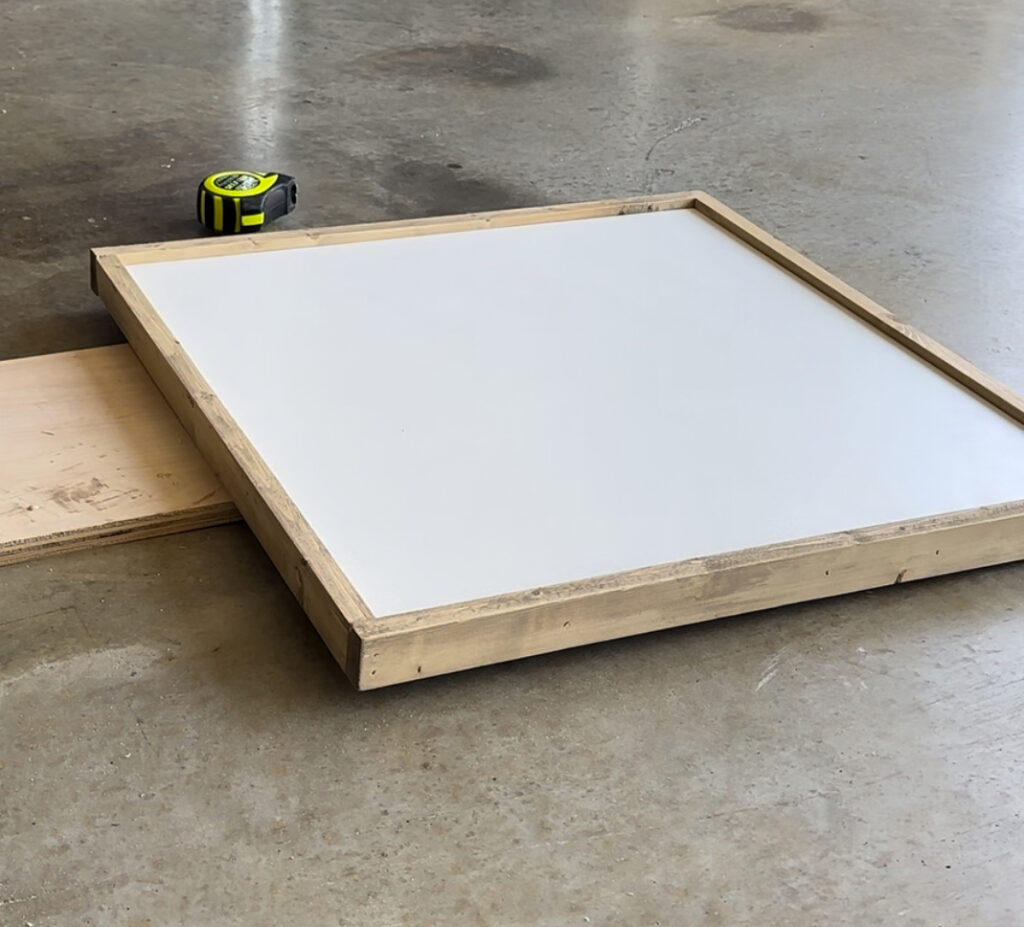
Step 2: Painting the Plywood
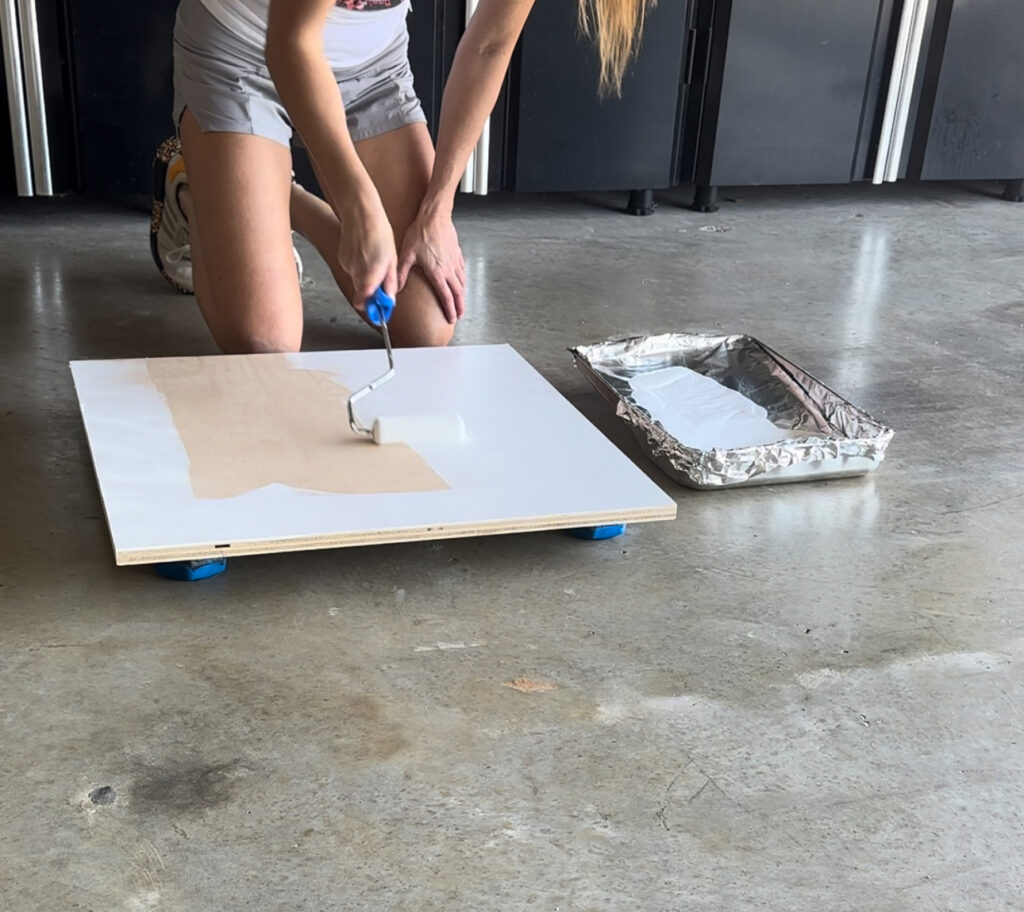
With the plywood cut to size, I painted 2 coats of white paint on the entire front side of the board. I used our favorite cabinet and furniture paint.

Step 3: Cutting the Trim Boards
While the paint was drying on the plywood, I got to work on the trim boards. I measured and cut the 1×2 boards to size on my miter saw.
Step 4: Staining the Trim Pieces
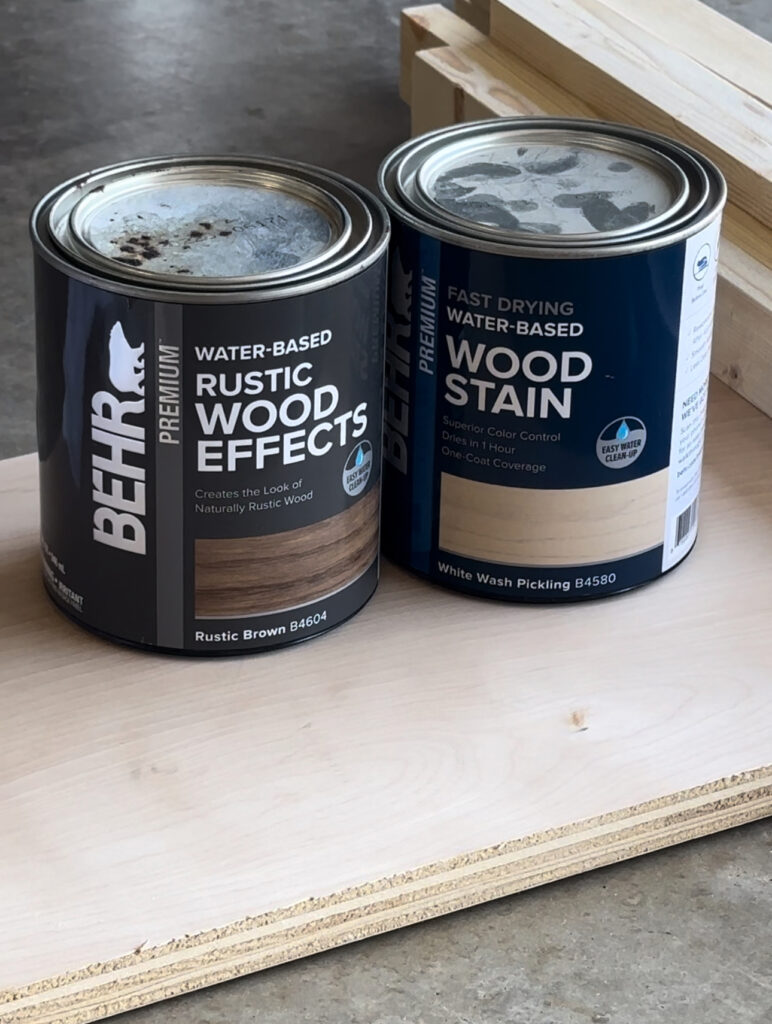
To make the finish of this project the easiest, I chose to stain my trim boards before attaching them to the panel. I used a combination of Rustic Brown and White Wash Pickling stains.
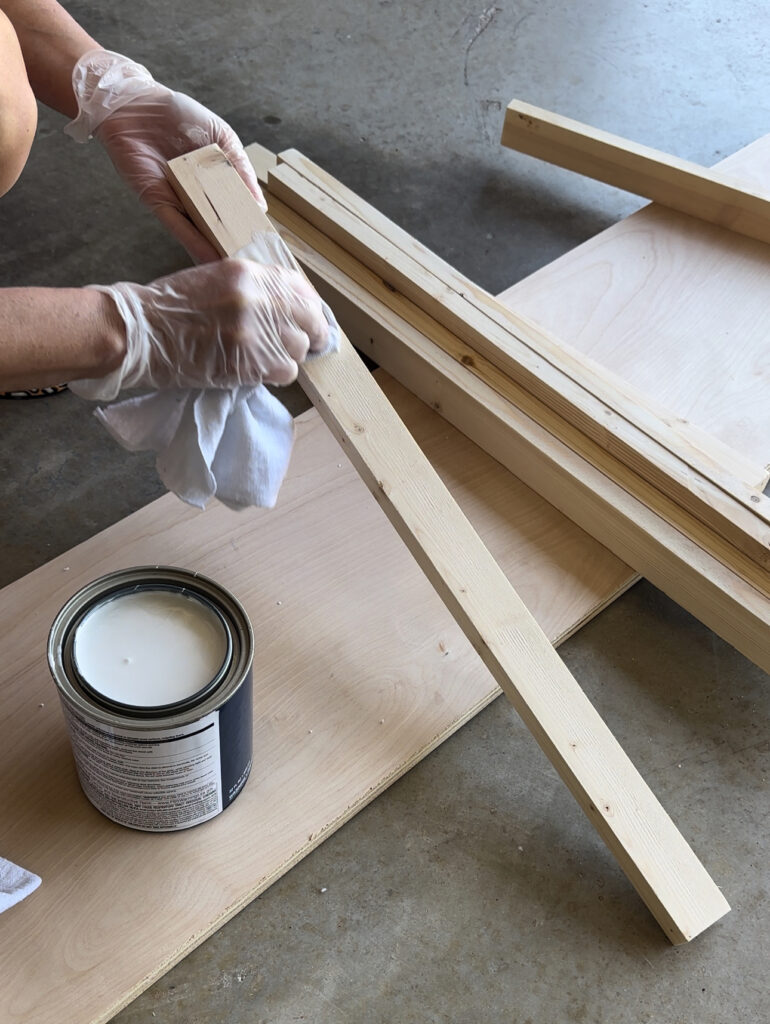
I applied one coat of the White Pickling Stain to all of the boards.
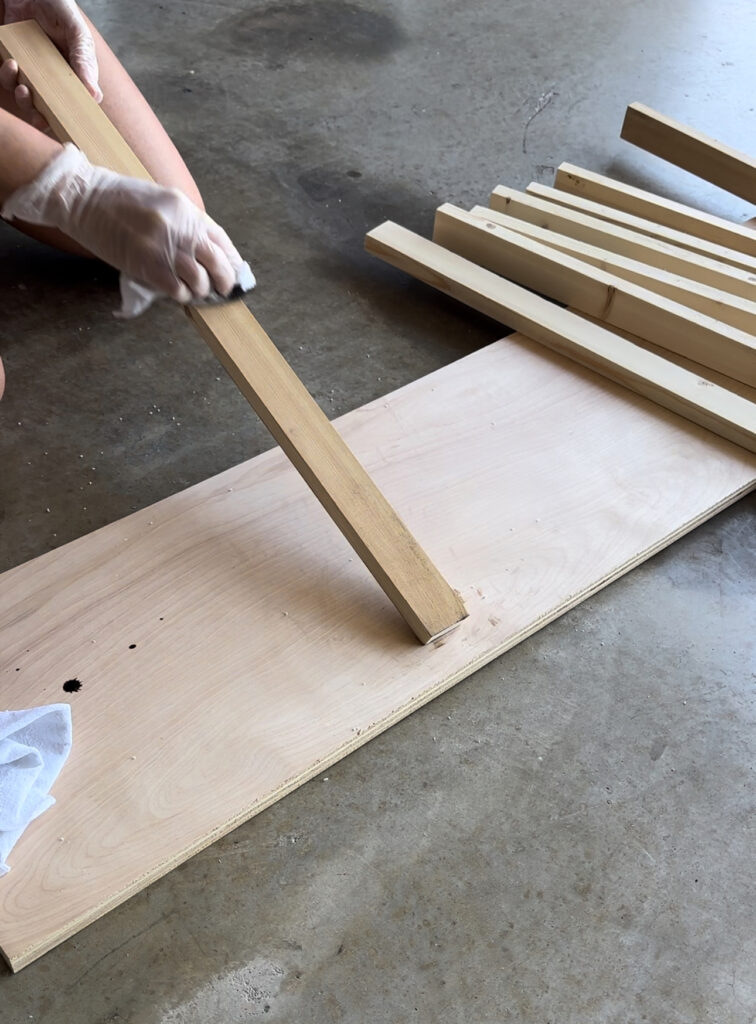
Once that was dry, I applied one coat of the Rustic Brown stain.
Step 5: Attaching the Trim
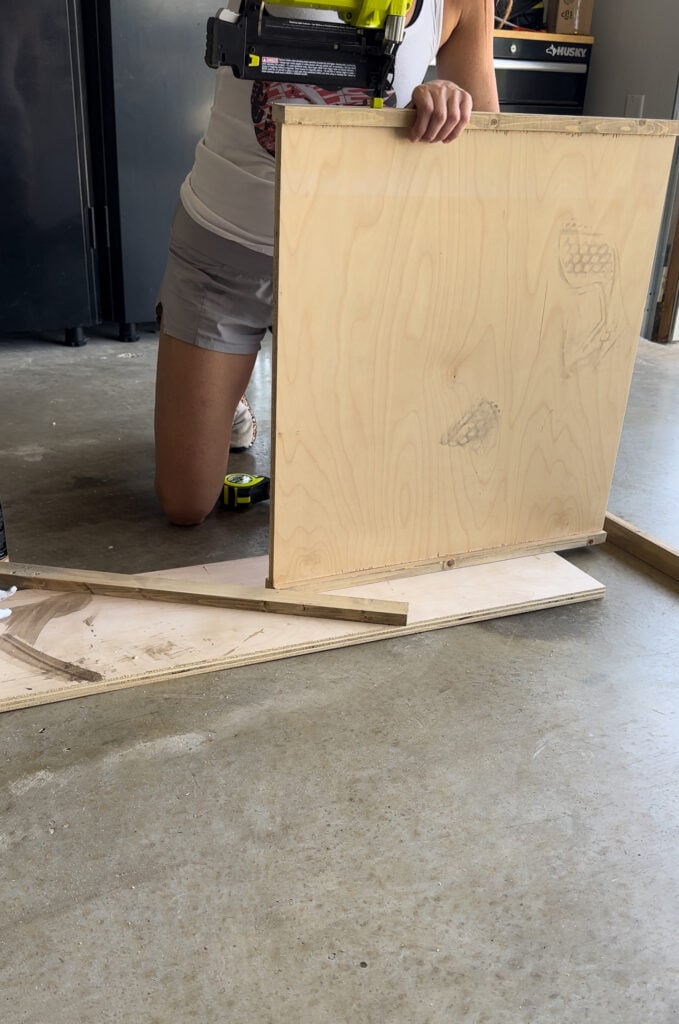
When the stain was completely dry, I used my brad nailer with 1 1/4″ brad nails and wood glue to attach the side trim pieces first.
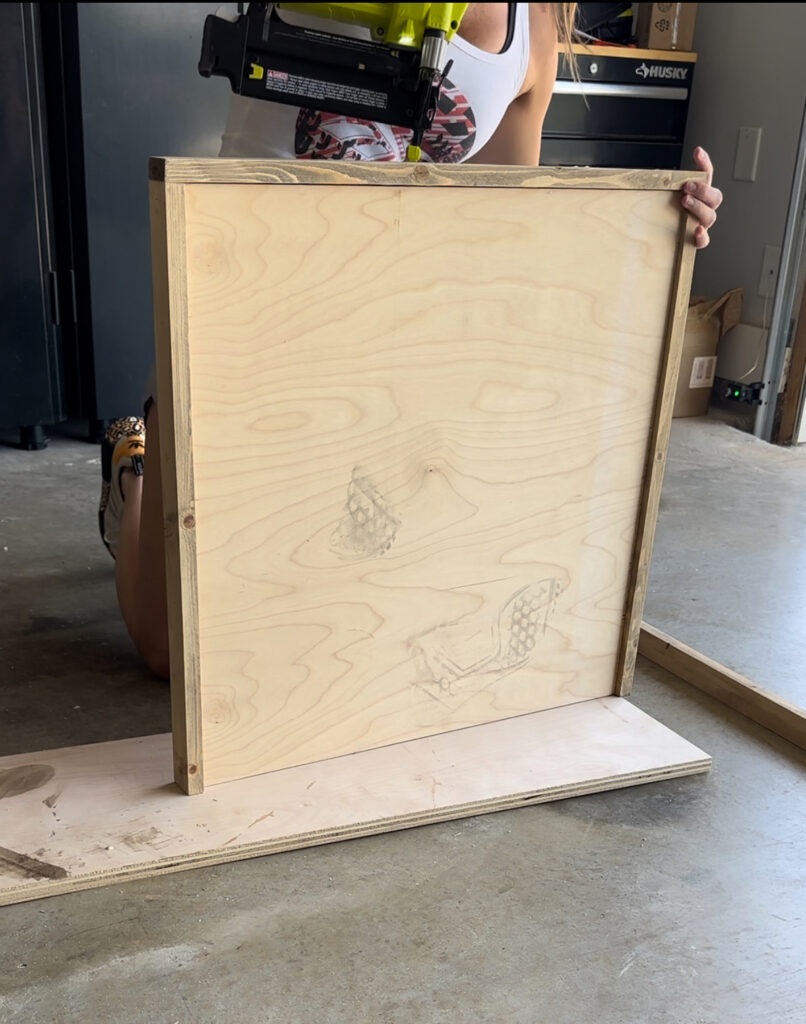
Then, I attached the top and bottom pieces the same way.
Time to bring in inside, out of the heat, and make it pretty!
Creating the Jute Design
Step 1: Hot Glueing the Jute
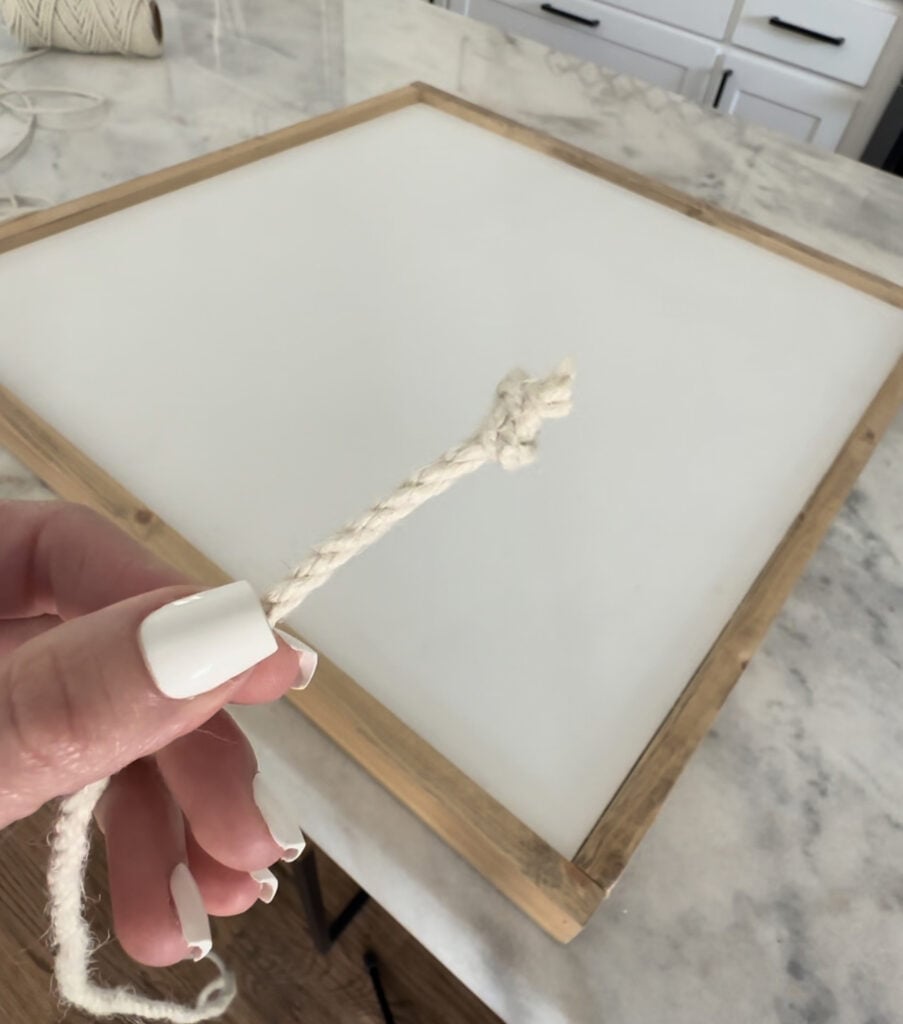
I found 4.5mm jute rope on Amazon. One roll was enough for one frame. I started by creating a knot at the end of the jute and hot glueing it to the bottom left corner of my frame.
You may need to hold the knot in place for a bit until it dries. I used my scissors to hold it in place.
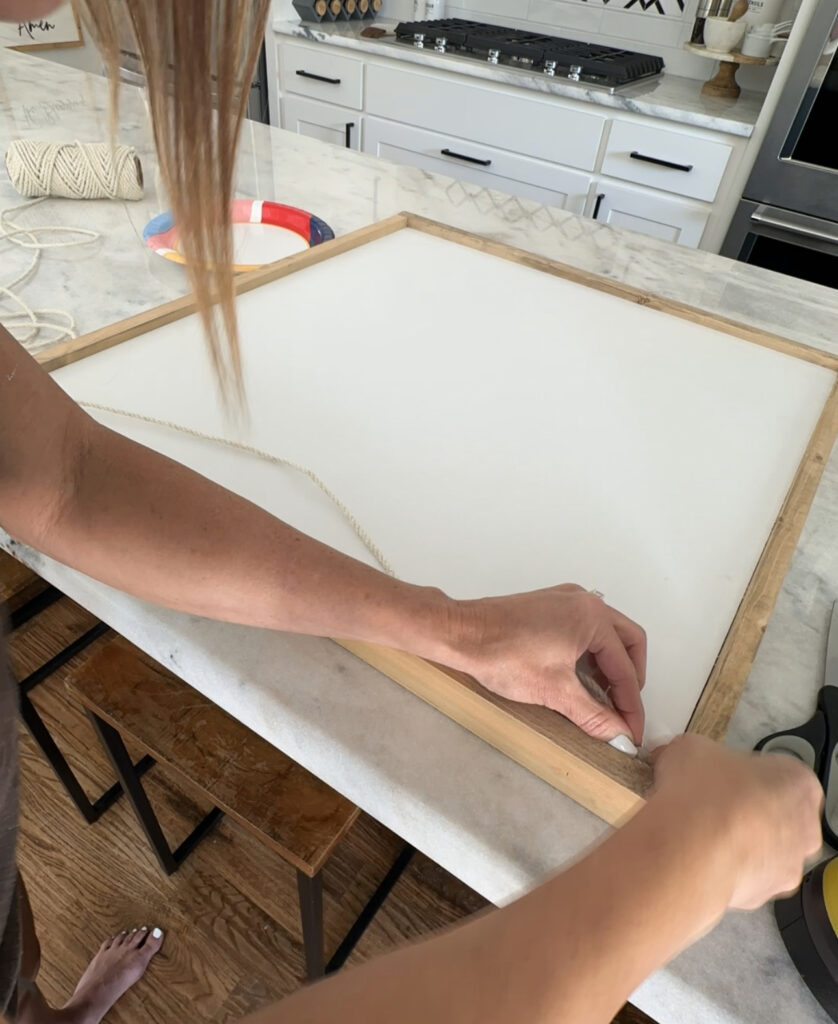
From there, pull the rope the entire length of the frame, fold the end in half to make a loop and glue the loop to the opposite end of the frame.
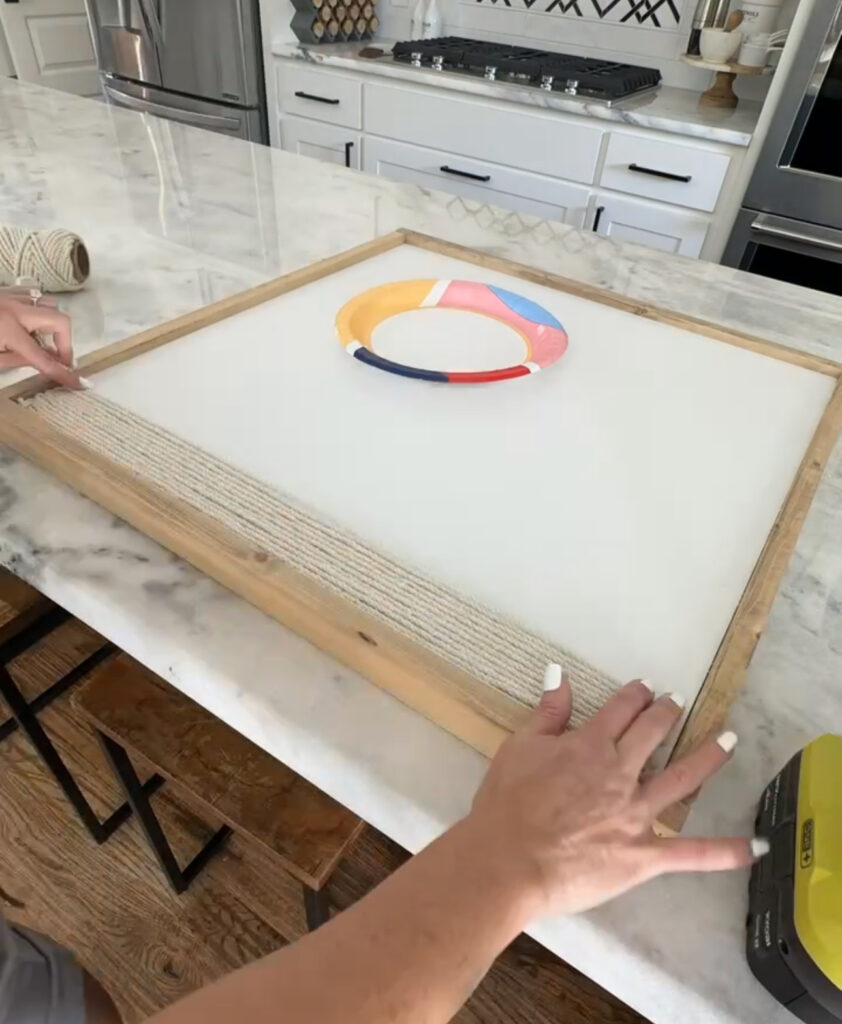
I repeated these steps until I had about 14 rows of jute.
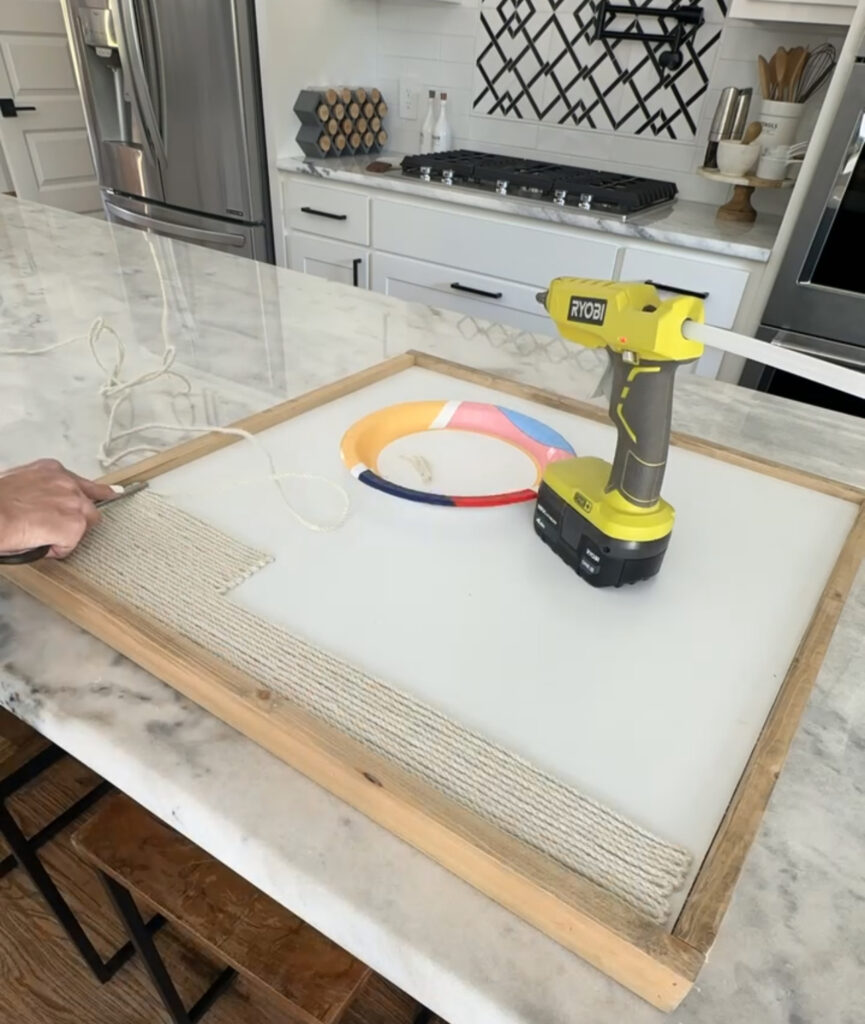
To create a little bit of variation in the rope pattern, I decided to make the next section of rows split into three sections. First, I started with a new knot and glued it in place. I repeated the steps before but only had the rows go 1/3 of the way across the board and tied another knot at the end of that first, small section.
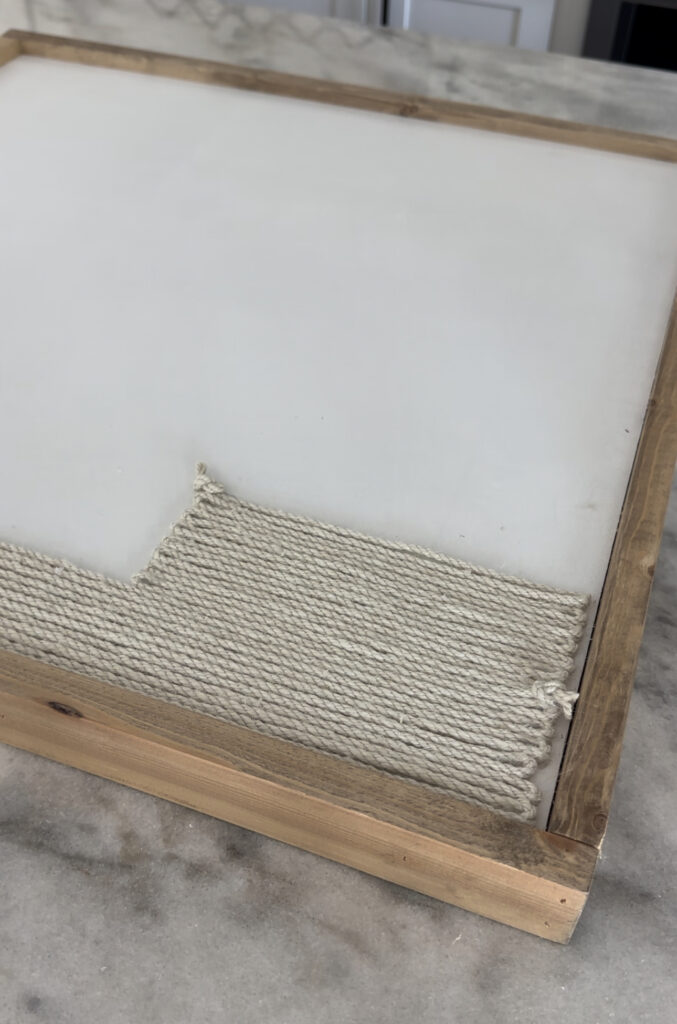
I continued the same steps to create a short section of rows on the right side of the frame.
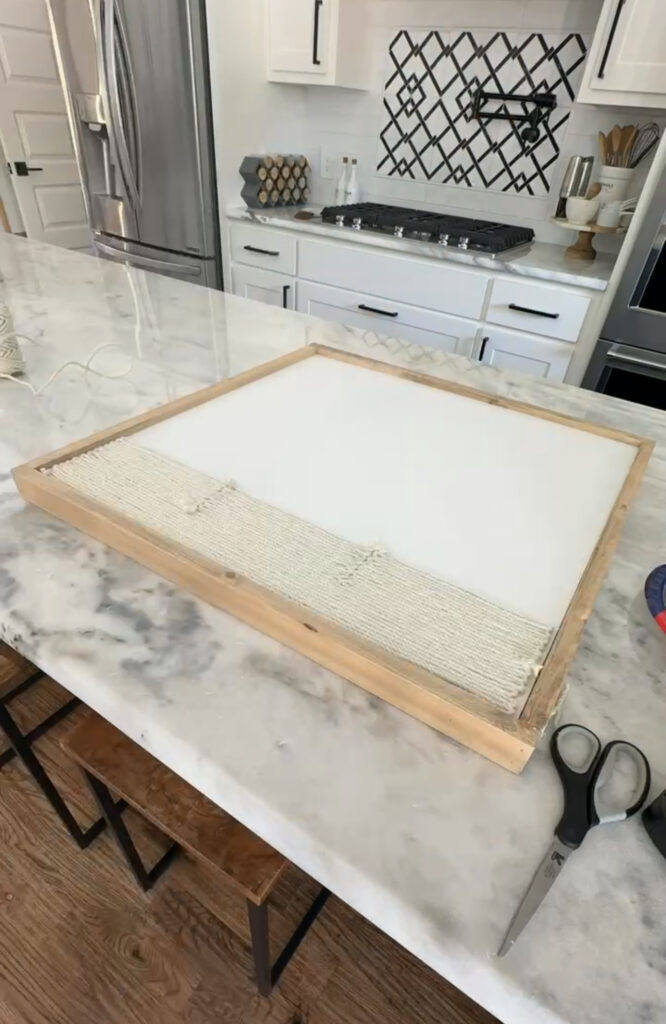
Then, completed the short middle sections. This is what my jute pattern looked like at that point.
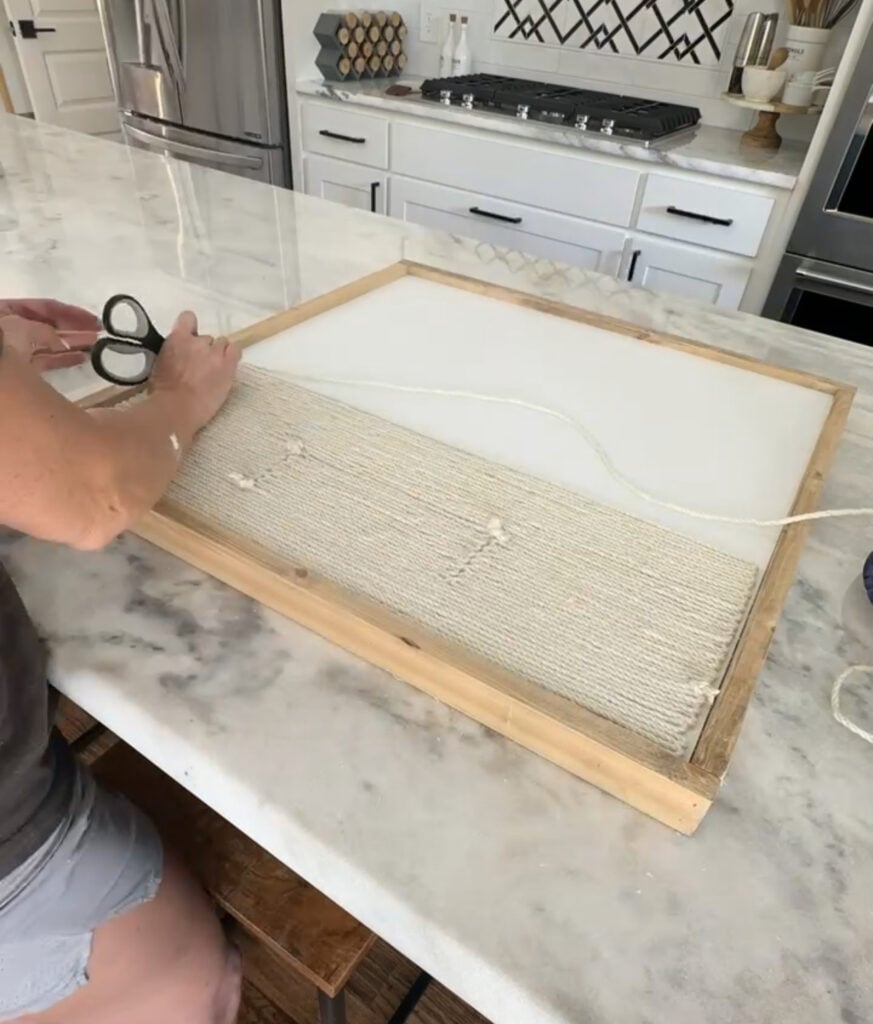
I finished with one more long section of rows until I was about half way up the frame.
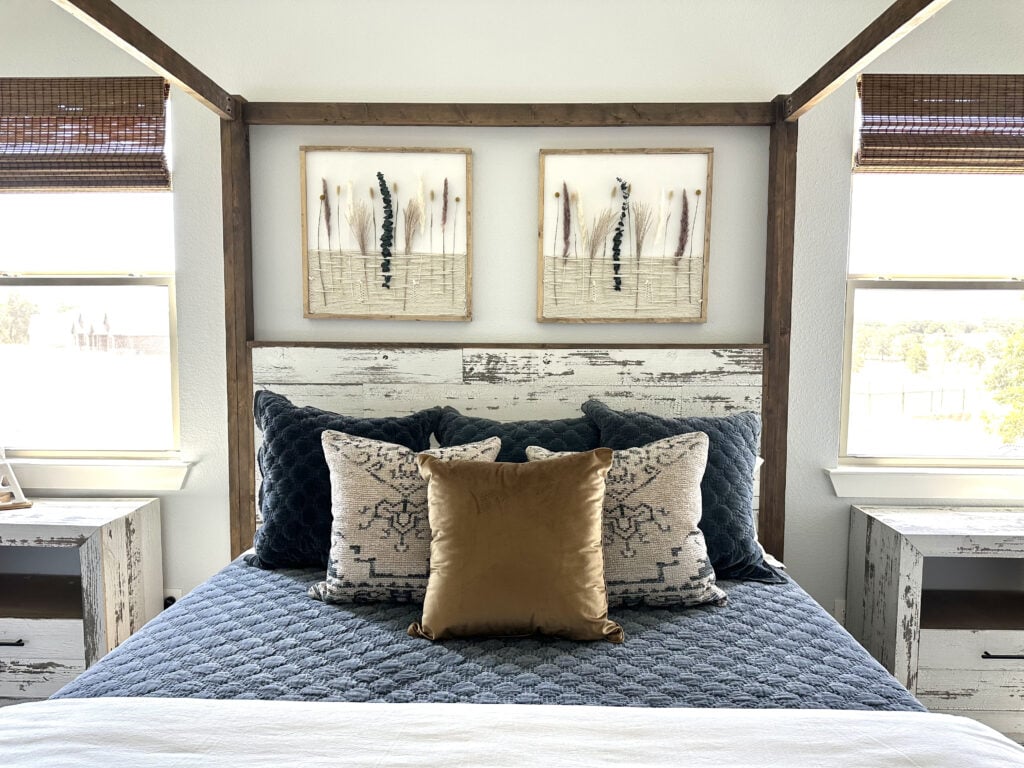
Adding Dried Florals
Step 1: Weaving the Stems
I found the dry flowers on Amazon and loved the variety of neutral colors. They had so many to choose from, I just picked my favorite varieties of color. I cut some of the long stems down and arranged them in the pattern that I liked.
To weave in each stem, I randomly picked up jute pieces and weaved the stems under the jute until I had the design looking the way I liked it best.
Hanging the Frames
Step 1: How to Hang the Frames
To hang the frames, I chose to use large command strips. You can use screws or nails but these frames are not heavy and I’m all for finding effective short cuts 😉
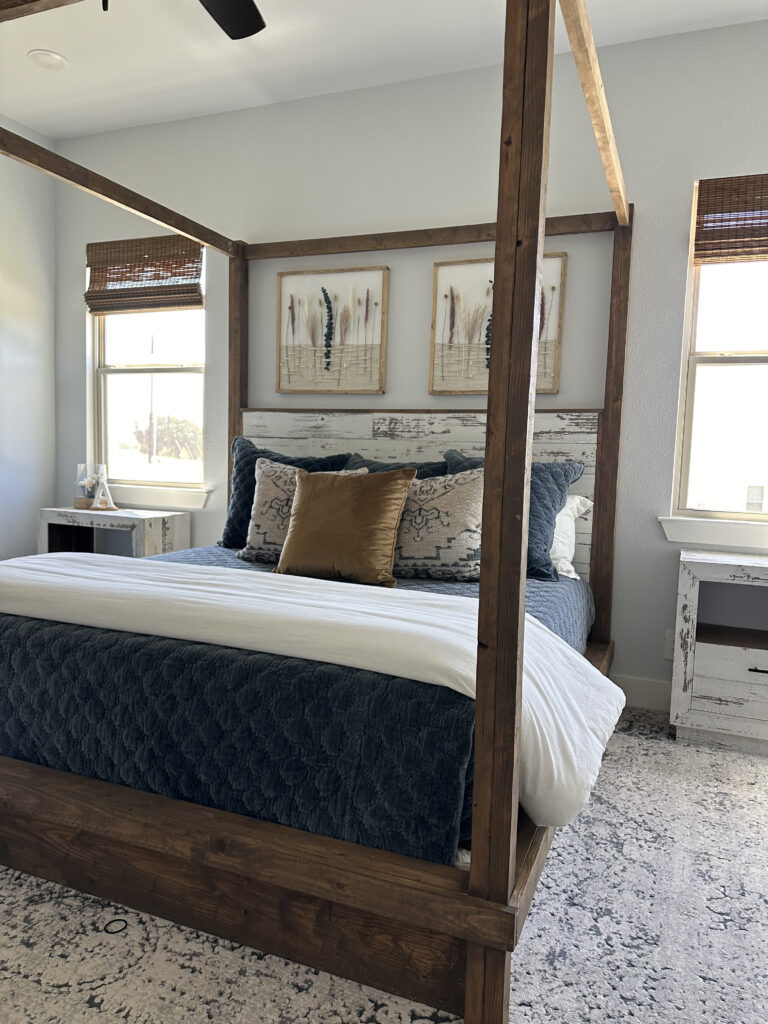
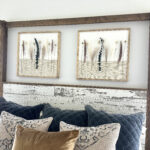
I love how my new custom frames look with the dried flowers! It adds the perfect touch of natural colors that I wanted in my master bedroom!
I love that these can be completely customizable too. You can change the color or texture of the jute and use any color of dried stems.
If you are a flower lover and grow your own you could even use your own. Just hang them upside down for air-drying before weaving them.
Links to Items in My Room
Make sure to share your builds with us on social media and use #shanty2chic so we can share them too!
Happy Building!
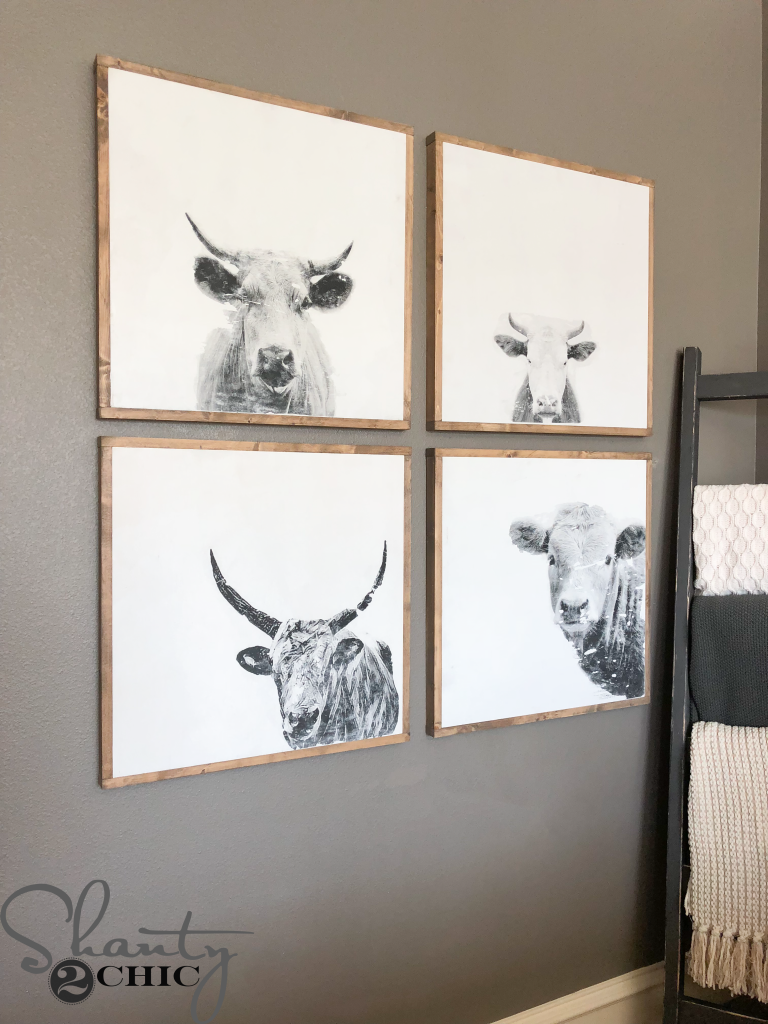
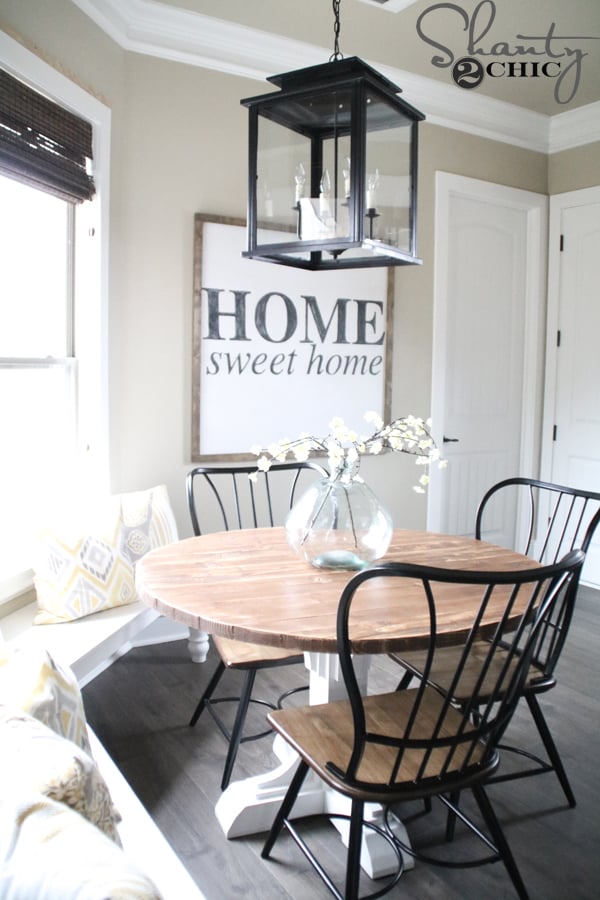
Check Out Some of Our Other DIY Wall Art Projects
DIY Dried Flower Frames
-
Miter Saw
-
Kreg Accu-Cut
-
Brad Nailer
-
Hot Glue Gun
-
Scissors
-
Table Saw (optional)
- 1 23.5″ x 23.5″ Hardwood Plywood
- 2 1x2x8 Pine or Common Boards
- 1 1/4″ Brad Nails
- Paint
- Stain
- Jute Rope
- Hot Glue Sticks
- Dried Stems