(This is a continuation of the “Drawing Table” series, click here for part 1 )
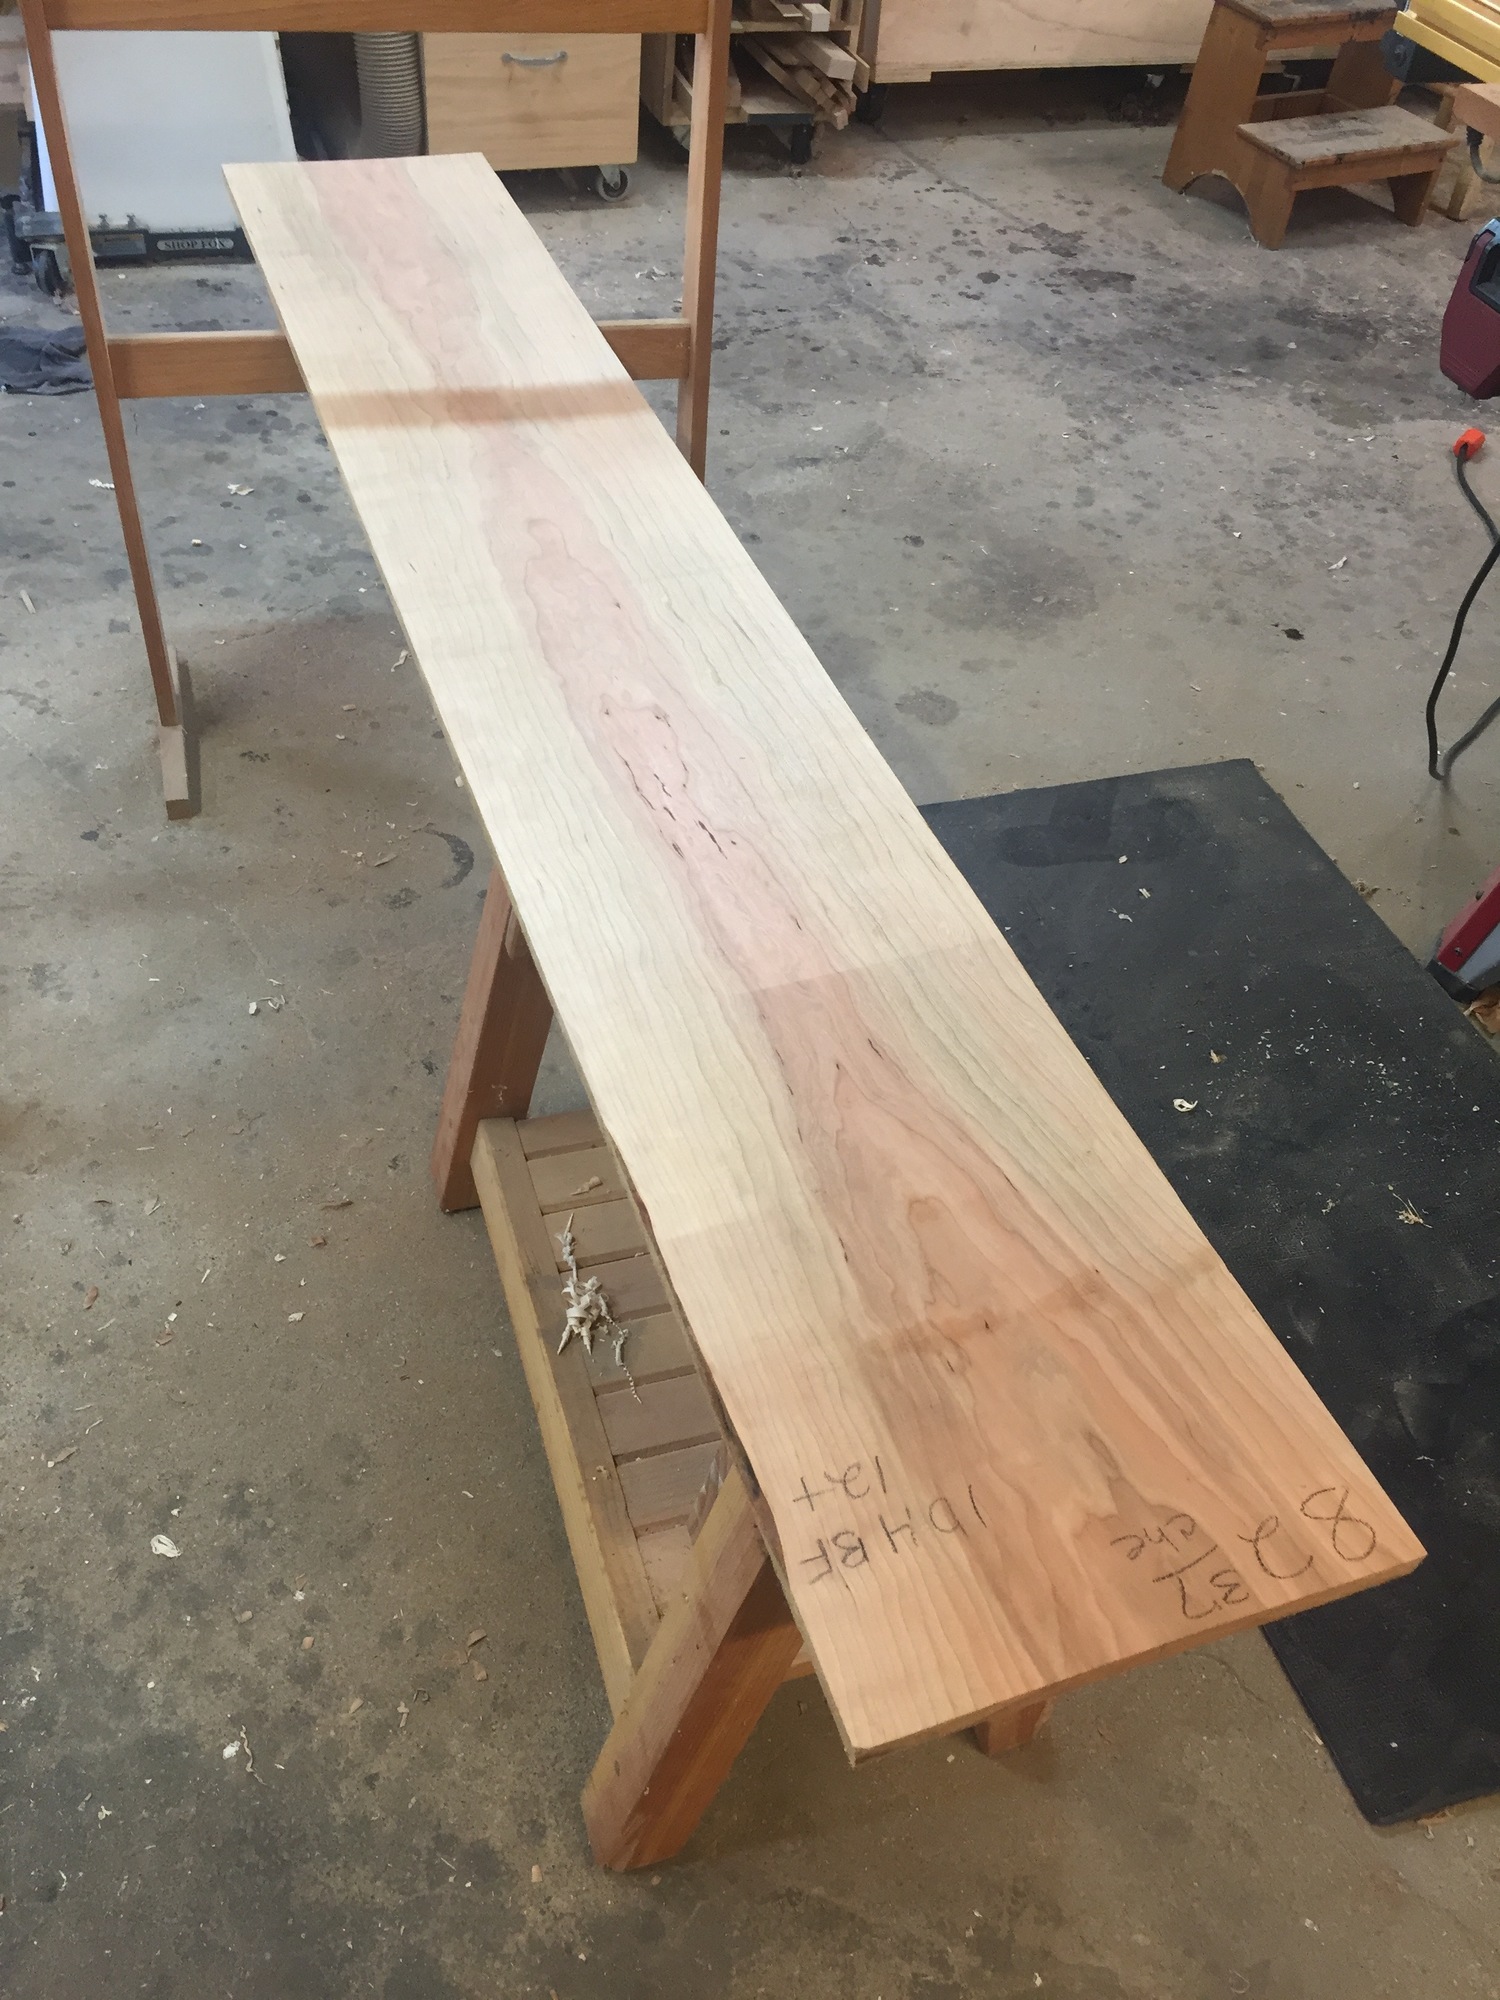
The top of the table is a classic breadboard top. And as it’s the most visible part of the whole piece, I wanted to find boards with some nice figure. I found a gorgeous nine foot wide cherry board, that, when cut into three sections, would be enough for the main part of the top. It had a mix of light and dark wood, but I knew it would look great laminated together. I liked the contrast it would produce. The rest of the cherry was easy source on this run, as the hardwood dealer had plenty on hand, and back at the shop, I got to work.
The lamination of the top went well, and before I cut the long tenons for the breadboard ends, I wanted to make the ends first. Those were cut with a hollow chisel mortiser, and cleaned up with a chisel. I was then able to transfer the mortise locations to the top, and then cut the tenons. I did those with a guide and a router, and then cleaned it up with a rabbeting block plane and router plane. I then cut out the sections to make the haunches and long tenons with a hand saw, and cleaned up with a chisel. Finally, holes were cut for the pegs, and the ends were begged onto the top, with the out two holes on each side elongated on the tenon to allow for wood movement. There’s a lot of work that goes into such a top, but it’s worth in, as it stays flay, level, and allows for seasonal movement.