Being able to make plans and drawings is an essential skill in building. While not all woodworkers (including myself) need to slavishly follow measured drawings to make furniture, the process of working out proportions, construction details, joinery, and overall form before making sawdust is a core step in any build.
A popular tool among many woodworkers is the 3D drawing software Sketchup, which they use to (relatively) easily lay out, design, and proportion furniture and woodworking projects. Furniture can be laid out, virtually “built” in 3D, then studied, rotated, scaled, textured, dimensioned, and adjusted easily. Sketchup is a great tool, as it is free, widely used, well documented for woodworking uses, and runs on both Macs & Windows machines. And with my background in IT and computers going back several decades, learning how to use it came very quickly for me. I and fairly handle in it. I once designed my entire kitchen cabinet project to within a 16th of an inch using Sketchup, and it was invaluable. But I’m not so keen on using it as my primary design tool anymore.
The first issue I have with Sketchup woodworking is that using it involves spending lots of time in front of a computer, something I do more than I want to already for work, some entertainment, and of course writing this blog and promoting myself as a woodworker. It’s hard to get excited, and remain undistracted, in front of a computer. There’s always something else to check, look at, and fiddle with. It’s hard to keep my furniture design inspiration going when sitting down at the computer, again.
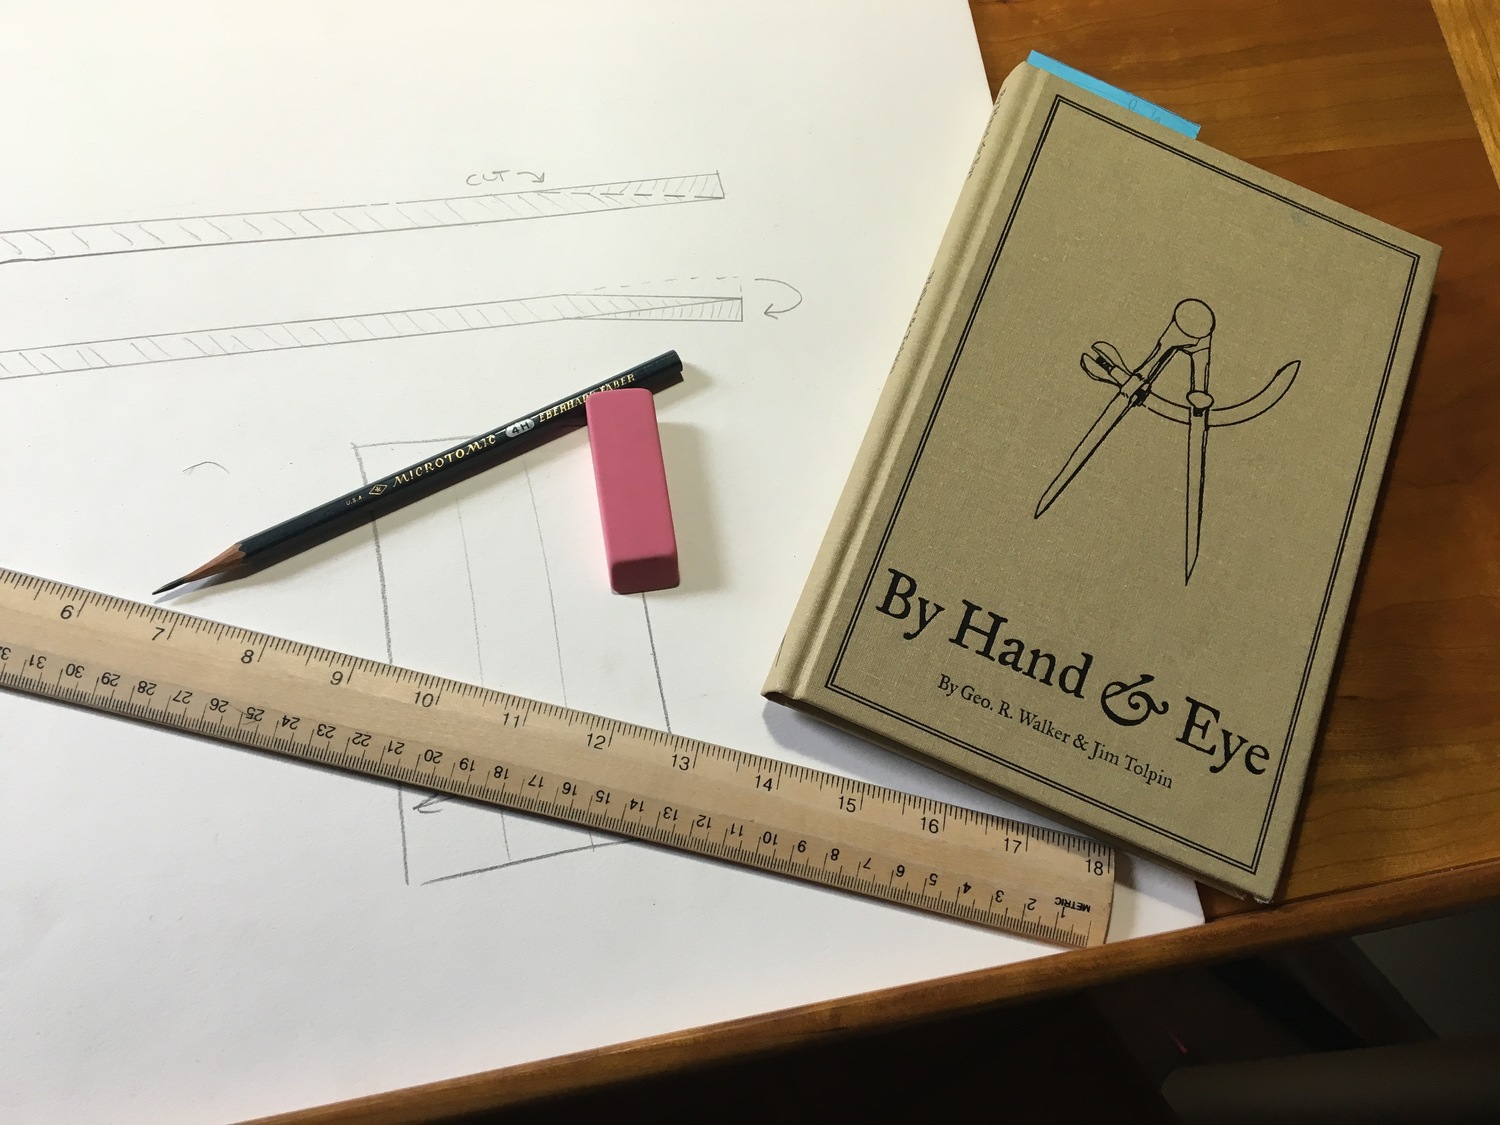
The next issue that comes into play is that I’ve wanted to become much better at drawing, sketching, and illustrating by hand. This has been reinforced by the excellent hand drawings I’ve admired in older woodworking books (as well as some new ones!), as well as in the design ideas expressed in the book By Hand & Eye by George Walker & Jim Tolpin. Back in high school, I chose drafting classes as my elective courses for all four years. This was back before computer assisted drafting (CAD), and we instead used pencil, paper, and mechanical drafting arms to learn drafting skills. I enjoyed it then, and as a result, I can knock out a fairly serviceable technical drawing when needed. But it wasn’t art class, and it wasn’t drawing class, so when the rulers and T-squares go away, my drawings start to get a little shakey. But the satisfaction of making a good, useful drawing is still there today, and while I need more practice, the freehand drawing I’ve done is still proving useful and satisfying.
OK, so I wanted to draw more, but now I had another problem: where to do it? The surface of my workbench is a lousy choice. While level, it isn’t exactly forgivingly smooth, and any pencil line finds way too many dings and dents along the way, piercing the paper and making drawing there useless. It is also too flat and low. I could clear stuff off my kitchen table, but that’s also too flat, and I don’t want to stick the ends of my compass into the nice table top a thousand times. I have a self healing mat I could put down, but that’s a little spongey, or I could get a piece of hardboard and… and… etc. OK, I’m a woodworker, why not build a nice drawing table?
Right around the time I was mulling all this over, I happened to be in a little shop in the neighborhood, and saw this drawing / drafting table being used for coffee and scones.


