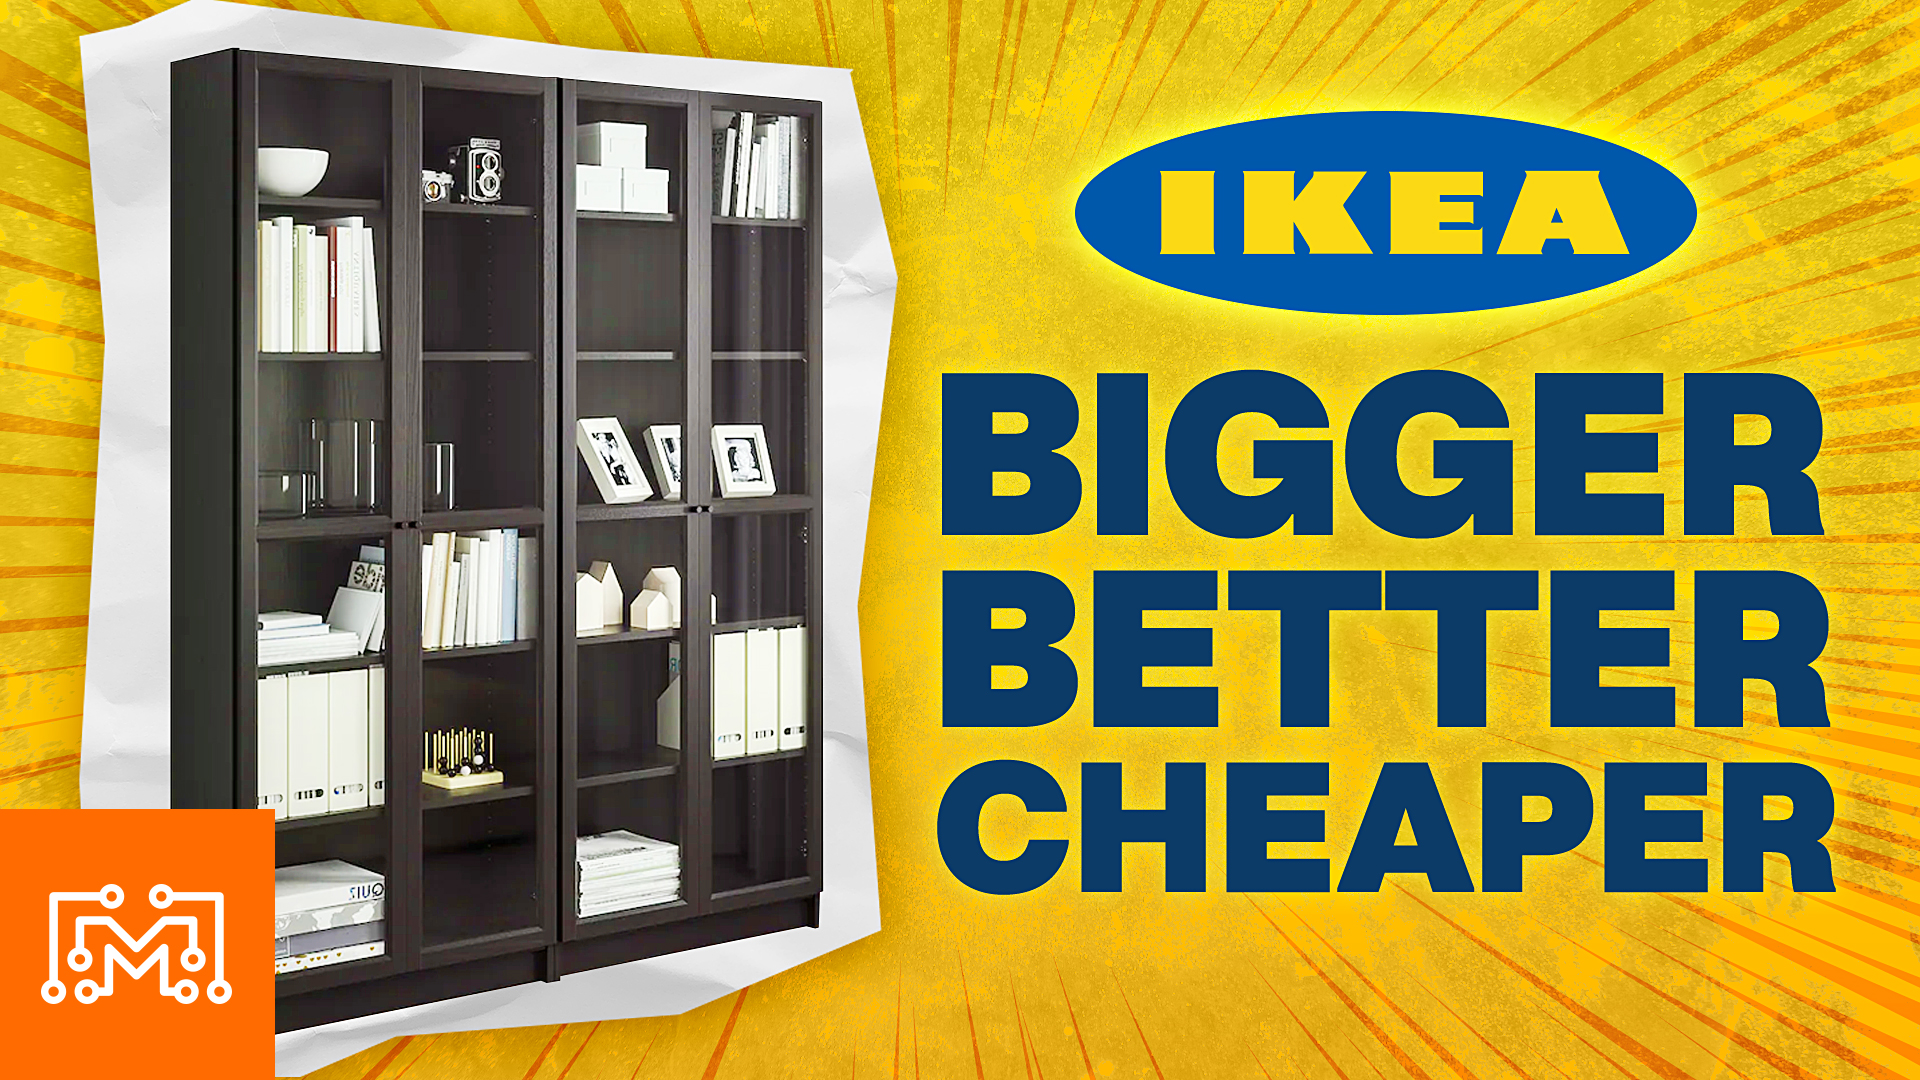
In his latest video adventure, Bob takes on a project to recreate and improve the popular Billy cabinet from IKEA. He’s determined to make it bigger, better, and cheaper. In this blog post, we’ll follow Bob’s journey as he transforms a basic IKEA design into a custom masterpiece.
- Better, Bigger, Cheaper
- A Cost-Conscious Approach
- Building the Cabinet
- Crafting the Doors
- The Final Product
Better, Bigger, Cheaper
Bob’s project begins with a clear vision: to enhance the IKEA Billy cabinet. He starts by using black melamine, opting for a thicker 3/4-inch material instead of the standard 1/2-inch for added durability. To improve the cabinet’s sturdiness and quality, he replaces the original cardboard back panel with hardboard. Bob meticulously plans his project using Fusion 360 and even aims to improve the cabinet’s doors for a more elegant look. (You can learn to do this too! Check out our online course.)
A Cost-Conscious Approach
One of Bob’s primary objectives is to make this project more budget-friendly than purchasing the IKEA version. He sets a goal of beating the $558 price tag of the original by at least $100. Bob emphasizes that the tools he uses for this project serve multiple purposes and aren’t exclusive to this build. He then breaks down the materials he uses, including black melamine, hardboard, and various hardware components.
 Building the Cabinet
Bob takes us through the construction process step by step, highlighting essential details. He explains how he uses a shelf pin jig to drill holes for adjustable shelves, ensuring functionality and ease of assembly. He offers valuable tips, such as the importance of using a mask while cutting particle board due to the dust it generates.
 Crafting the Doors
Bob decides to change up the cabinet doors from the original IKEA product. He creates a single, large door instead of the original four smaller ones, providing a cleaner, uninterrupted view of the cabinet’s contents (in this case…toys!). To achieve this, he cuts and assembles pieces of trim with half-lap joints. He also shares his decision to use plexiglass instead of tempered or plate glass, striking a balance between cost and durability.
 The Final Product
After meticulous work and attention to detail, Bob’s custom Billy cabinet is complete. It’s bigger, better, and more cost-effective than the IKEA original, costing him around $350 in materials and saving $200. Bob reflects on the project’s worthiness, suggesting that DIY enthusiasts will find it fulfilling, while those seeking a quick cabinet solution may prefer buying from IKEA.
 Success! Bob’s DIY adventure showcases the satisfaction of creating something unique and customized. His journey serves as inspiration for those looking to embark on their own DIY projects, reminding us that with dedication and creativity, we can transform everyday items into extraordinary pieces of craftsmanship.