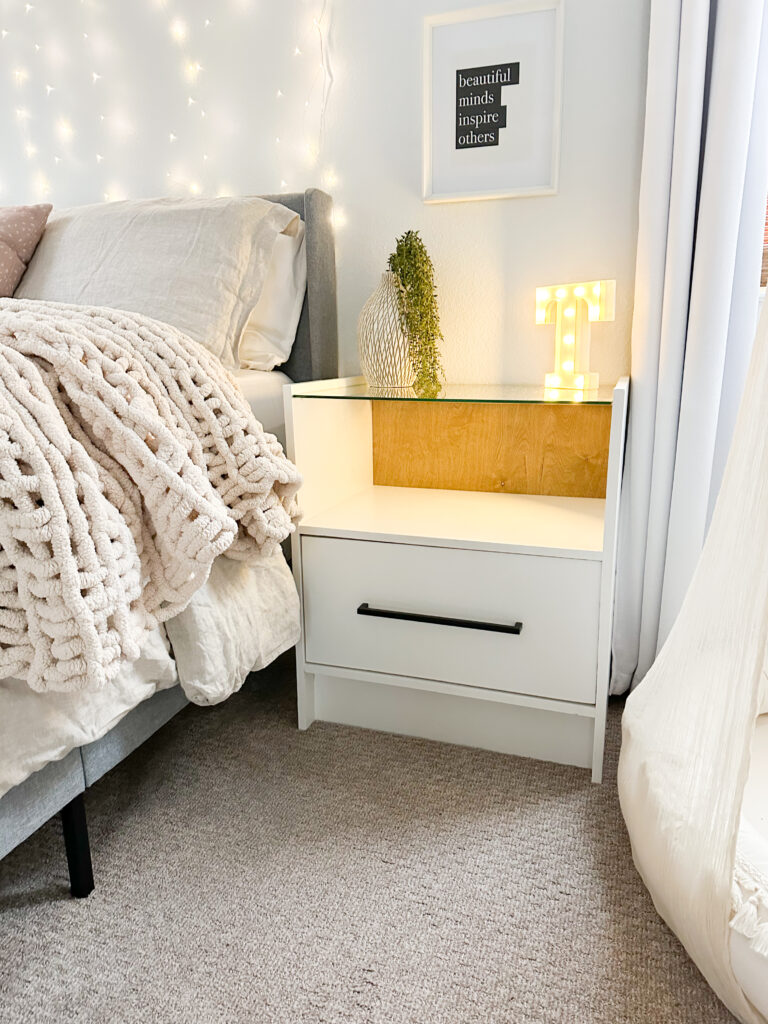
Learn how to build a side table with free plans, a step-by-step tutorial and a how-to video by Shanty2Chic!
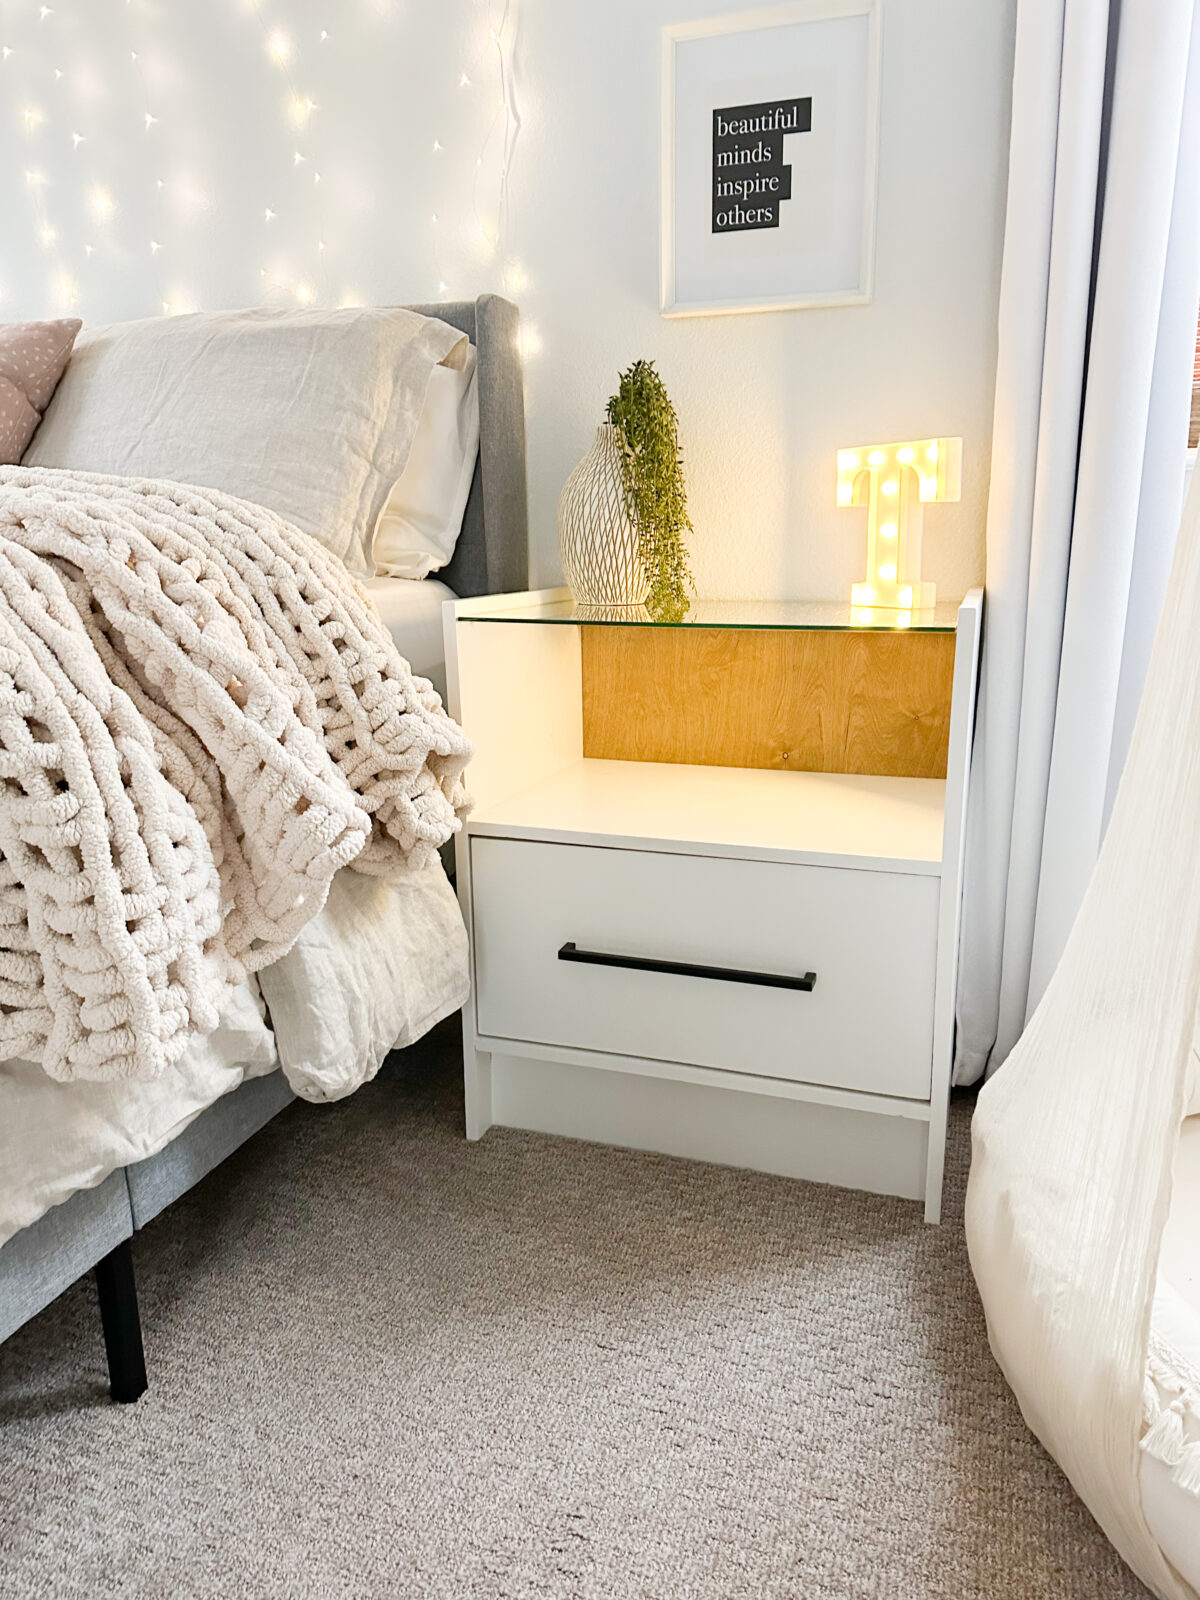
I moved into my house this past summer and I have been busy making it a home with new furniture pieces. My daughter’s room was one of the first rooms on my list. I wanted to make sure that, with this big move, she had a comfortable room set up so she could escape and be cozy. My first project for her room was a much needed dresser, if you missed that Ikea hack you can find it here. My second task, on my to-do list for her room, was a cute, modern nightstand. She showed me a nightstand that she liked online so I got busy creating something similar. This is an easy build, perfect for beginners and it gives such a fun, modern custom look to her room!
Come build it with us! You can check out the how-to video below – just press play!
You can follow along with the step-by-step build below. Don’t forget to download the free printable plans!
Click here to jump to the FREE Printable Plans!
Let’s get to building!
DIY Nightstand
Materials List:
Supplies:
Tools:
Building the Nightstand Frame
Step 1: Shelves and Sides

The first step is to cut the shelf and side pieces to size. Then, using a Kreg Jig, drill 3/4″ pocket holes at both ends of each shelf piece.

Attach the two shelf pieces to one side piece, with 1 1/4″ pocket hole screws and wood glue. The front of the shelves should be flush with the side pieces with a 1/4″ gap on the back.
Step 2: Toe Kick

Cut the toe kick piece to size and drill 3/4” pocket holes at both ends and one side. Attach it to the side piece, against the bottom shelf, with 1 1/4” brad nails and wood glue.
Step 3: Remaining Side Piece

Attach the second side piece to the shelves and toe kick piece with 1 1/4″ pocket screws and wood glue.
Step 4: Back Support

Cut the back support piece to size and drill 3/4″ pocket holes on both ends. Attach it to the back of the side pieces, according to the diagram, with 1 1/4″ pocket hole screws and wood glue.
Creating the Drawer
Step 5: Drawer Frame

Cut the drawer pieces to size. Attach the side pieces to the front and back pieces with 1 1/4″ brad nails and wood glue.
Step 6: Drawer Bottom

Measure and cut the drawer bottom to size. Attach it to the bottom of the drawer frame with 1″ staples (or brad nails) and wood glue.
Step 7: Drawer Slides

Install the drawer slides to the inside of the nightstand and the drawer according to the directions.

Step 8: Installing the Drawer

Slide the drawer inside the side table frame, using the drawer slides.
Step 9: Drawer Face

Measure and cut the drawer face to size. Attach it to the front of the drawer frame with wood glue and 1″ wood screws from the inside of the drawer into the drawer face. There should be a 1/8″ gap around the drawer face.

We used our Kreg Drawer Front Mounting Jig to attach the drawer face. This jig makes is amazing and acts like a second set of hands when attaching drawer fronts while also making alignment easy!
Back of the End Table
Step 10: Attaching the Back Panel

Measure and cut the back plywood piece to size. Attach it to the back of the nightstand with 1″ brad nails and wood glue, through the back and into the shelves and back support piece. The back piece should be flush with the back of the nightstand and the top of the back support.
Note – I chose to stain the back panel and waited to attach the back panel until I had painted the nightstand.
Glass Top
Step 11: Attaching the Glass TableTop

Drill two shelf pin holes on the inside, front of each nightstand side at the top of the table. We used our Kreg Shelf Pin Jig.

These should be level with the top of the back support.

Place glass over the shelf pins and the back support.
The Finish
Step 12: Sanding

I used my orbital sander to sand the entire nightstand with 80-grit sandpaper followed by 180-grit.
Step 13: Applying a Finish

I chose to paint the nightstand with two coats of Extra White paint by Sherwin Williams and I stained the back panel with one coat of stain.
Step 14: Hardware

Attach your hardware and you’re all finished!

I am so happy with her new nightstand and how the entire room is coming together!


Make sure to share your builds with us on social media and use #shanty2chic so we can share them too!
Happy Building!
Check out some of our past DIY Nightstand Plans!


DIY Glass Top Nightstand
-
Kreg Jig
-
Miter Saw
-
Drill
-
Stapler (or brad nailer)
-
Table Saw
-
Sander
- 2 20:x96″ Laminated Pine Board
- 1 48″x48″x1/4″ Hardwood Plywood
- 1 1/4″ Pocket Hole Screws
- 1″ Wood Screws
- 1 1/4″ Brad Nails
- 1″ Brad Nails
- 18″x24″x1/4″ Glass
- 1 Drawer Pull
- 2 Drawer Slides
- Wood Glue
- Wood Filler (if needed)
- Finish (stain/paint/protectant)
Back
-
Measure and cut the back plywood piece to size. Attach it to the back of the nightstand with 1″ brad nails and wood glue, through the back and into the shelves and back support piece. The back piece should be flush with the back of the nightstand and the top of the back support.
Glass
-
Drill two shelf pin holes on the inside, front of each nightstand side, level with the top of the back support. Place glass over the shelf pins and the back support.
The Finish
-
Now, sand down the entire nightstand, give it a finish and add a drawer pull! Make sure to share your builds with us on social media and use #shanty2chic so we can share them too!Happy Building!


