As
building the torsion boxes was an enjoyable task I already knew how to do, they
provided an easy transition into the Berger Board construction. Cutting the
shop sawn veneer was a new challenge.
building the torsion boxes was an enjoyable task I already knew how to do, they
provided an easy transition into the Berger Board construction. Cutting the
shop sawn veneer was a new challenge.
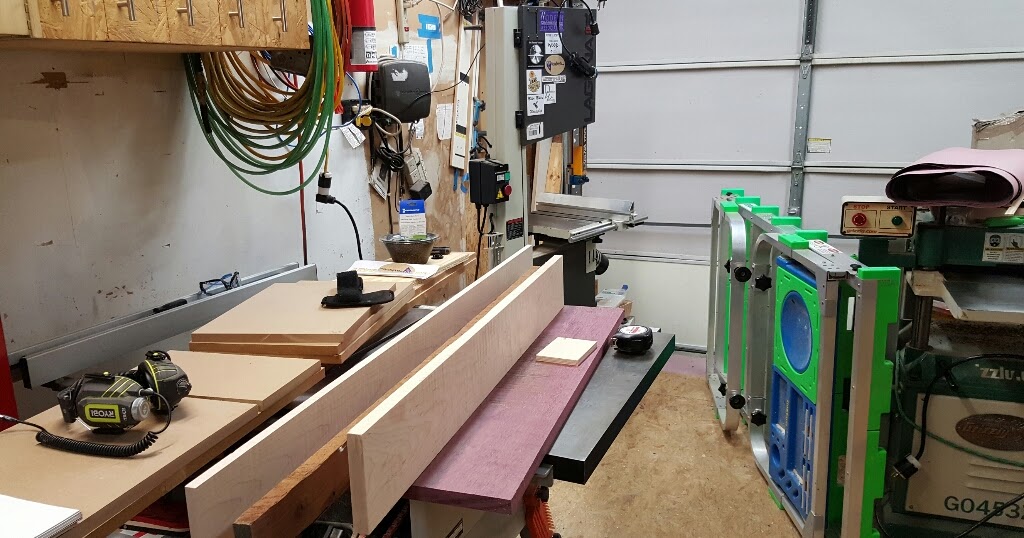
Once
I had obtained a piece of purple heart which was actually large enough to use,
I set about resawing. Thankfully, my bandsaw was already in tune. It has had a
Wood Slicer blade on it since I first set the saw up. In order to resaw I
simply set the fence with a clearance of 1/8” between it and the blade
(accounting for the set to the blade’s teeth) and used a magnetic finger board
to hold the board against the fence. Then I slowly guided the wood through.
 |
| I was amazed by my results resawing. |
This
was my first time resawing. I found that with my properly tuned saw I was able
to get a fairly smooth and absolutely drift free cut as long as I kept the feed
rate down. I was even able to cut a piece of the maple thin enough to be a
commercial veneer.
was my first time resawing. I found that with my properly tuned saw I was able
to get a fairly smooth and absolutely drift free cut as long as I kept the feed
rate down. I was even able to cut a piece of the maple thin enough to be a
commercial veneer.
 |
| Good dust collection is very important when resawing. |
Once
the veneer was cut, I noted that the purpleheart had warped a bit. In order to
create the perfectly straight edge I needed I laid a few pieces of the veneer
out on a scrap of MDF and then used my track saw to true up one edge. I also
used the track saw to cut the narrow ¼” wide center strips of veneer.
 |
| The veneer layers need straight edges for glue up. |
With
the veneer cut and 1/8” Baltic Birch plywood trimmed to rough width, it was
time to glue up the board. This proved to be a straightforward, yet nerve
racking experience.
the veneer cut and 1/8” Baltic Birch plywood trimmed to rough width, it was
time to glue up the board. This proved to be a straightforward, yet nerve
racking experience.
 |
| The purpleheart veneer, ready for glue up. |
I
used Titebond III glue (for it’s longer open time) and carefully spread glue on
the sides of the veneer strips then set them next to each other on the bottom
of the torsion box press. Then I applied glue to one side of a piece of plywood
and set it in. The second piece of plywood was installed the same way. Finally
I applied the top sections of veneer, gluing their underside and one edge of
each side to side joint.
The
top torsion box was set over the board and against the fence. Then I clamped,
and clamped, and clamped.


top torsion box was set over the board and against the fence. Then I clamped,
and clamped, and clamped.
Don’t forget about the +Modern Woodworkers Association Podcast. We talk woodworking with Guests from around the world of woodworking every other week. Subscribe to the RSS feed or iTunes today.