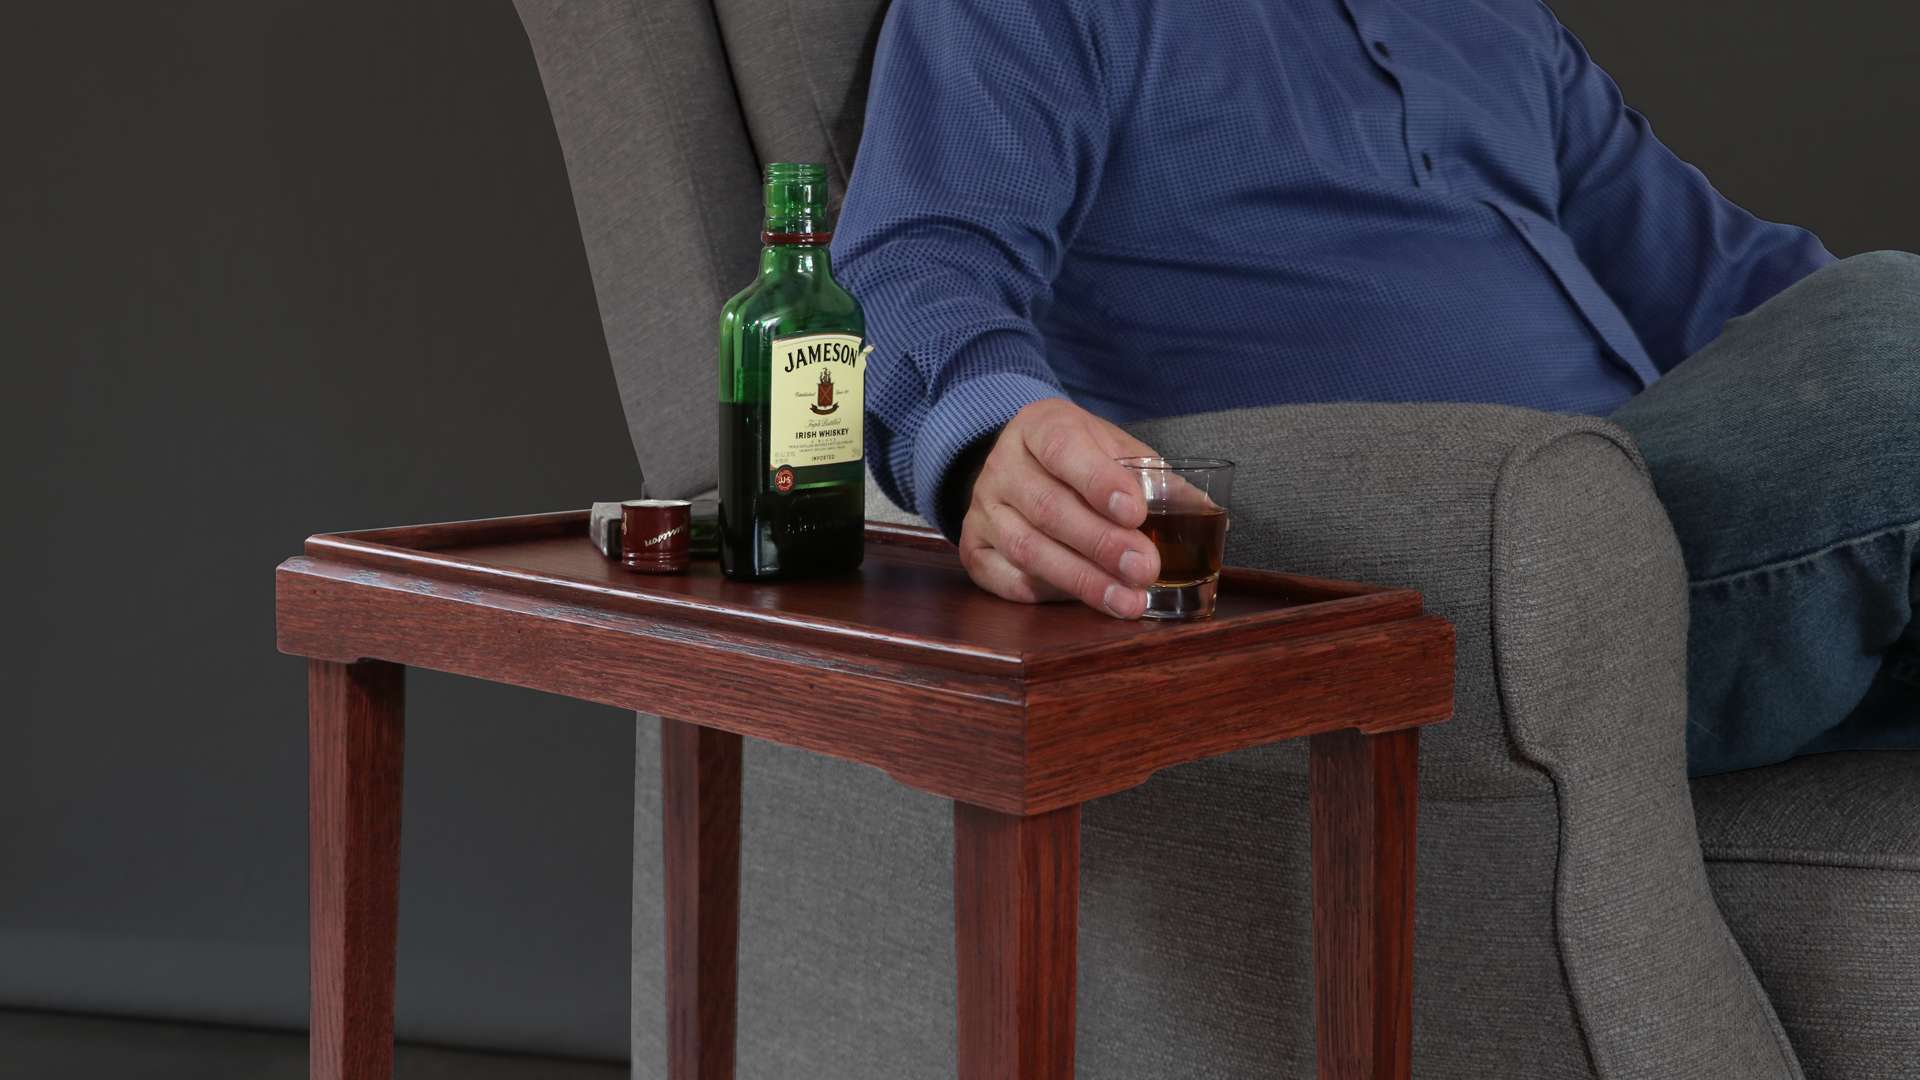
For this project, I had a client who wanted a custom whiskey End table with a drink rail. They also want it to complement the existing architecture of their house, so I pulled some design cues from a built-in bookcase and created a custom stain to match it.
Tools I used in this build
Titebond Cold Press Veneer Glue
The Build Process:
For this project, the client picked a nice deep burgundy stained color like Hugh Hefner’s bathrobe, so I knew we were off to a great start.

This table has a mitered frame that goes around the top of the table, and if you know anything about wood movement, you know that it could spell disaster if that wood expands and contracts. It could push those miters apart, causing a gap. To prevent this, I veneered two plywood substrates, one to become the top and the other to become the bottom. The plywood core with the veneer should help prevent the wood from expanding and contracting too much, allowing the miters to stay tight.
While I was waiting for the veneer to dry on the top I started to work on the drink rail. The drink rail is a decorative bead that’s 3/8″ wide bead and wraps around the table’s top; aside from its being decorative, it also has a function. After you’ve had a little bit too many sips of whiskey, it can help guide your hand to make sure that you are setting Your Whiskey glass on the tabletop instead of the edge where it’s going to fall off and spill on the floor. So it’s an important piece for the serious whiskey Drinker.

To create this bead, I set up a beating bit at the router table and ran my 38-inch thick stock through it to create the bead detail.

To attach the drink rail to the top, I want to ensure there is a clean transition and no gaps between the top and the bead detail. I also wanted to make sure I disguised any expansion or contraction, so I am creating a half flap on both the table top and bead trim. I’m basically creating a rabbit around the edge of the tabletop, and then I’m going to create a matching rabbit on the bottom edge of the drink rail. That way, it kind of creates a little bit of a half lap, so they nest together, creating a lot of glue surface and a nice glue bond. It is just a really clean transition.

I have found that my table saw makes the cleanest, most accurate miters over the miter saw, so I use that as my preferred method to cut my miters. I mark my line and then sneak up on it as I work my way around the tabletop.


To attach the drink rail I’m going to use glue and a headless pin in the brad nailer. That headless pin will just disappear within the grain of the wood. I was very conservative with the amount of glue because this piece is going to get stained that dark burgundy color. I don’t want the glue to interfere with the stain soaking into the wood, so I’m being very careful with the amount of glue I use. Any squeeze-out that doesn’t get cleaned up won’t accept the stain color, and it will look terrible.

The whole tabletop is going to get wrapped in a decorative apron. To ease the transition or to make a nice transition between the apron and the drink rail, I’m beveling that top edge of the apron.

In the room that this whiskey table is going in the client has built-in cabinets and those cabinets have a little Cloud lift detail it’s not a true green and Green Cloud lift because it’s basically made with a stop and start Point using a Cove bit on a router table but it was close enough and so I decided to use that kind of idea. I mimicked it in the table so I created a little bit of a cloud lift on the bottom edge of the apron. To cut the cloud lifts I basically made a plywood templet and went to the router table with a pattern bit and routed out the shape.


I installed the decorative cloud lift apron parts, which I glued and pinned to the tabletop with the headless pin nailer. To set the spacing so the drink rail sits above the apron, I used a couple of little spacers to rest them on as I glued and nailed them.
Moving on to the legs, I milled up some stock and set up a stop on the miter gauge to ensure I cut all the legs to the same length. Then, I set up my shop-made tapering jig because the inside faces of the legs were getting a taper on them.
The bottom shelf will be joined to the legs via little dado in the legs. I’ve cobbled together a little cradle to cradle the tapered side of the leg so that I can cut the dado in them.

I tilted the dado blade just to match the angle of the taper we just created on the legs so the shelf stays level when assembled.

I have one last piece of joinery to do: create a structure to support the top of the legs. I want to be able to remove the top from the base, which will make it easier to stain and finish. I’m just cutting to fit, and then I will use the Domino to create my joinery.

Then, to make assembly a little bit easier, I glued up the sides as sub-assemblies. Once that glue dries, I will glue the entire frame and shelf together.

One last thing to do was to cut some trim for the bottom shelf. I cut a test piece just to make sure I had the saw dialed in, and then I tested each leg to make sure that each leg was the same because, potentially, they might have gotten a little bit off when I planned the saw marks off. That angle might have changed. To cut each piece, I held them up to the legs and marked them with a pencil, then snuck on the fit with the table saw.


