I’ve never been as nervous about a glue up
as I was about Nick’s Berger Board. Because of the torsion boxes, I was
essentially glueing blind. There was no way of knowing if there were gaps
between the veneer sections until I took the board out of the clamps.
as I was about Nick’s Berger Board. Because of the torsion boxes, I was
essentially glueing blind. There was no way of knowing if there were gaps
between the veneer sections until I took the board out of the clamps.
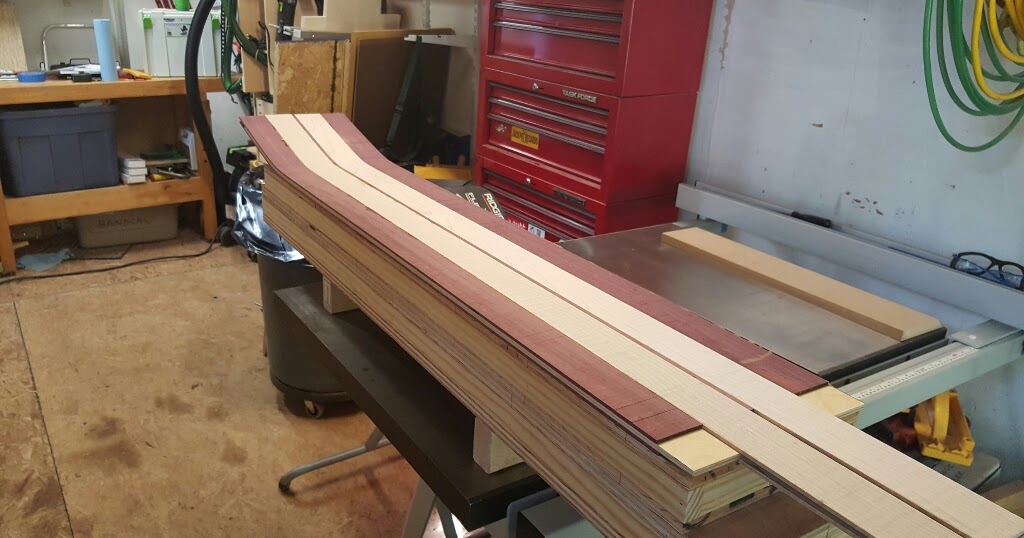
| Out of the clamps and looking good. |
Thankfully, the fence I attached to the
larger torsion box and the clamps I had pressing against it kept the gaps away.
The glue up and veneer turned out wonderfully.
larger torsion box and the clamps I had pressing against it kept the gaps away.
The glue up and veneer turned out wonderfully.
 |
| This minor glue squeeze out was quickly handled by using a razor blade as a scraper, as shown by Matt Berger. |
In order to create the shape of the board
I first drew out the profile of half of it on a scrap piece of 1/8” plywood. I
cut close to this line and used my oscillating belt sander to trim up to the
line and further fair the curves. Using the center strip of purpleheart veneer
to locate the center of the board I marked half the board, the flipping the
template, marked the other half. Like the template, the board was shaped on the
band saw and oscillating belt sand. My palm router with 1/8” round over bit
finished the final shaping.
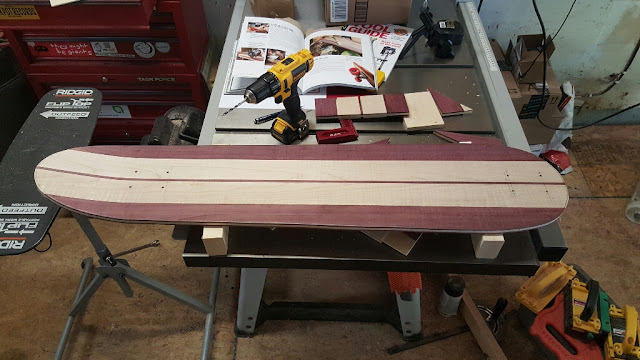 |
| Shaped and ready for sanding. |
The shaped board was then sanded from 80
to 220 girt. The final step was to make and drill out for the trucks. Lining
them up was a bit never racking, but for just two (2) trucks, I didn’t want to
go craze making a jig to set them square.
to 220 girt. The final step was to make and drill out for the trucks. Lining
them up was a bit never racking, but for just two (2) trucks, I didn’t want to
go craze making a jig to set them square.
 |
| The initial layout of the trucks. |

Don’t forget about the +Modern Woodworkers Association Podcast. We talk woodworking with Guests from around the world of woodworking every other week. Subscribe to the RSS feed or iTunes today.