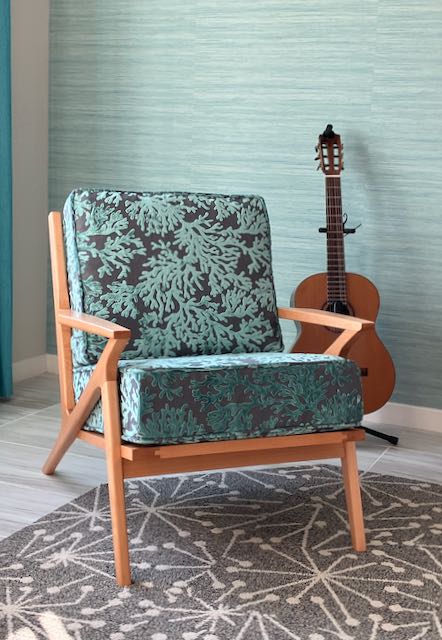
I began working on this project in mid-September after doing research on the internet to find dimensions, other peoples projects, and images of the iconic Z-Chair. After creating patterns from MDF the first prototype was made from 6/4 Poplar. The majority of the information I found used either dowel construction or Festool Domino system. I’ve never been a fan of dowel construction as they can shrink and cause joint failure and since the Domino system, as great a tool as it is, starts at around $1100.00 it’s just too rich for my budget. I prefer the more traditional mortise and tenon joinery so that’s what I went with. Essentially the chair consists of a long member that forms the rear leg and angles to the front to support the arm rest. The front leg and back rest are attached with an angled tenon that is fitted into a mortise that was cut before the main, long member is shaped. This mortise started at 90° but after cutting the angle for the back rest and front leg the tenon needs to be approximately 15°. For more about that detail see my first blog on the project.
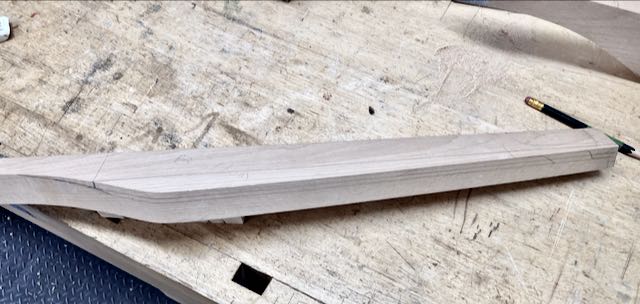
At the end of the last blog the sides of the chair and the seat frame were assembled and all of the pieces for the back were formed and the joinery was complete. The major part left was sculpting the arm rest. I changed the design and eliminated the scoop out that was a feature of the original chair. The arm rest remains flat on the bottom but the top is tapered from about 1 1/8″ at the back to 3/4″ at the front. I also created an upswept curve so when viewed from the side, the arm rest not only tapers from back to front but also on its edge. The pictures below show the process, after drawing in the limits of the curve a block plane was used to create a wide chamfer on the straight sections and the Stanley spokeshave for the curved areas. The curves were finalized with the Lie-Nielsen spokeshave. At first I was planning on chamfers for the front of the arm rest but that area felt better with a rounded over edge.
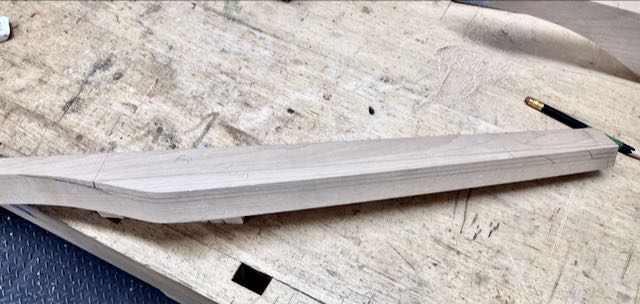
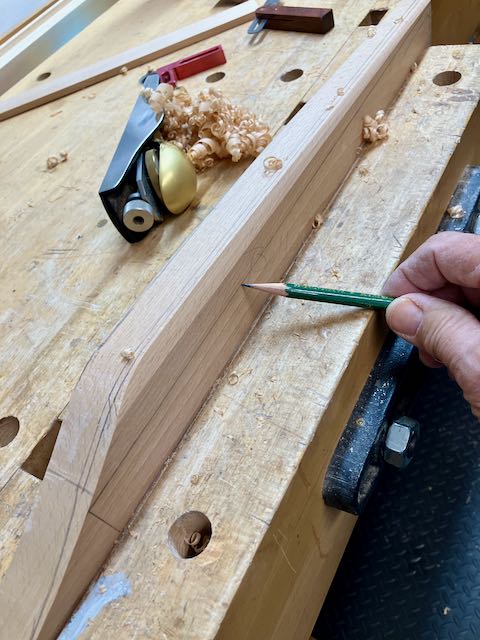
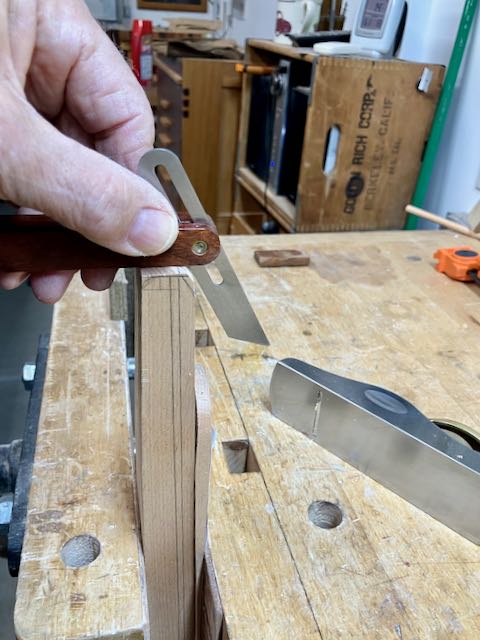
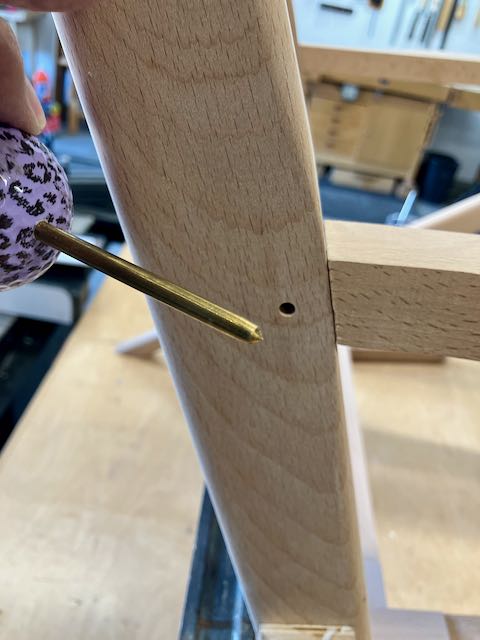
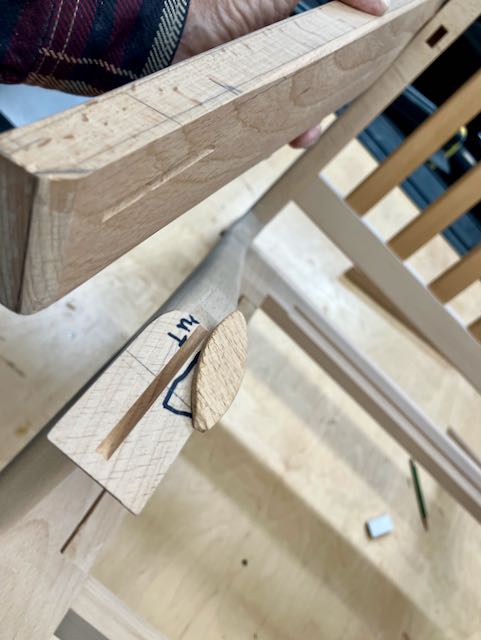
The way I decided to attach the arm rest is different from anything I saw in my research. It seems to me that this is the piece that holds the Z-shape together. Where it attaches to the backrest my choice was to use a draw bore mortise and tenon joint and where it attached to the main member there is a #0 biscuit. My thoughts are that the biscuit helped to align those pieces at the front and also strengthened it. Adding a 3/16″ peg (made from the Beech) stabilizes that area as well. It gave me the chance to use a tool I made when I built John’s Armoire and those joints are as tight as ever.
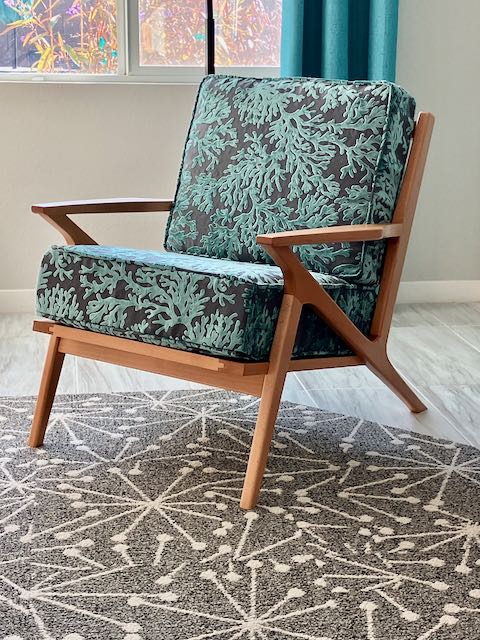
The finish is Osmo PolyX #3043; a total of 3 coats were hand rubbed into the chair about 24 hours apart. The first two coats were applied with a gray nylon scrubby and the final coat with the finer, white scrubby — feels like glass! The final step was installing the webbing, I used metal clips that were attached to the webbing with a vise. My wife sewed up the upholstery with material from Wayfair. There is a place here in Las Vegas called Galaxy Foam, they supplied the 5″ thick foam for seat and 4″ for the back. I purchased the webbing and clips from HousetoHome on Etsy, this material worked great and had instructions which I needed! I made a short video showing the chair complete with the webbing, here’s a link to that: https://www.youtube.com/shorts/28XQsFYpQiE
All in all, this was a great and challenging project. The chair fits well with our homes decor and is a comfortable and stylish addition. Here’s one more picture of it, we’ll probably experiment with placing it in different locations to see where we feel it looks the best. If you’re planning to make your own version of this iconic chair feel free to reach out if you have questions.
