When I started this project, my 1976 FJ40 Land Cruiser was missing a key feature—a console with cup holders. You’d think a vehicle as rugged as this would have a few modern conveniences, but no, it’s bare bones. No power steering, no radio, no air conditioning, and certainly no cup holders. So, I decided to build a custom console to solve that problem, but I didn’t want to just slap something together. I wanted to try something new—3D scanning. I figured if I could accurately scan the area, I could create something that fits perfectly and looks like it belongs.
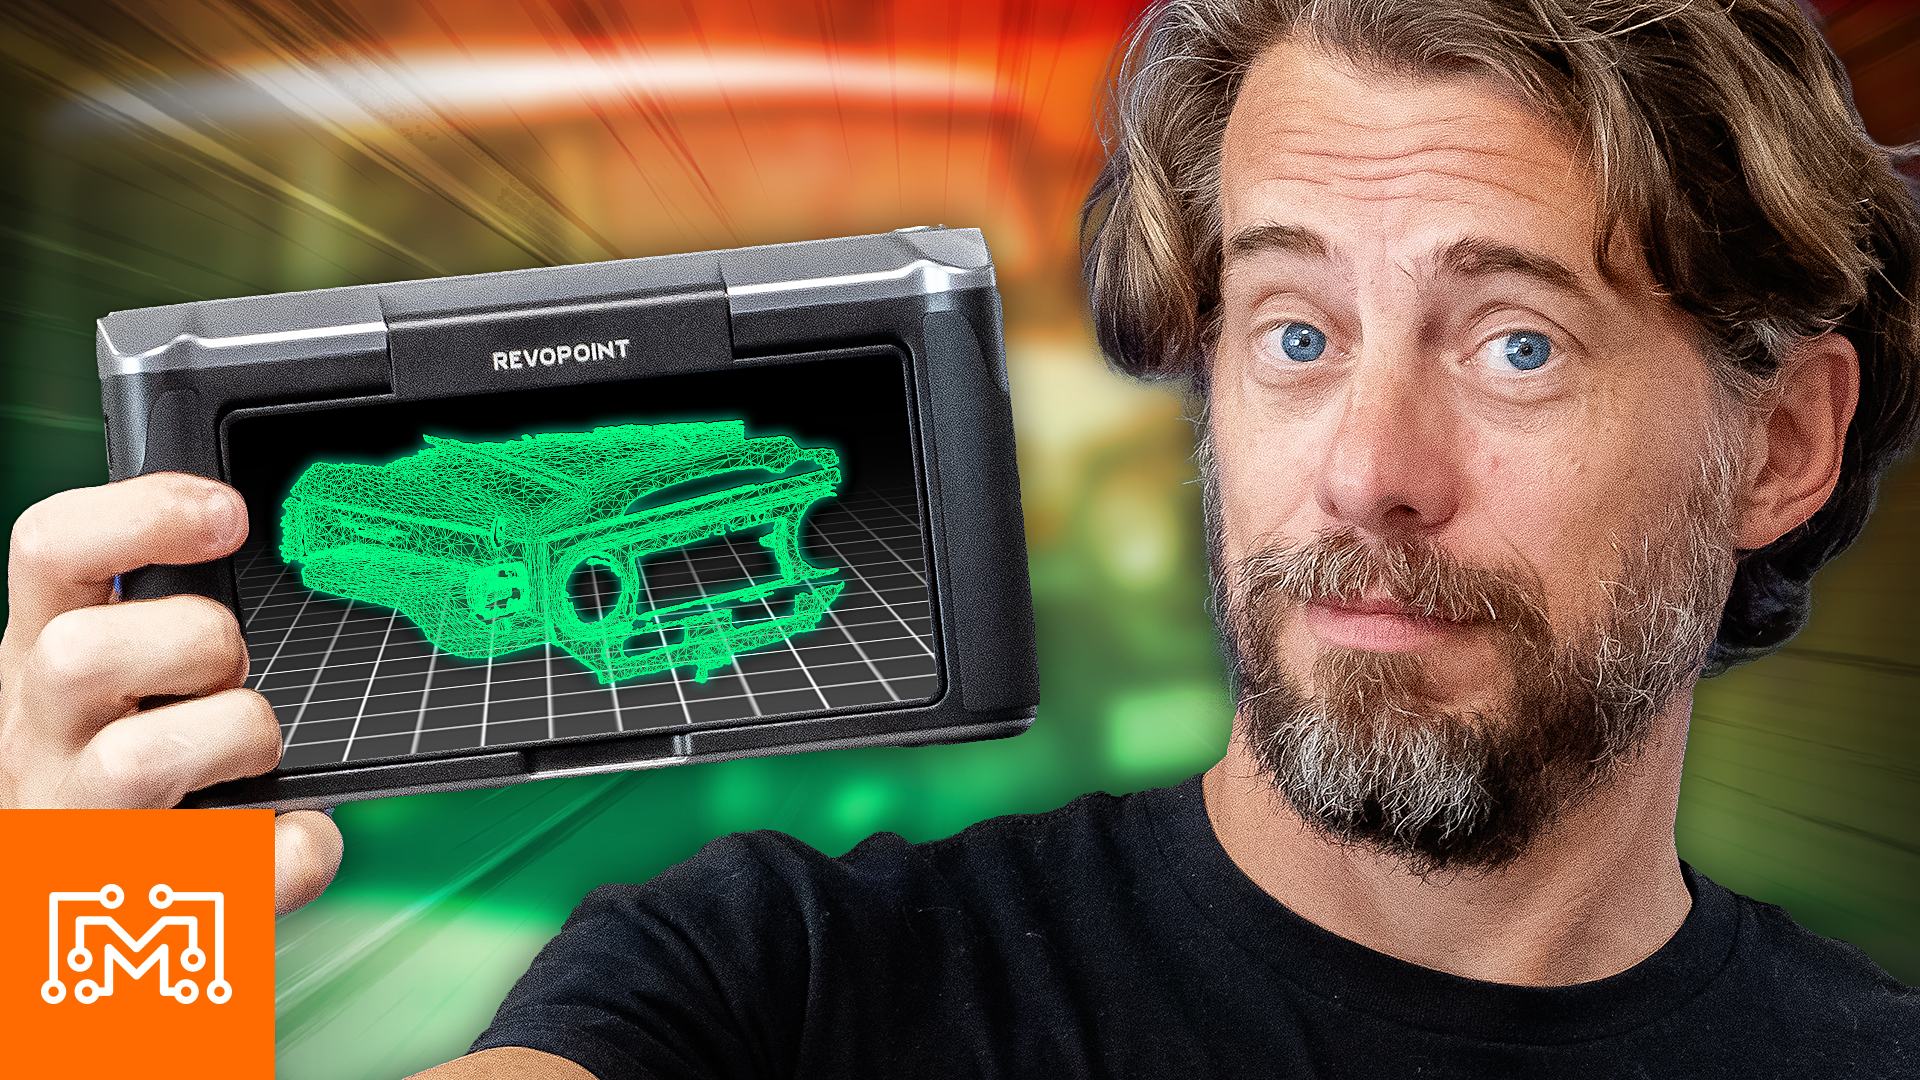
 Now, I’ll be honest, 3D scanning wasn’t exactly in my wheelhouse. My only experience was with a mobile app that didn’t quite cut it, so I wasn’t sure how well this would work. But Revopoint sent me their Miraco 3D scanner to try out, and I figured it was worth a shot. This scanner is pretty cool; it’s self-contained, so I didn’t need to hook it up to a computer. The idea was to scan the space between the seats and get a solid model that I could work with in Fusion 360. I was skeptical, but also excited to see what this scanner could do.
 Using the Miraco scanner was straightforward, even for a newbie like me. I started with a test scan on the outside of the vehicle, just to get a feel for it. The scanner uses infrared light to capture a 3D image, creating what’s called a point cloud. This basically maps out the surface of whatever you’re scanning. After a few tries, I got the hang of it and moved on to the real challenge—the tight, dark space inside the car. The scanner handled the details pretty well, but smooth, shiny surfaces were tricky. I ended up using reflective stickers to give the scanner some reference points, which helped a lot.

 With the scan in hand, I imported it into Fusion 360. That’s where the magic happens. I could see exactly where everything was, down to the mounting points and brackets. This allowed me to design a console that not only fit perfectly but also incorporated a couple of features I hadn’t initially planned. For instance, the curvy metal bar between the seats became a key part of the design. I created a 3D-printed latch that wrapped around it, making the console removable, which was a nice bonus.
 After finalizing the design, I headed to the hardware store for materials. I found these PVC sheets that were perfect—waterproof, lightweight, and easy to work with. The idea was to build a console that could double as a cooler. You could fill it with ice and drinks, then remove it when you reached your destination. I used standard PVC cement to glue everything together and reinforced the seams with some plastic shoe molding that I had lying around. It was a simple but effective solution that didn’t break the bank.

 The next step was to add the finishing touches. I 3D-printed a handle for the sliding top, which I designed to fit perfectly over a screw I had on hand. This handle also acted as a stop, preventing the top from sliding all the way out. Once the console was assembled, I gave it a quick test in the car. It locked into place just as I’d planned, and the cup holders fit my coffee cups and water bottles perfectly. I still needed to paint everything, but the hard part was done.

 Finally, it was time to see if the console was truly waterproof. I added some caulk to the seams for extra security, then tested it out. Everything held up great, no leaks. The project turned out even better than I expected. It was a learning experience, but that’s what makes it fun. I got to try out 3D scanning, hone my Fusion 360 skills, and end up with a custom console that’s functional and looks great in the FJ40.

 This project was a blast, and I hope it inspires you to tackle something similar. Whether you’re a pro or just starting out, 3D modeling opens up so many possibilities. If you’re interested in learning more, check out my Fusion for Makers course. It’s designed to take you from beginner to proficient, even if you’ve never touched 3D modeling software before. Now, go make awesome stuff!